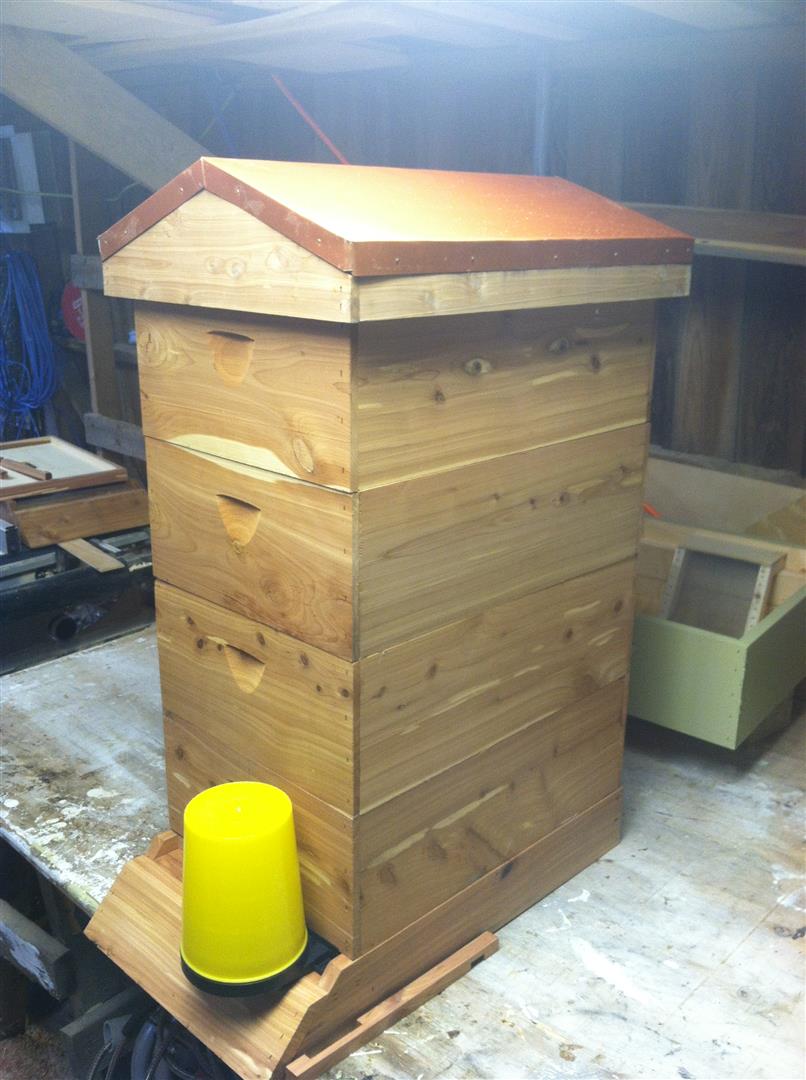
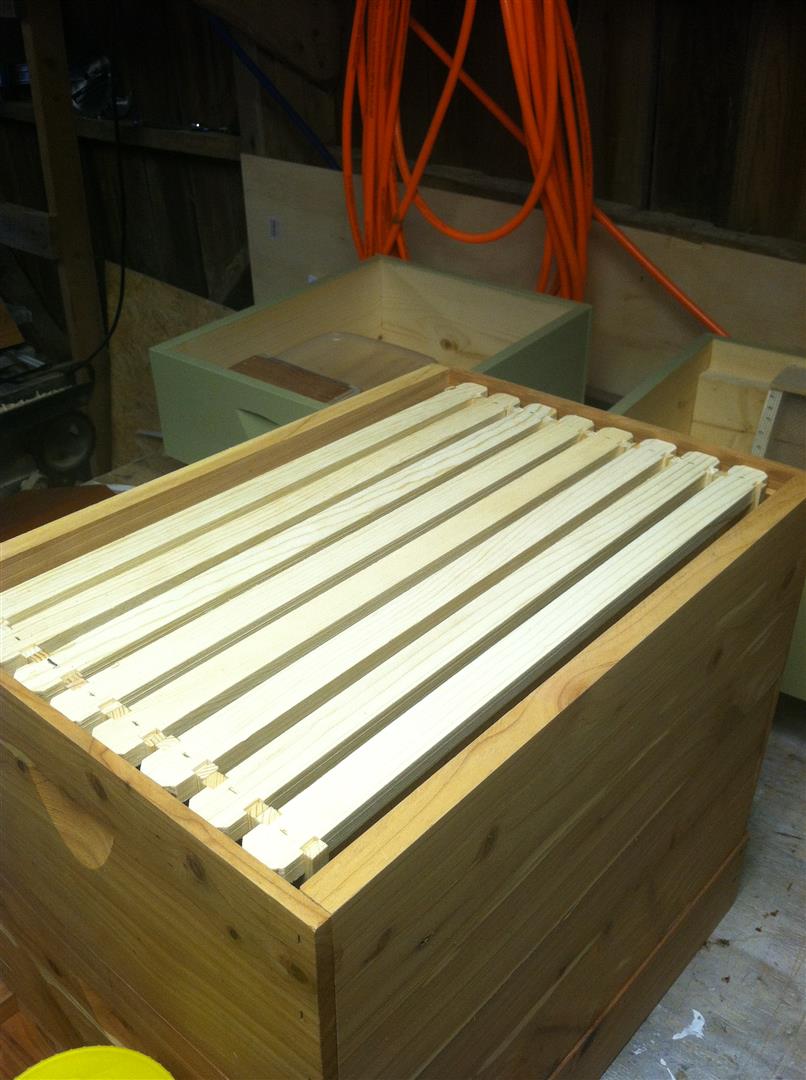
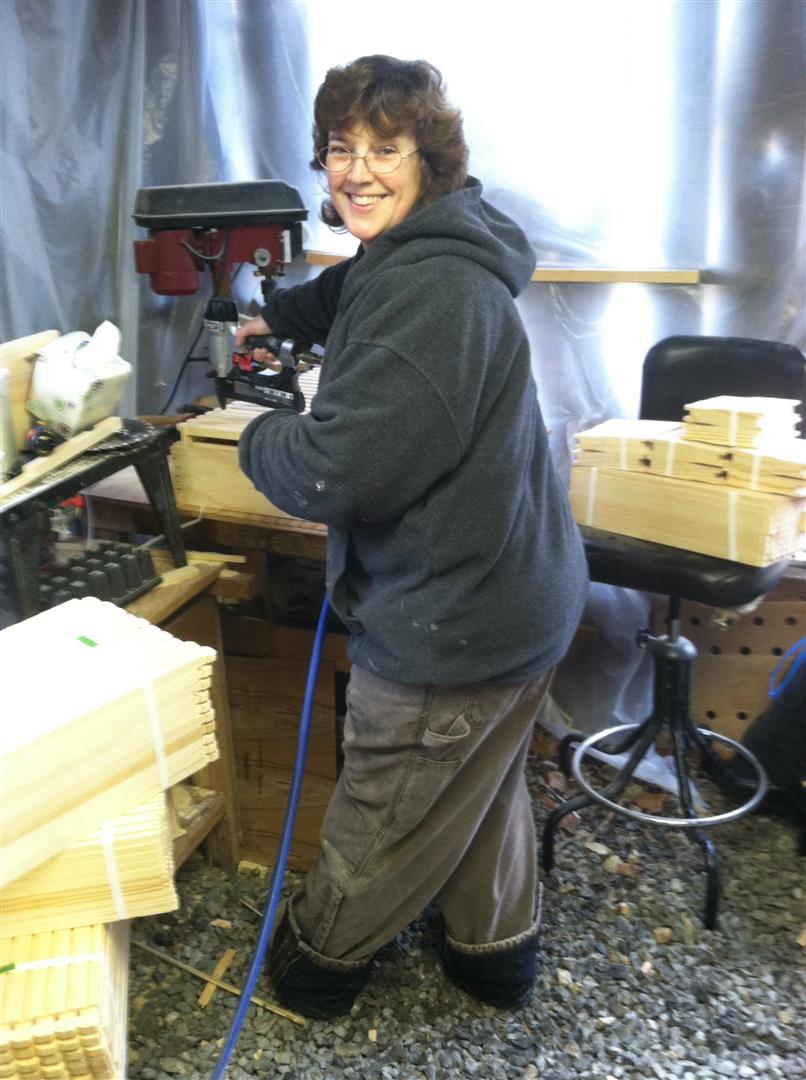
Well, as I stated before, I really like top feeders and after seeing the top feeder created by Don Kuchenmeister, The Fat Bee Man, I decided to make a few for my hives and used them this past spring…. I have to say – I love them….
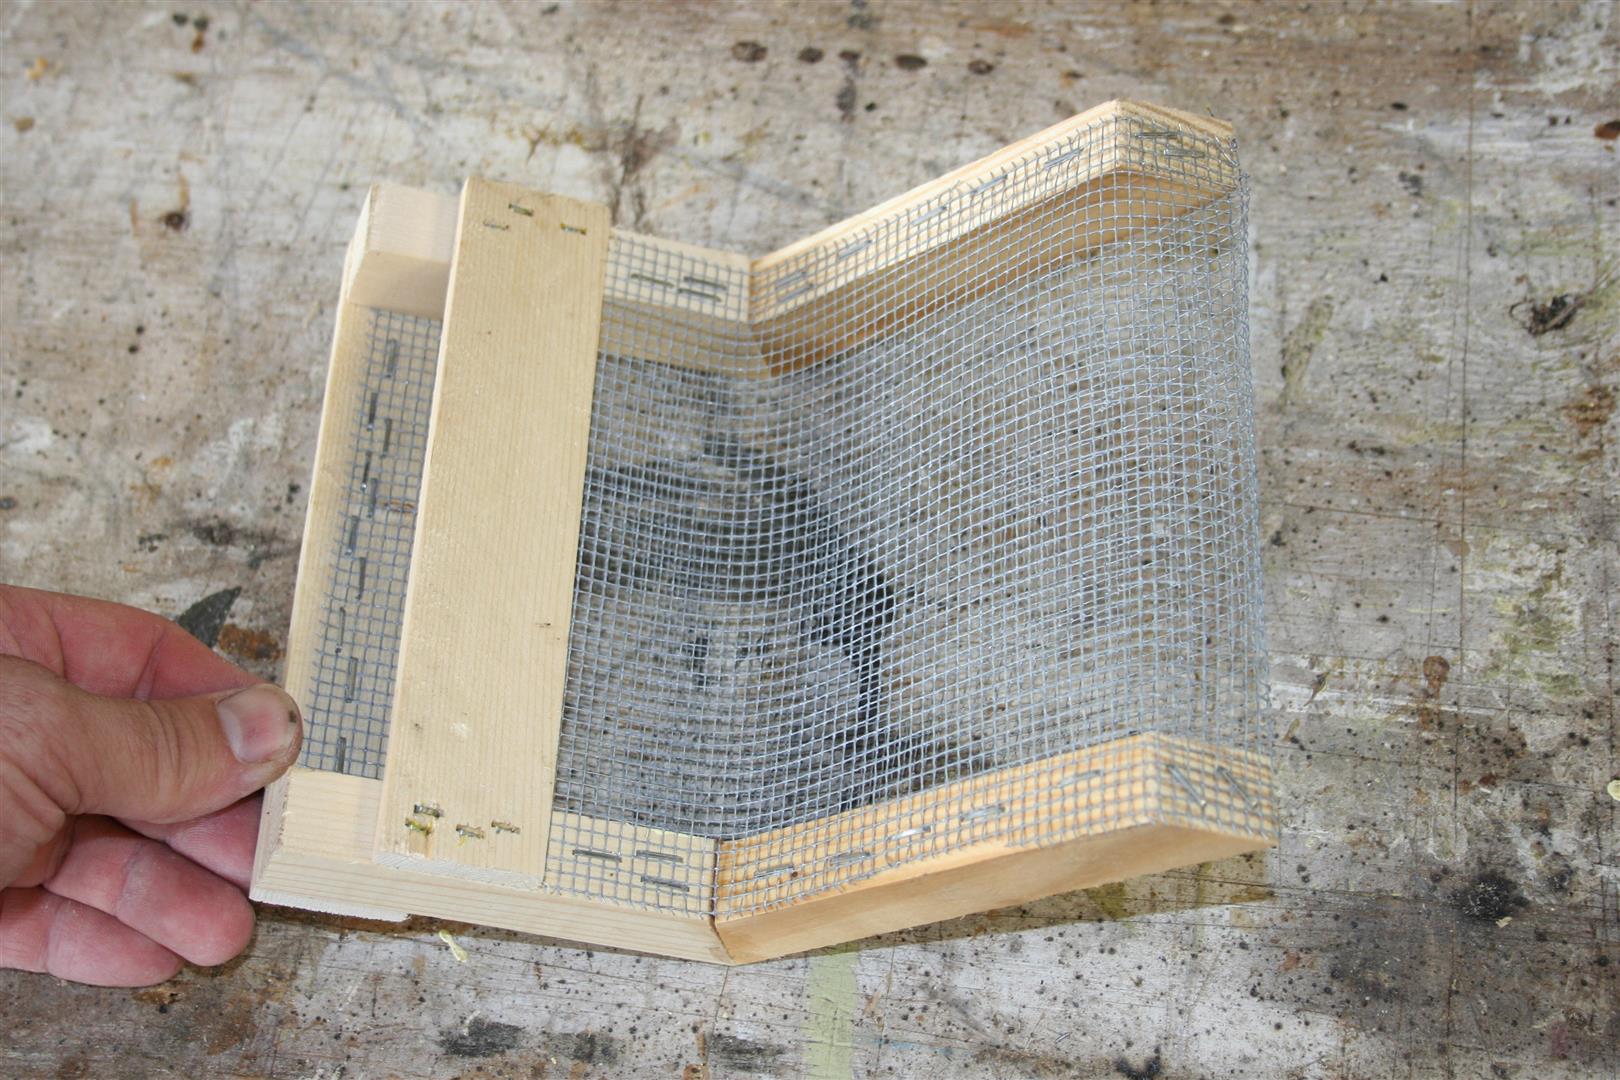

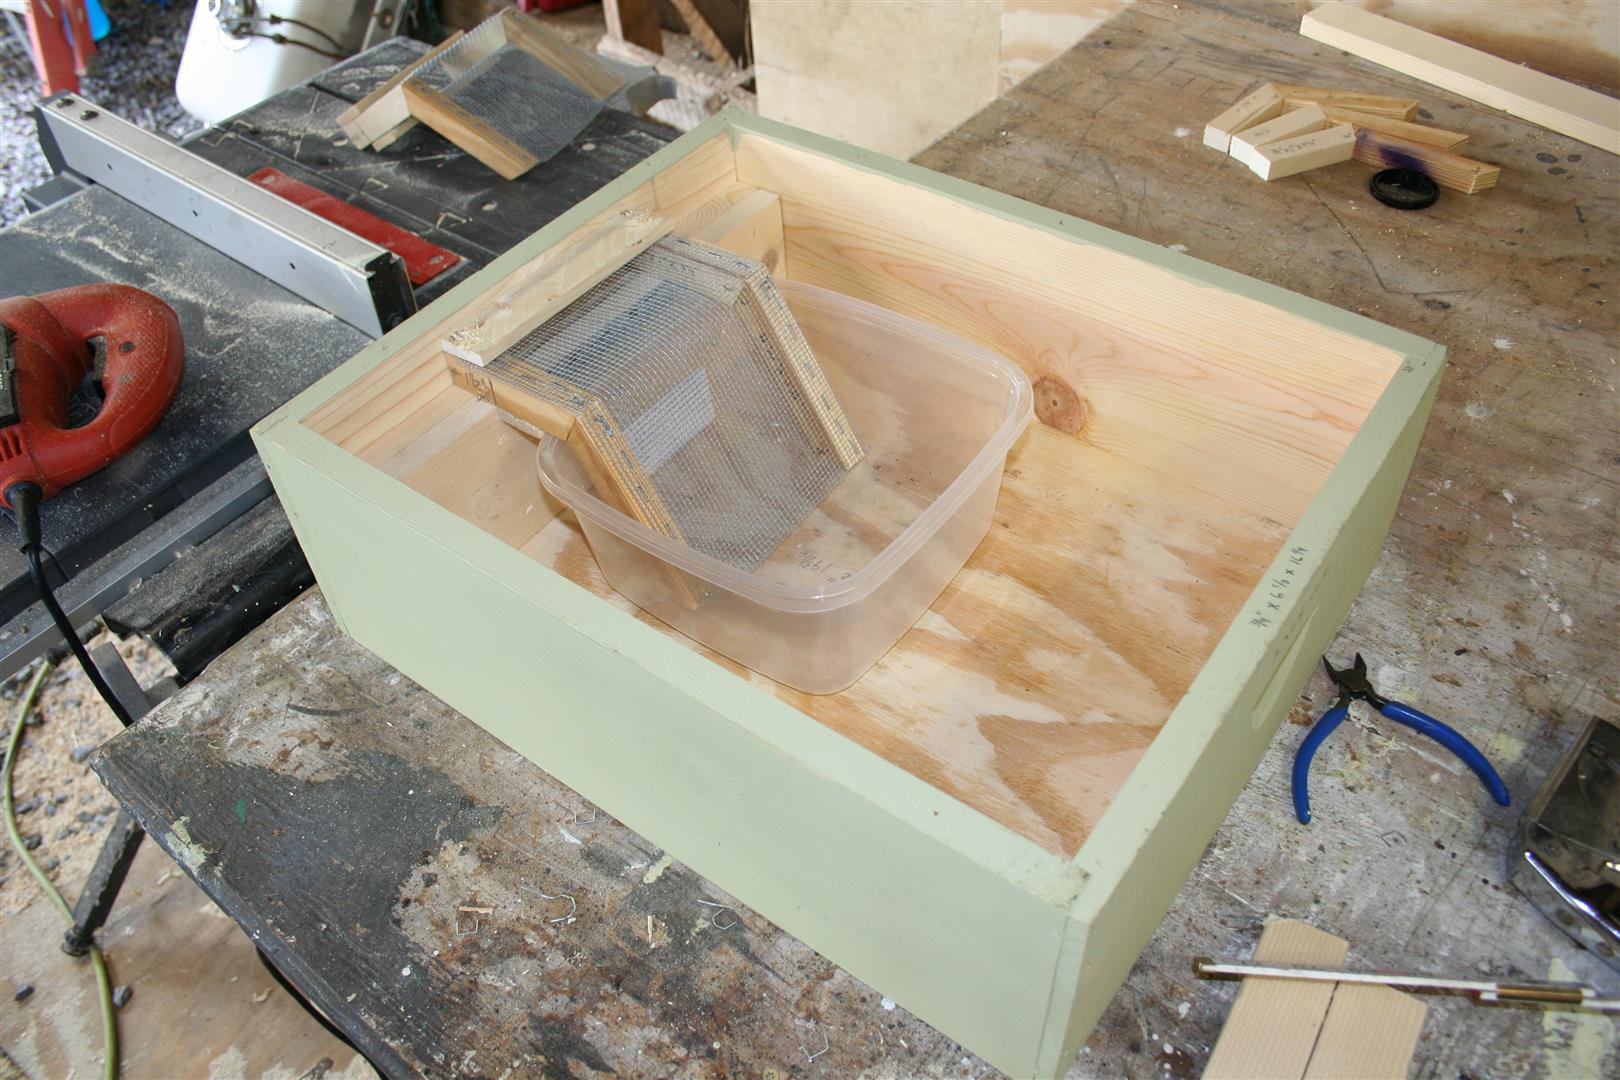
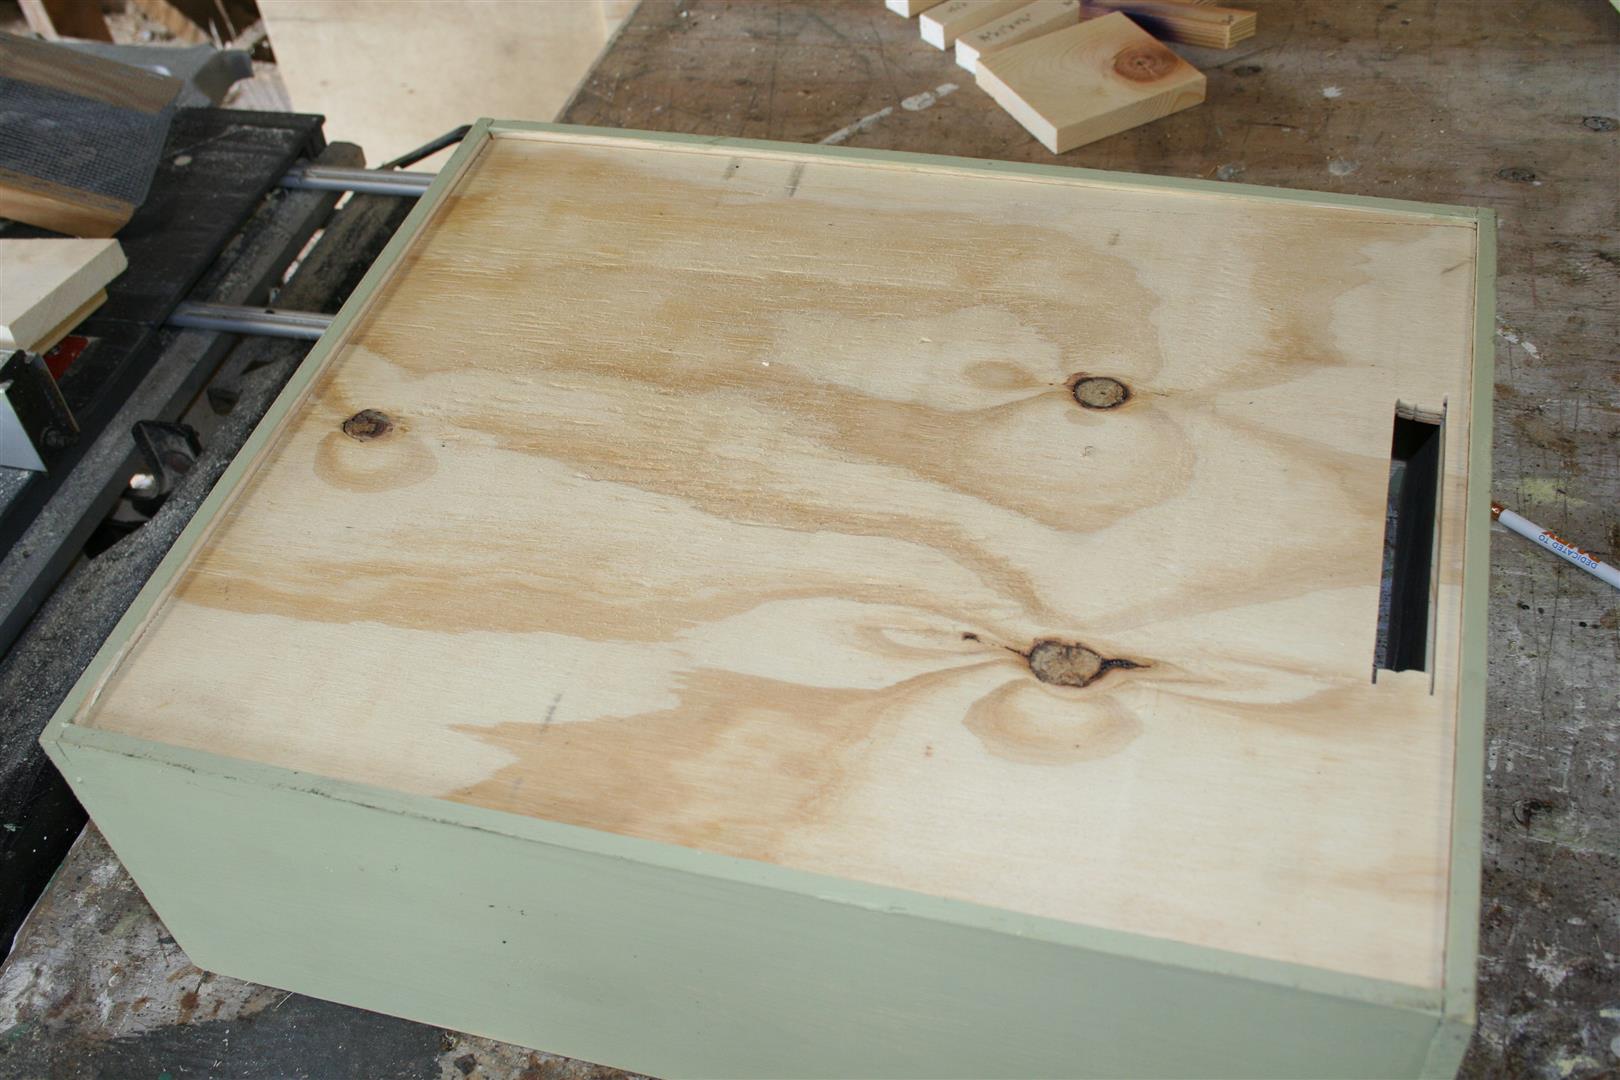
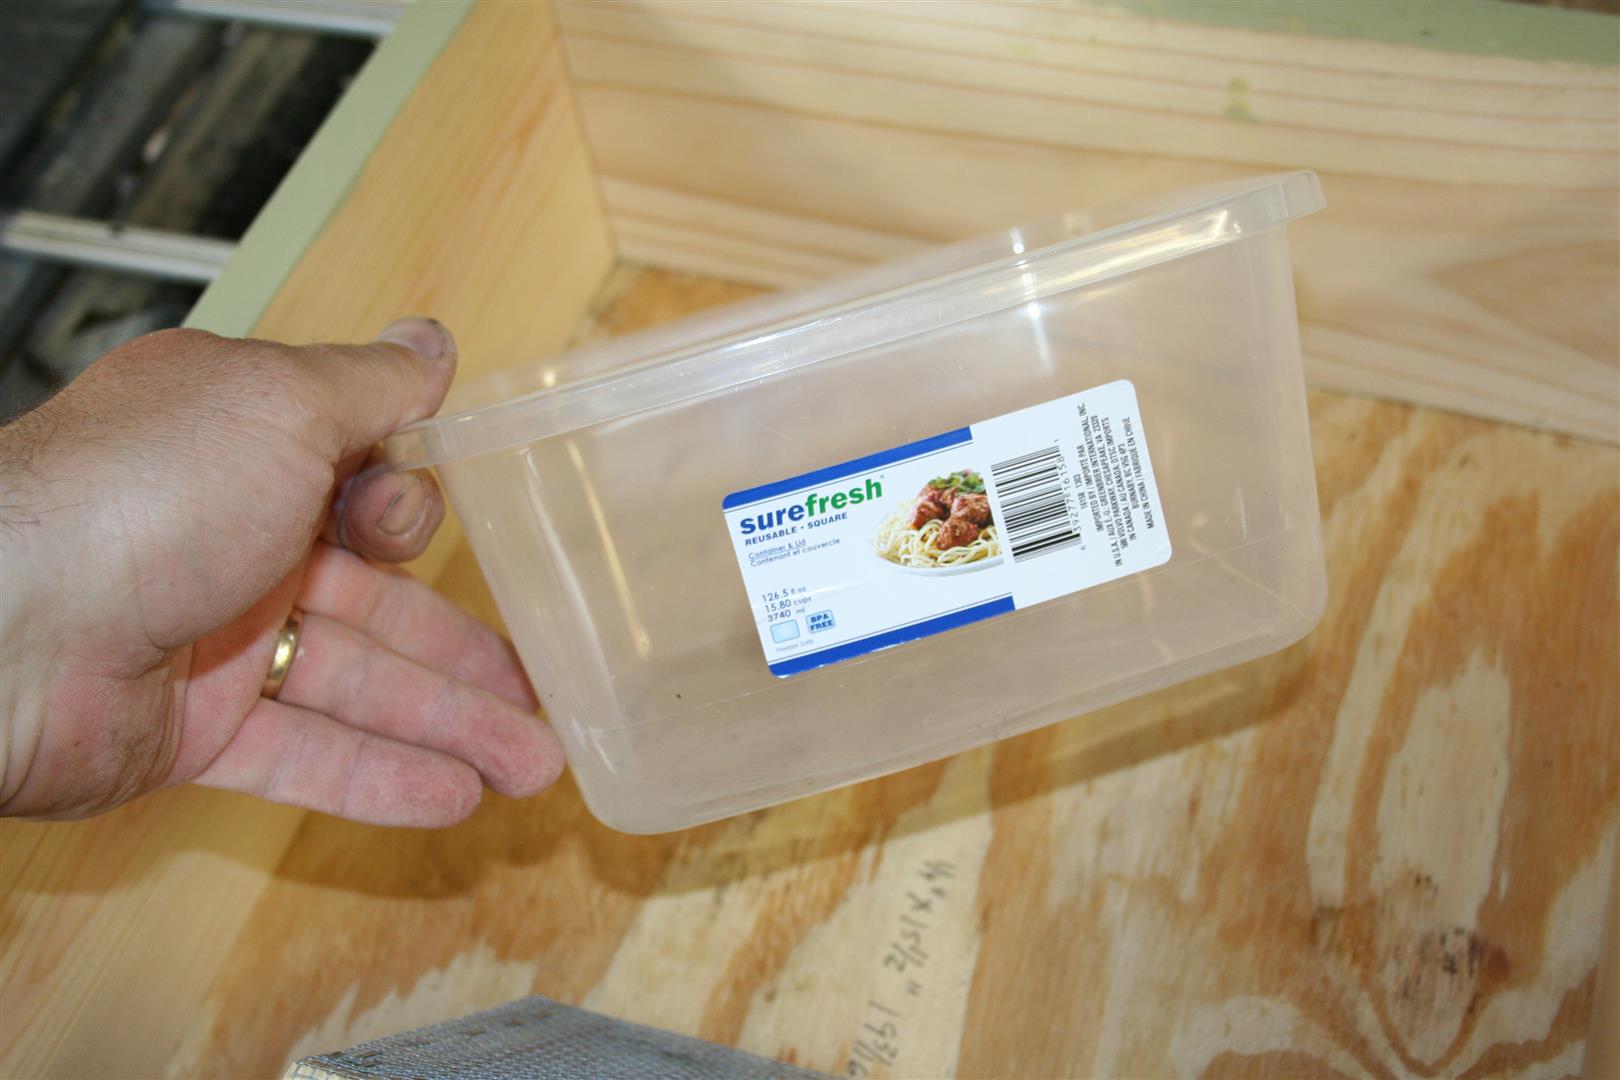
Well, as I stated before, I really like top feeders and after seeing the top feeder created by Don Kuchenmeister, The Fat Bee Man, I decided to make a few for my hives and used them this past spring…. I have to say – I love them….
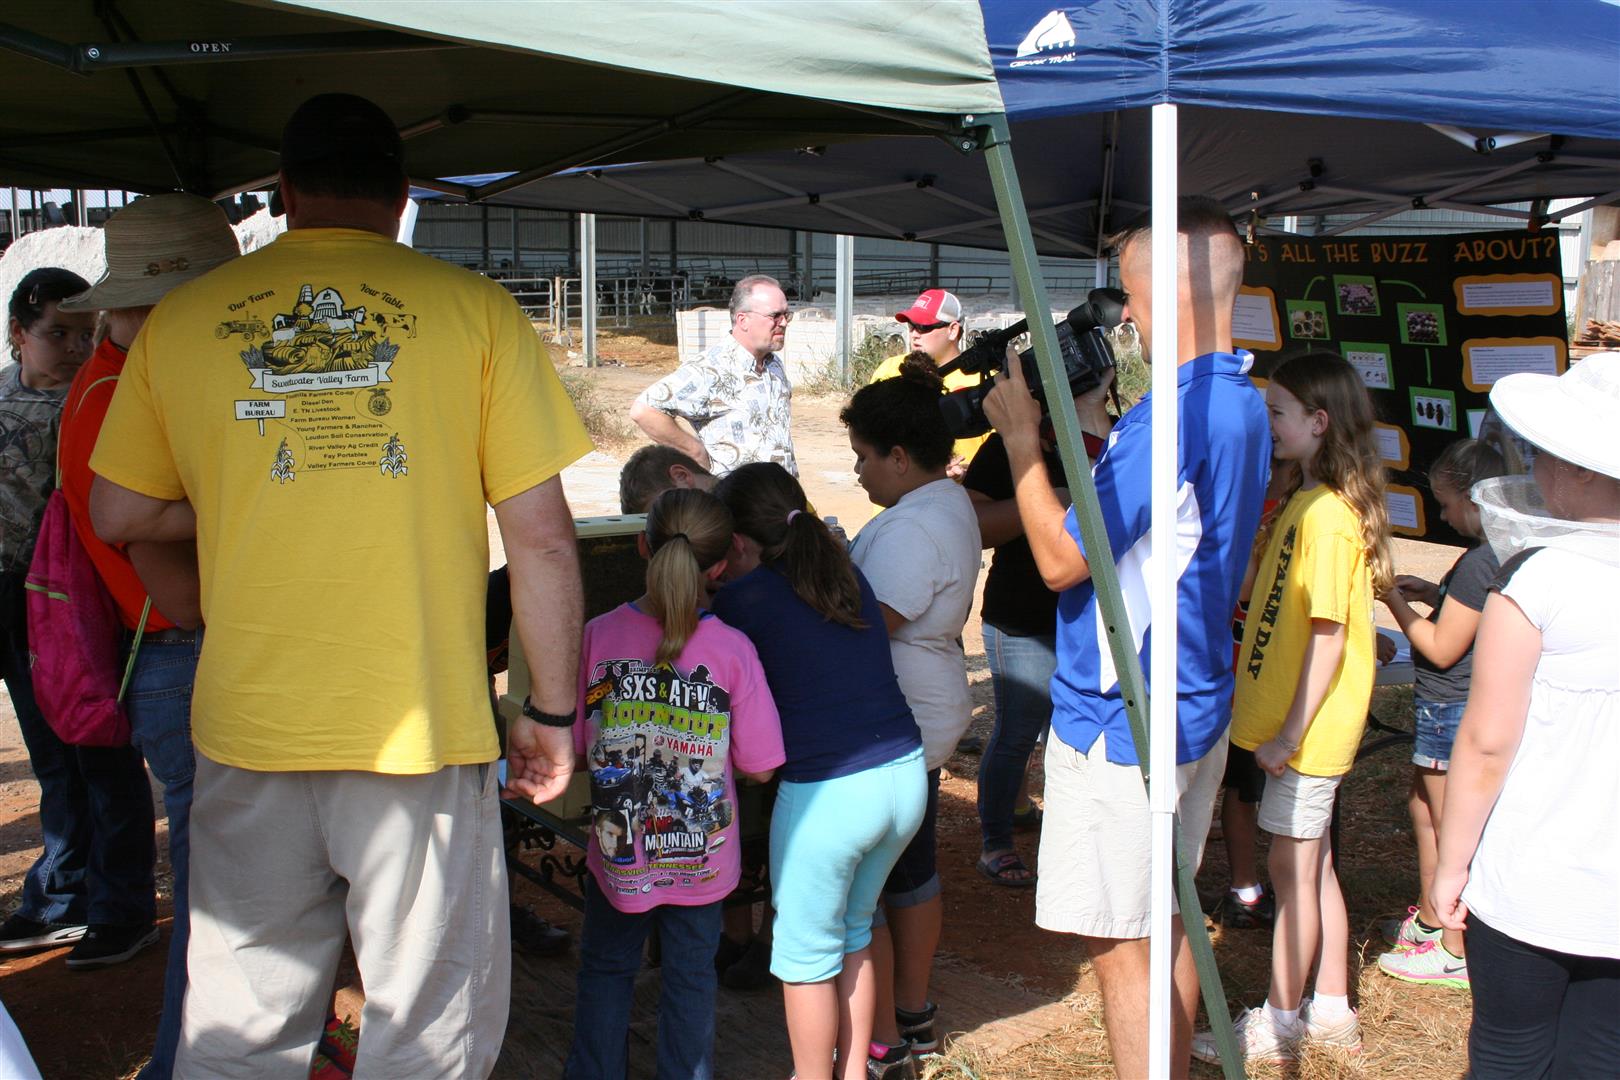
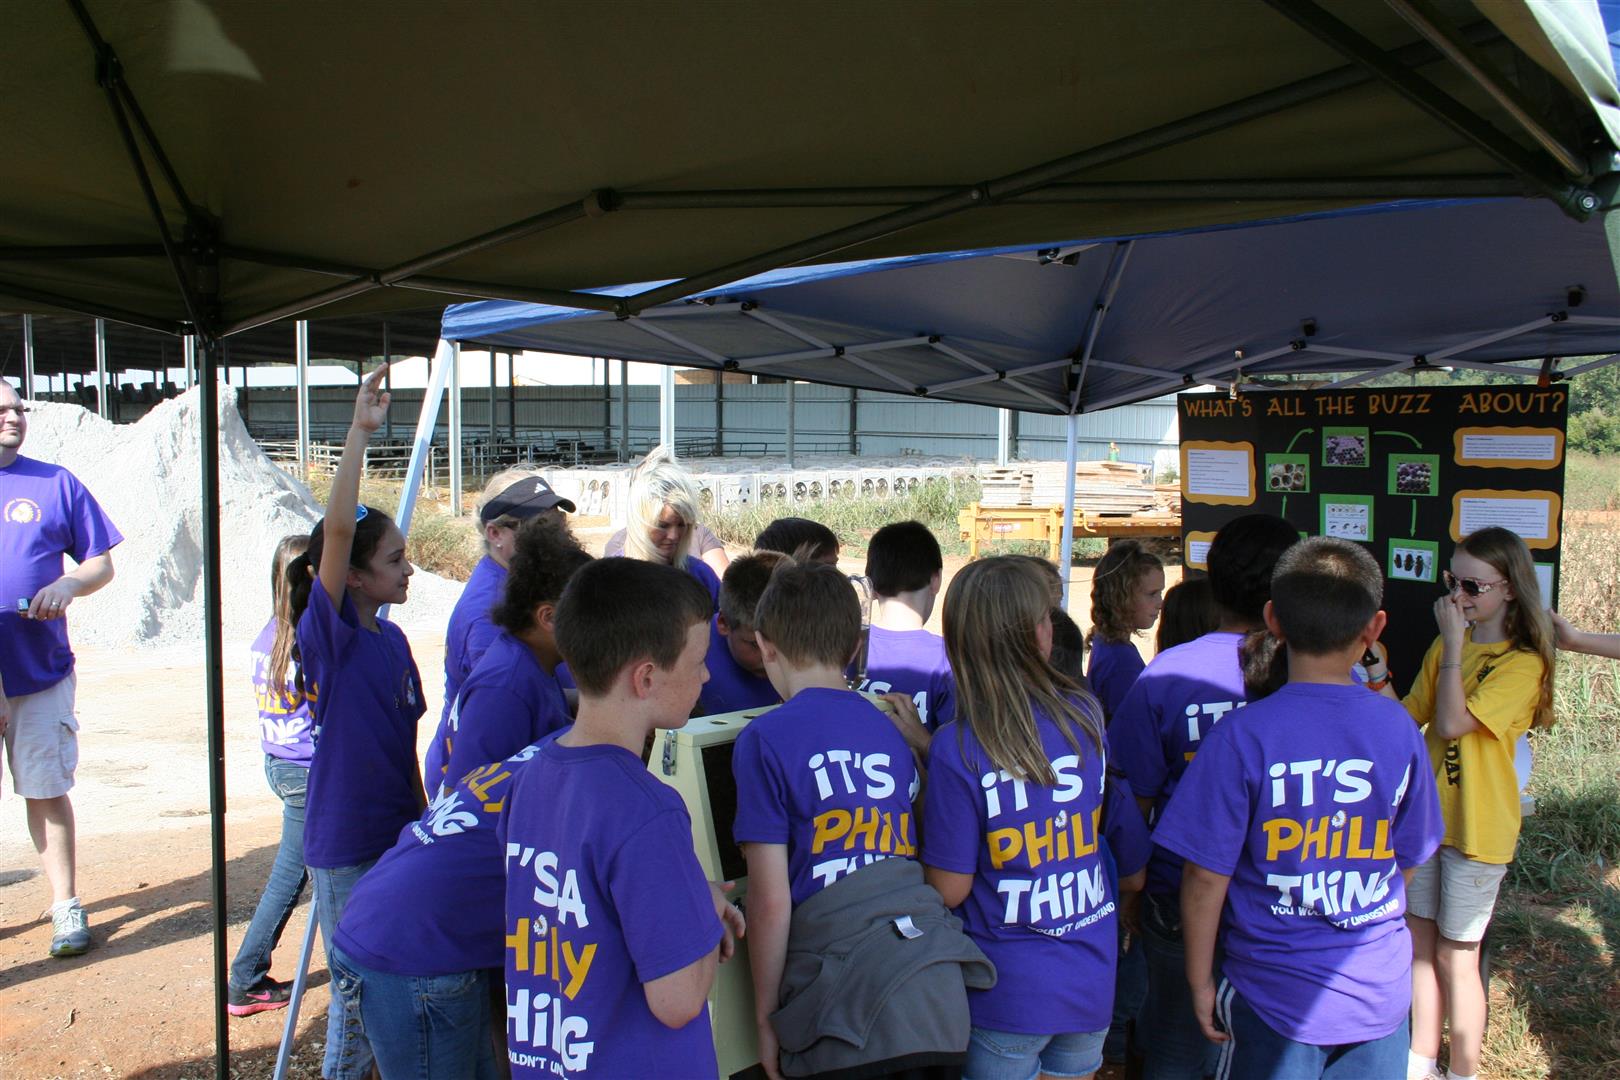
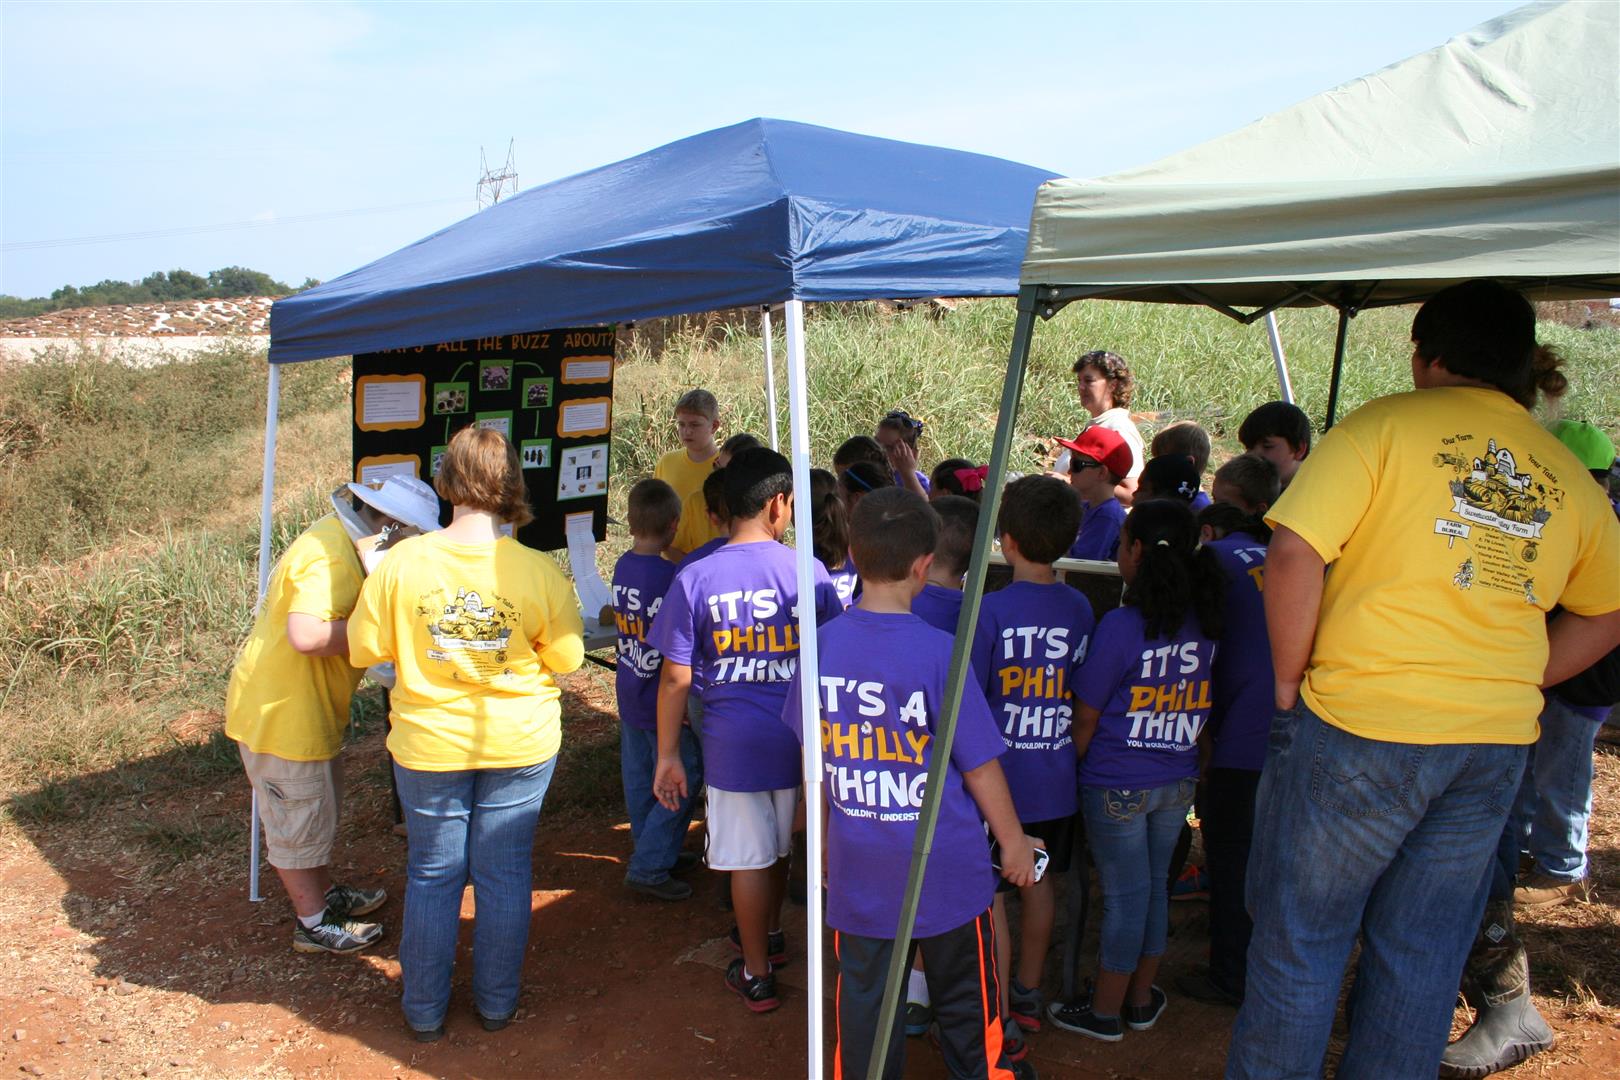
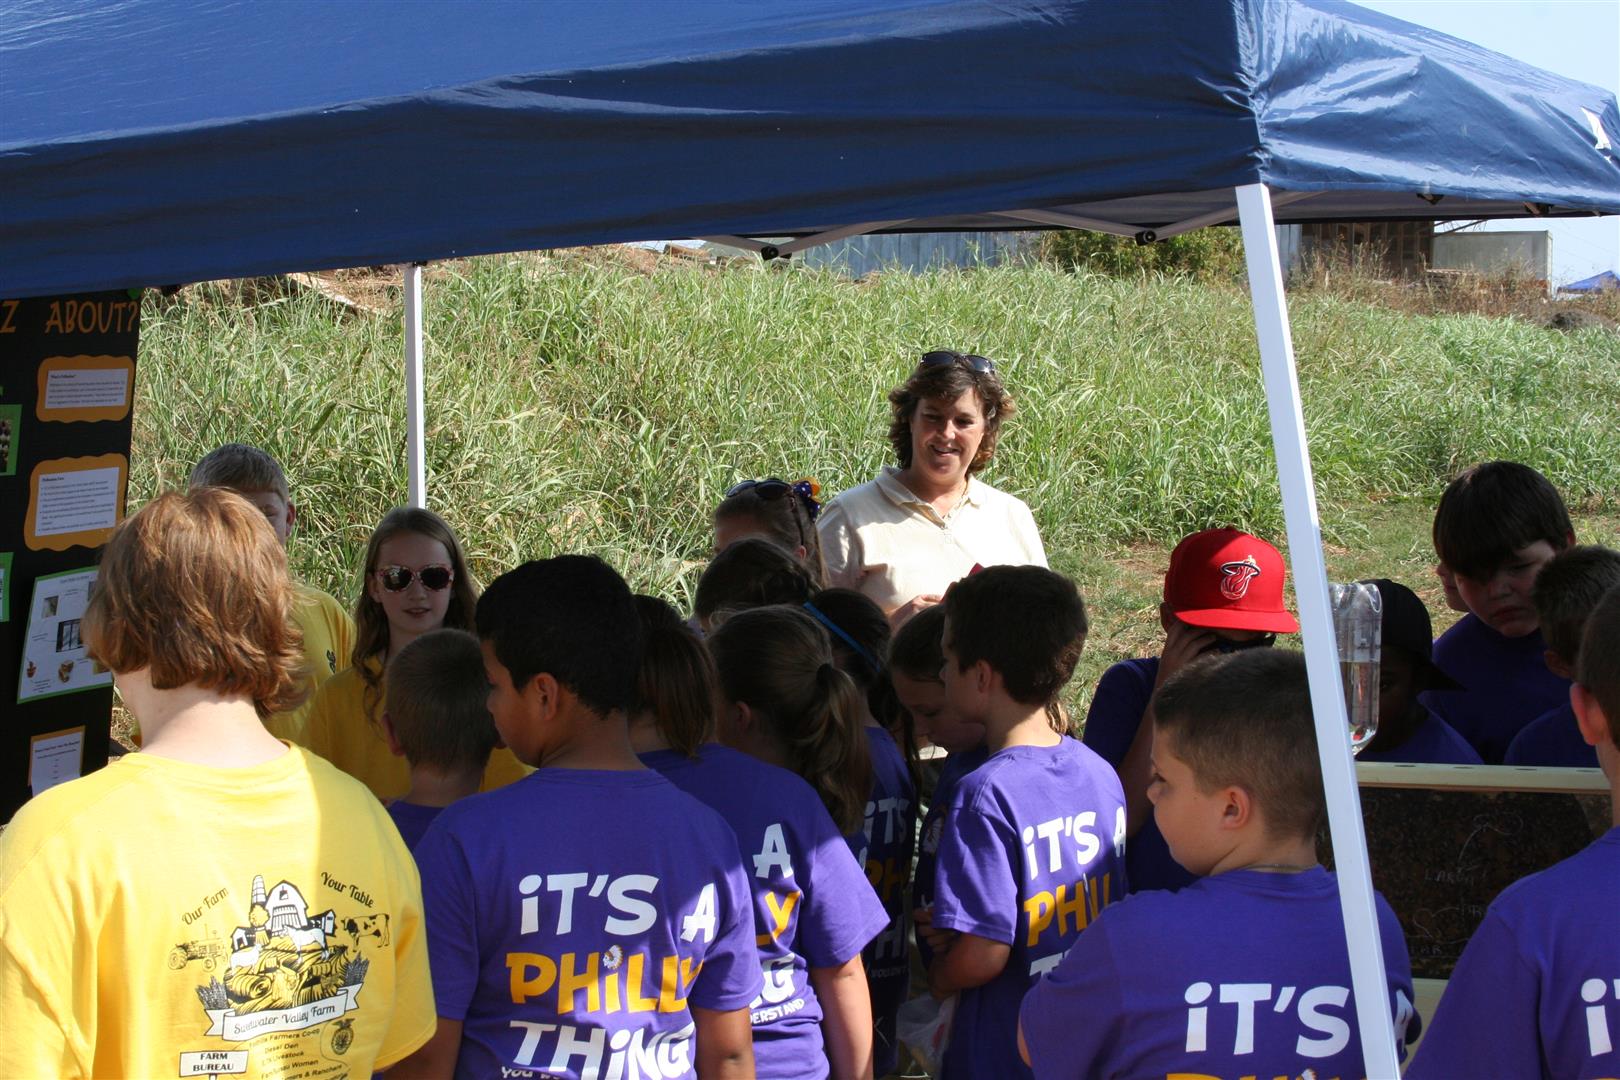
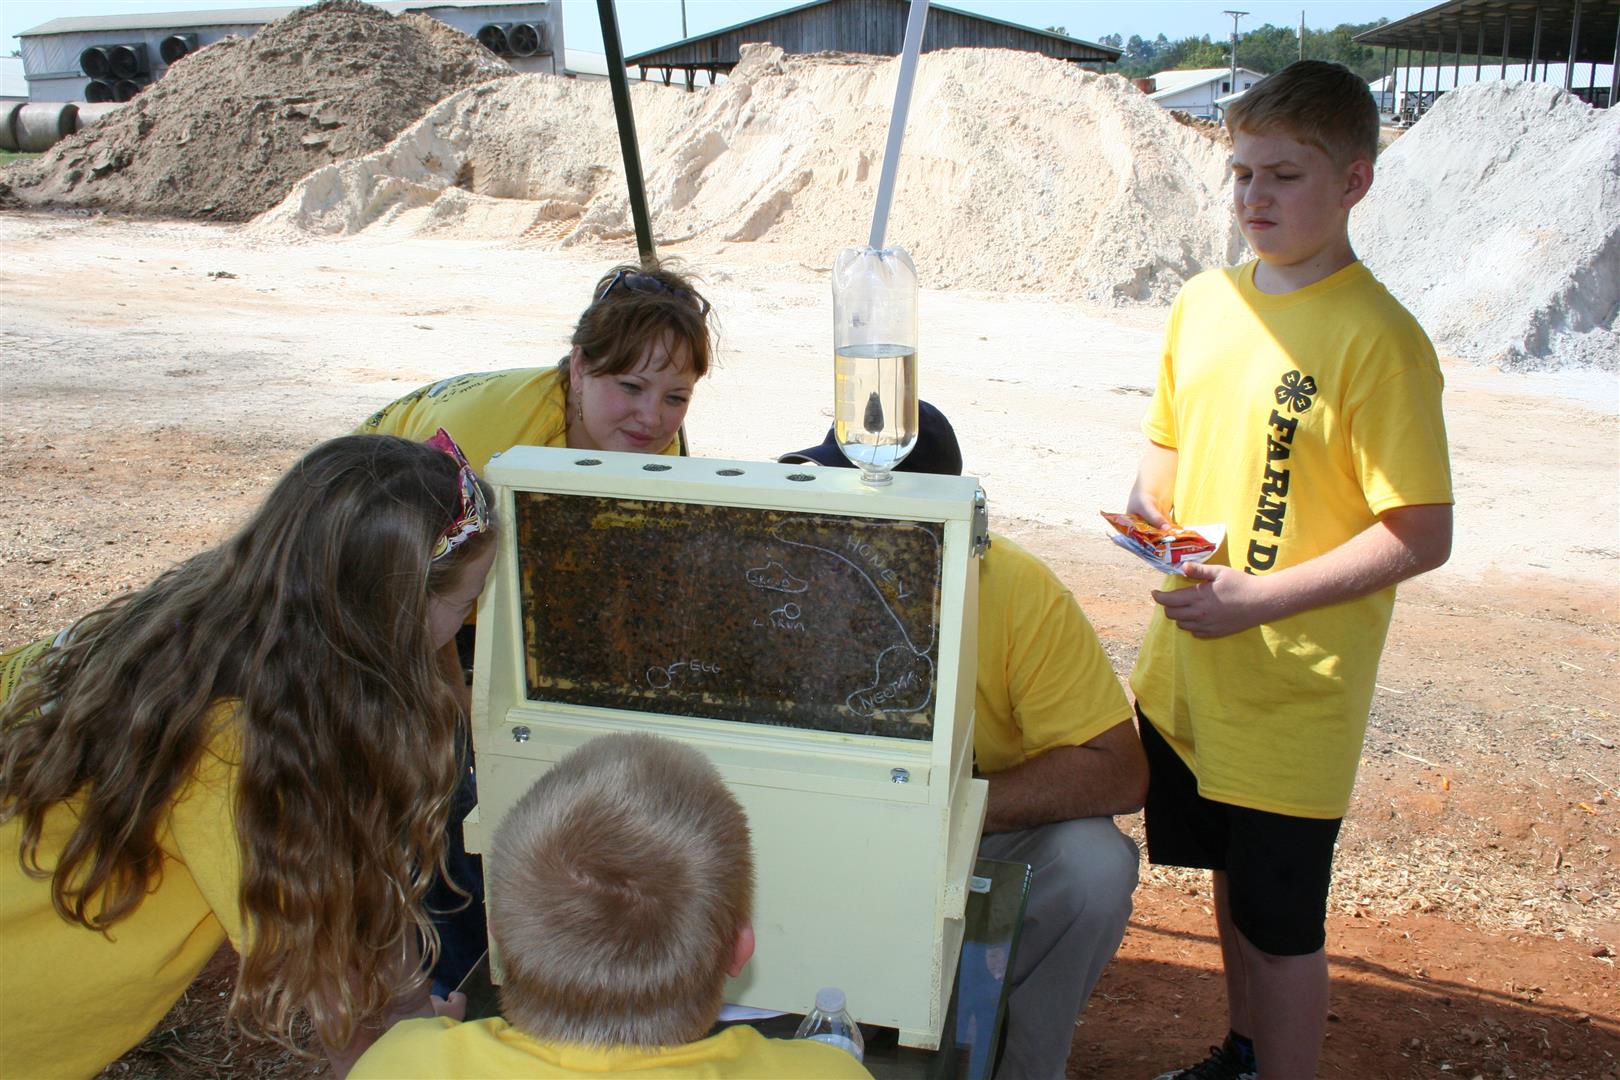
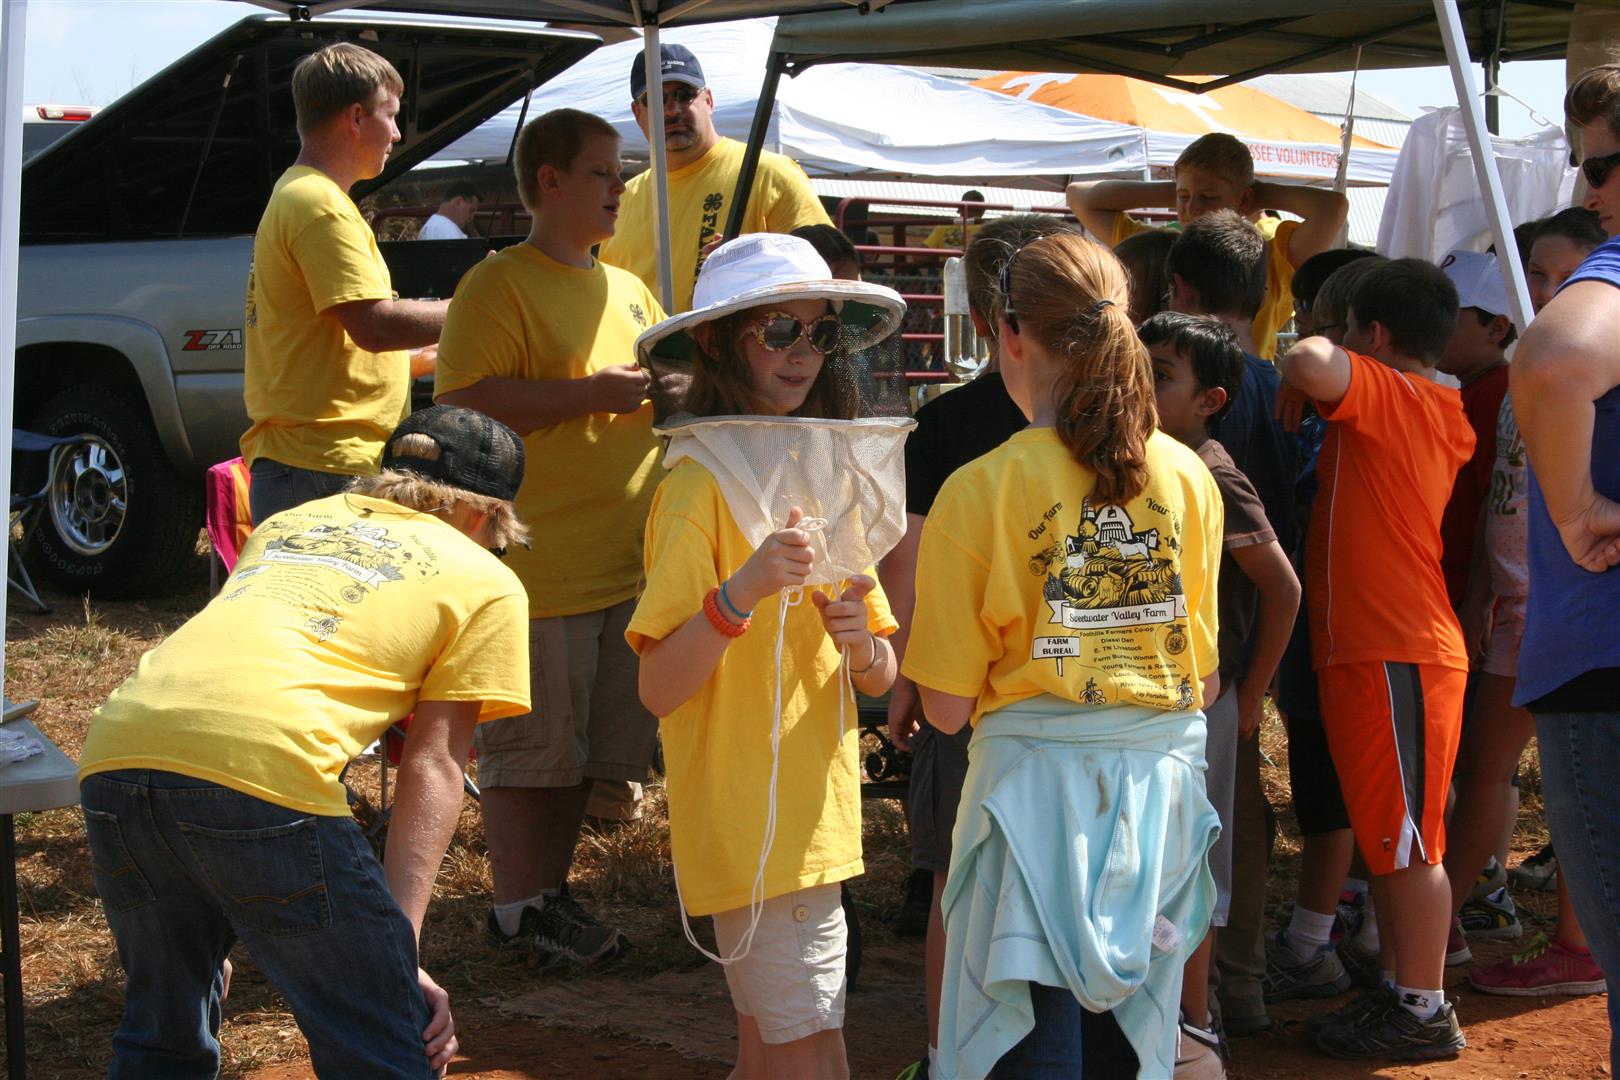
The Loudon County 4-H office holds an annual “Farm Day” in which they bring 4th graders from all over the county to Sweetwater Valley Farm for a day of exhibits and learning. This year, I was asked to be an exhibitor for beekeeping and wow, what an experience!
I decided early on that I wanted to build an observation hive for the event and after it was finished, I performed a split from one of my hives and asked a friend of the family to foster them until they could return. I don’t think it was too much of a hardship for Angie, she’s pretty eager to get her own colony as soon as possible (thanks again Angie).
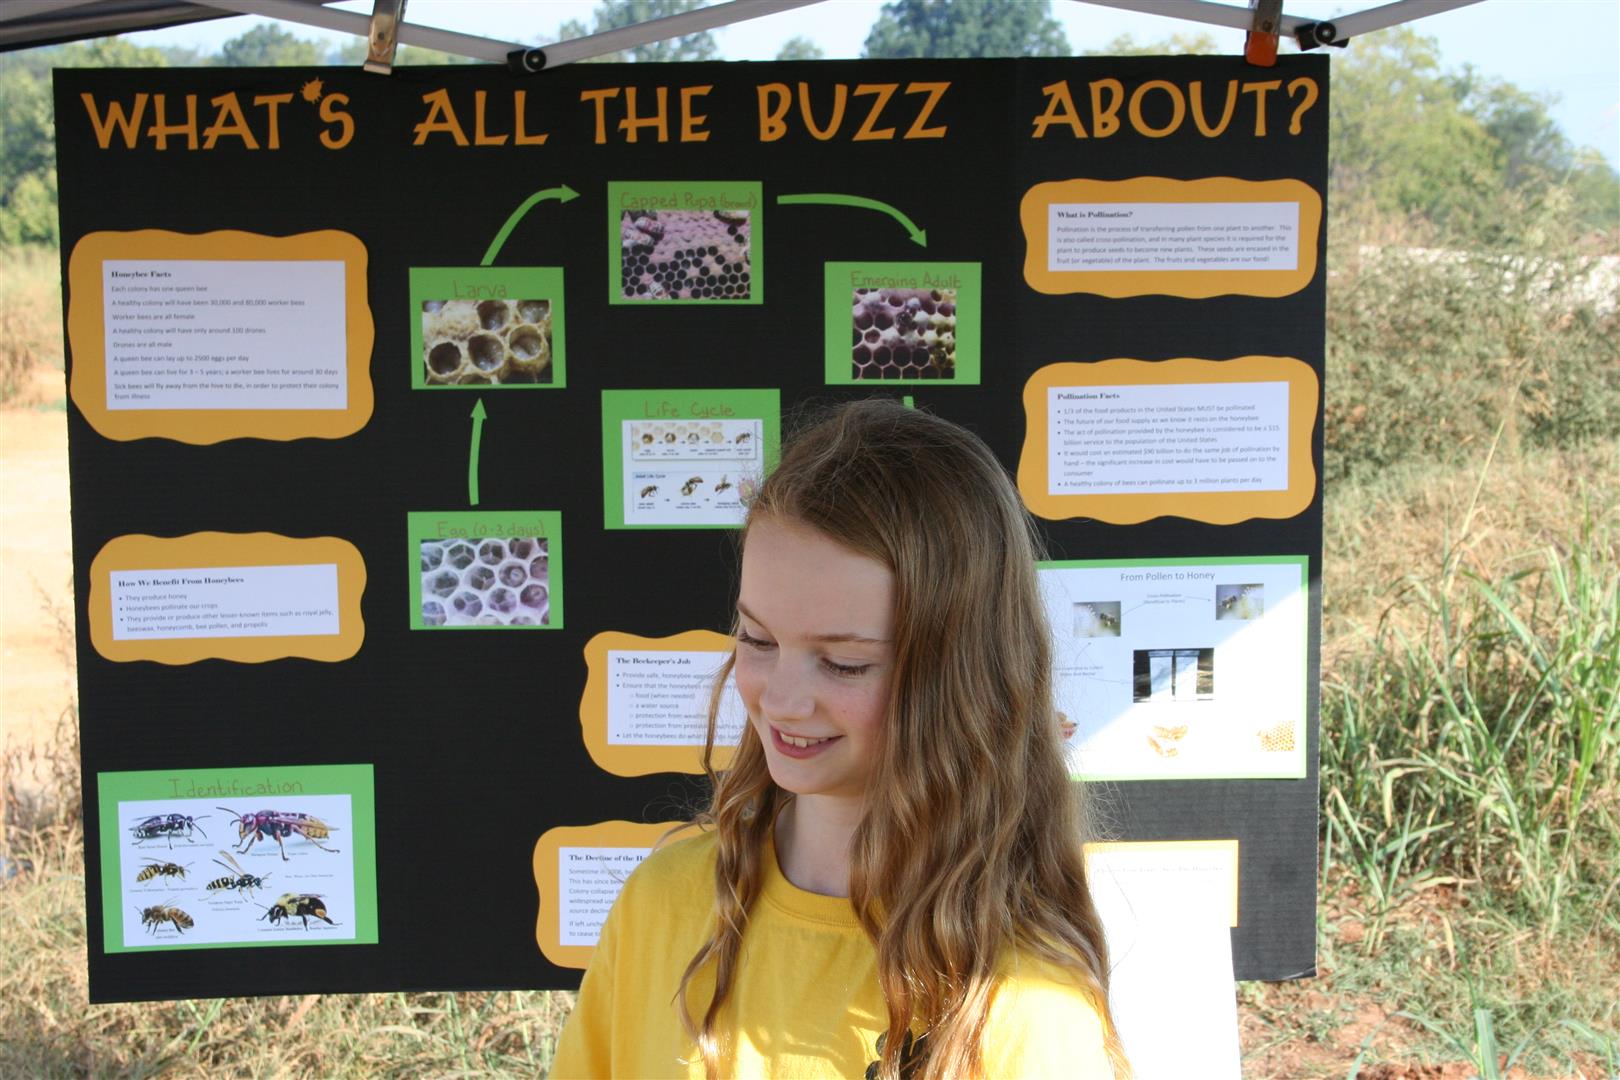
Melissa created a really great tri-fold board; we gathered up wax chunks, candles, protective gear, a smoker, the solar wax melter, an empty hive, a model hive, captured some hive beetles, gathered propolis and comb along with all kinds of interesting display stuff and headed down to the farm. At the event, I had three 4-H’ers (Emily, Robby, Eion) that really stole the show, they did an outstanding job all day long talking to students and teaching them about honey bees. We were told there were over 500 students – 27 classes, probably 20 students per plus parents, teachers, event staff and tons more – how great is that.
News Harold Article – http://news-herald.net/story/14836


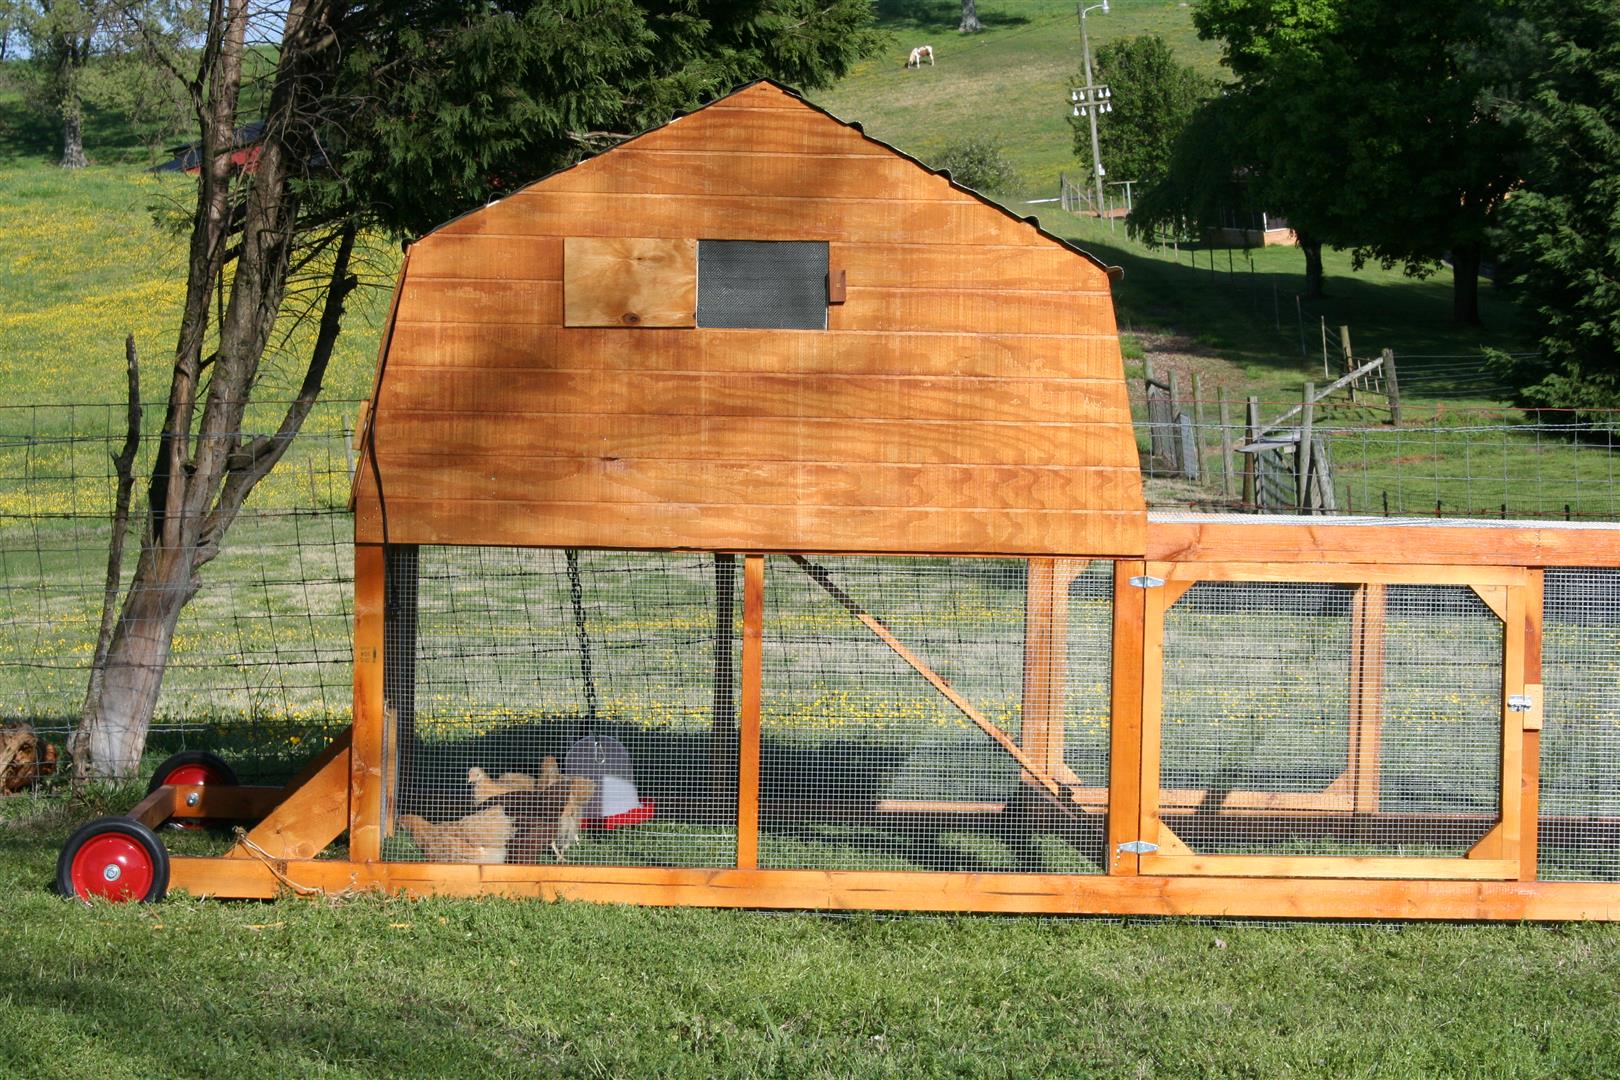
OK, so we built Chicken Tractor #1 and really liked it. While we waited for chicks to become available, I know right – we actually got it done before we needed it, we decided to list it on CL to see if anyone else would be interested it, as it turns out we met and sold it to a really nice couple.
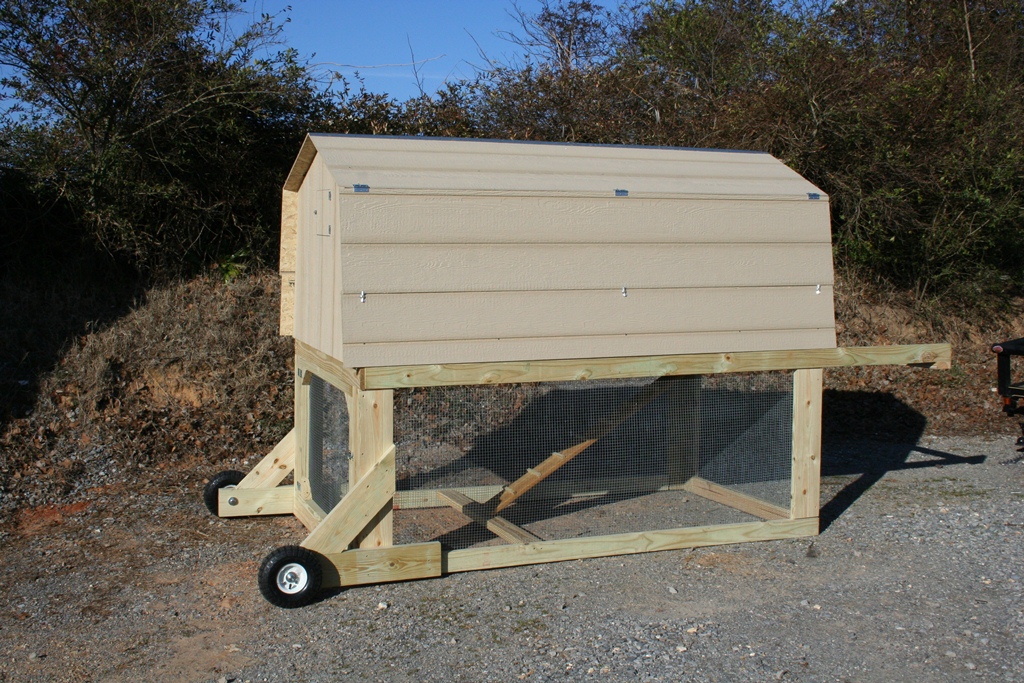
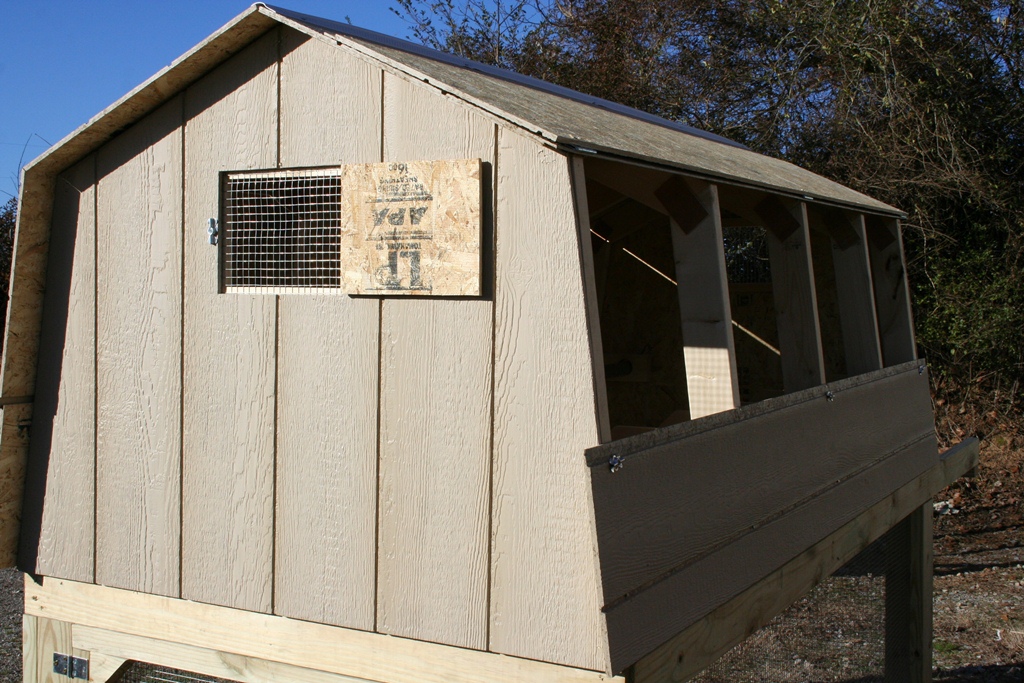
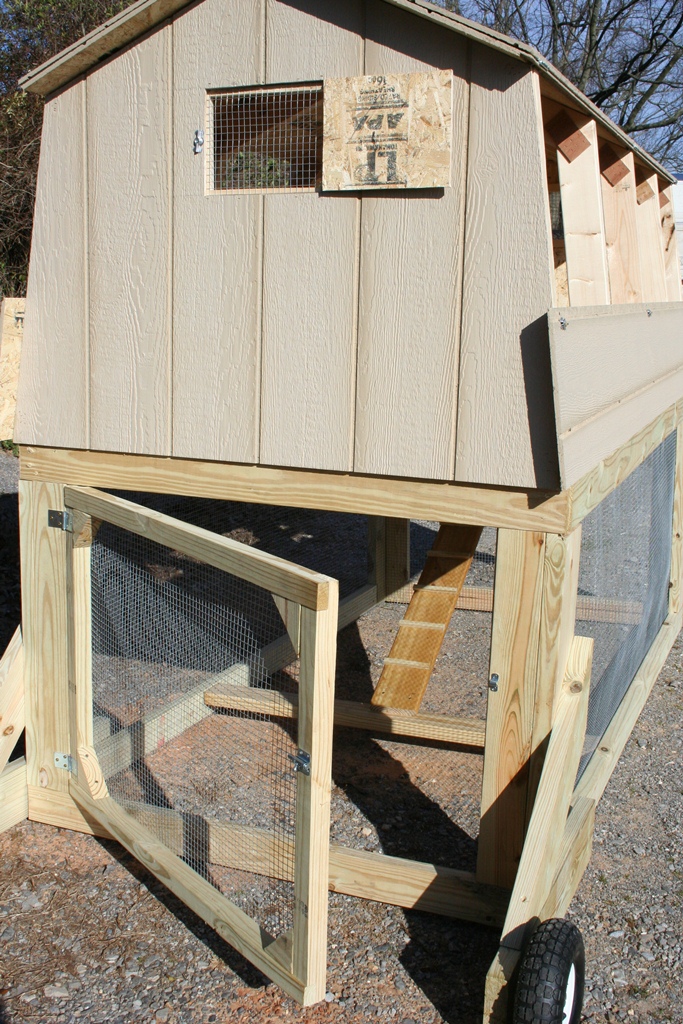
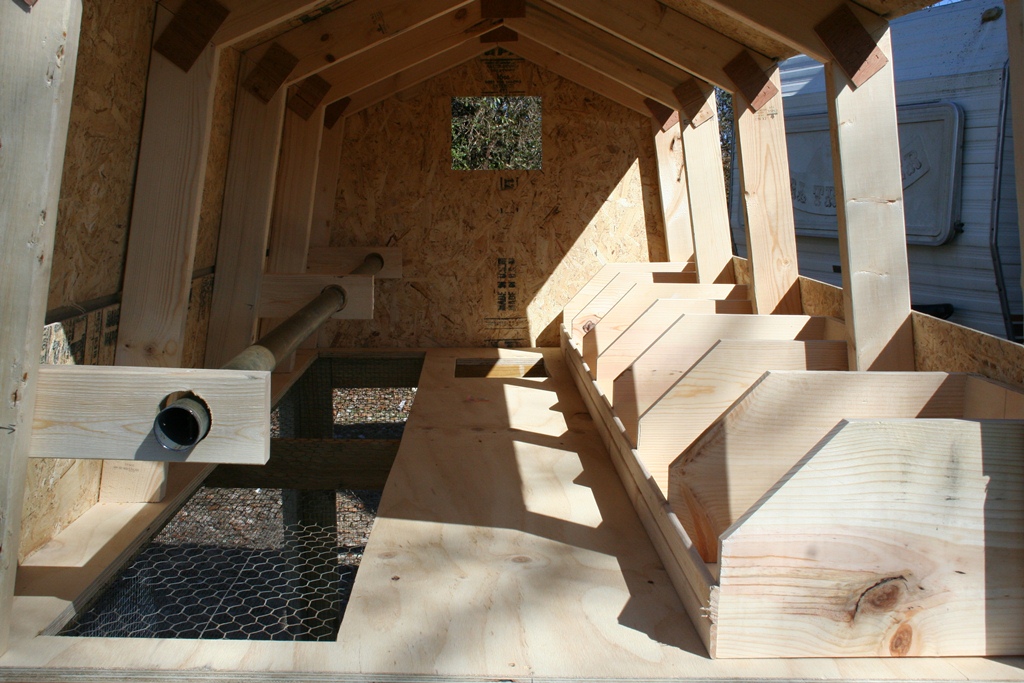
After we sold #1, we looked over the design again and decided to make the next one a little different. Here is what we came up with:
Details:
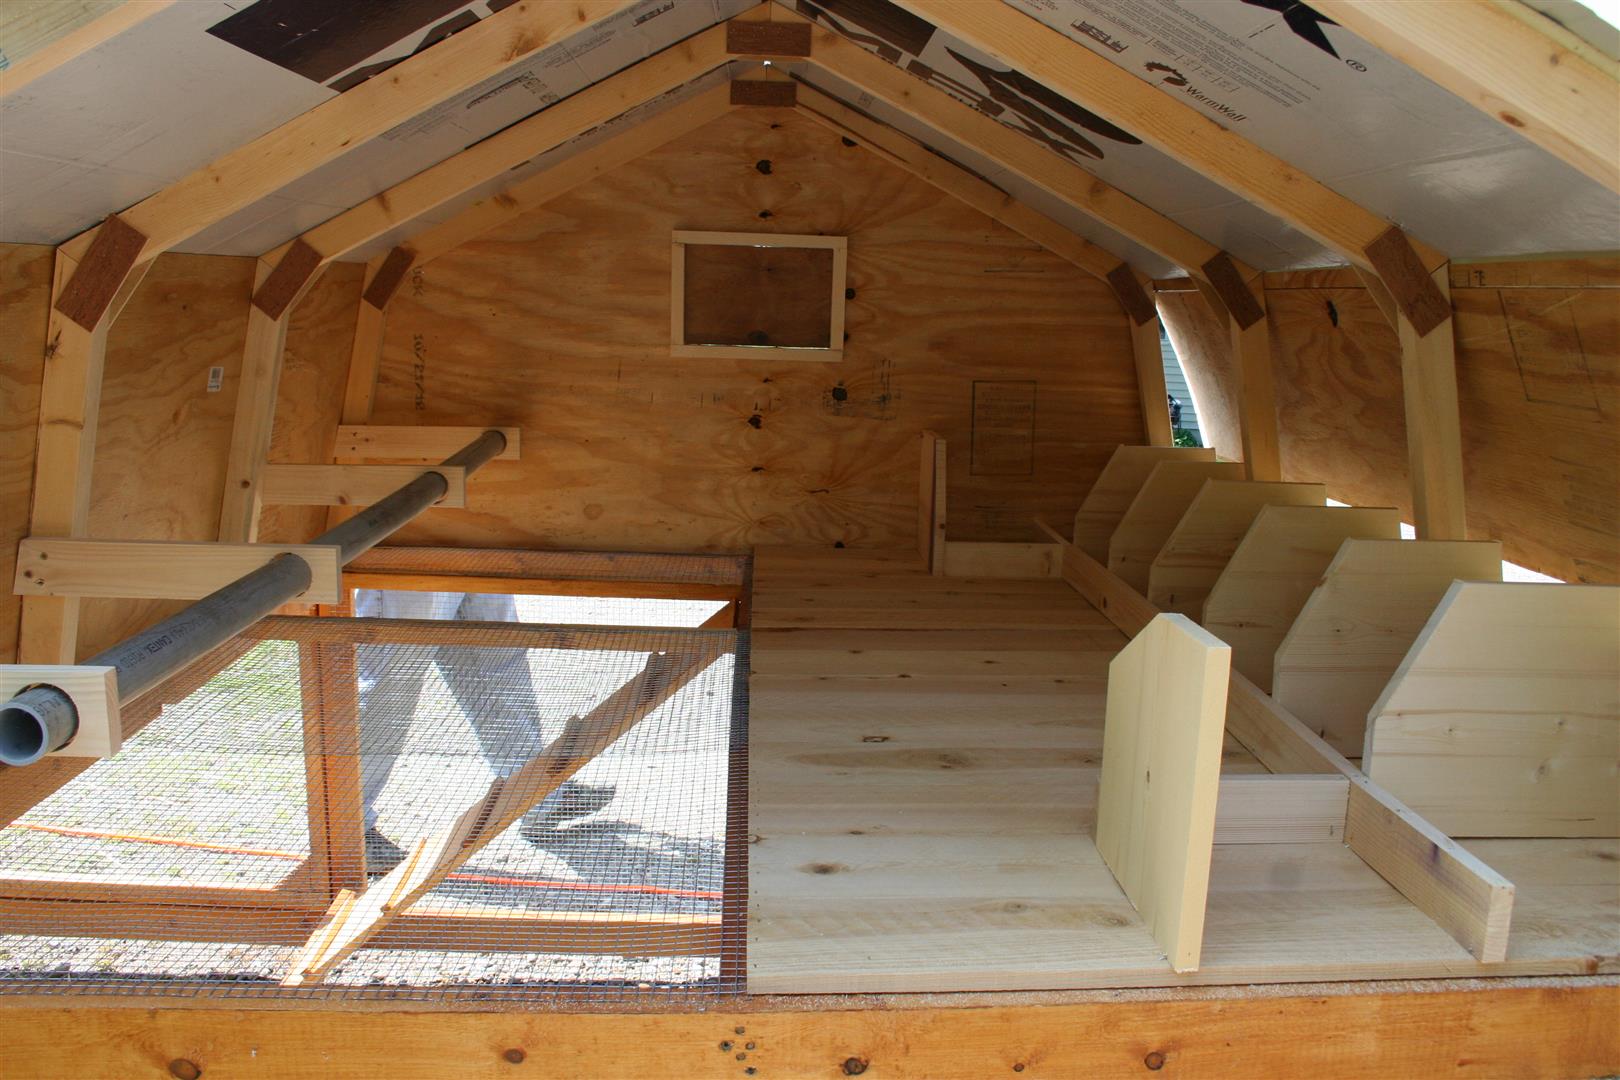
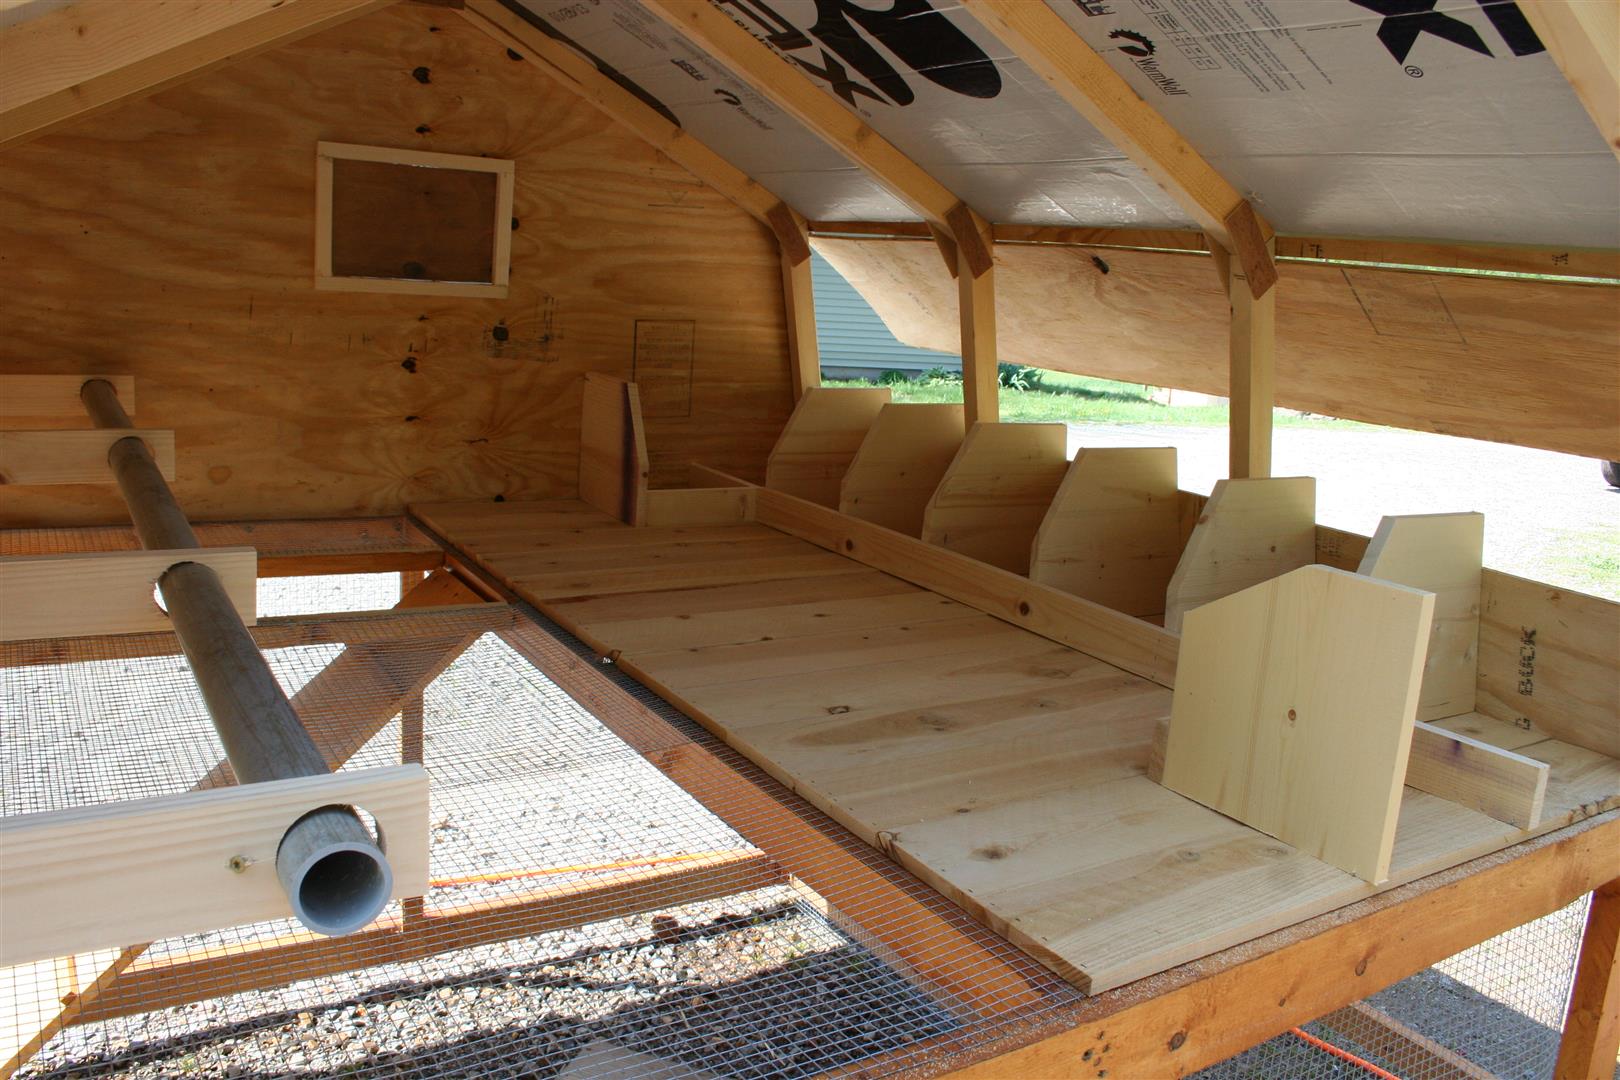
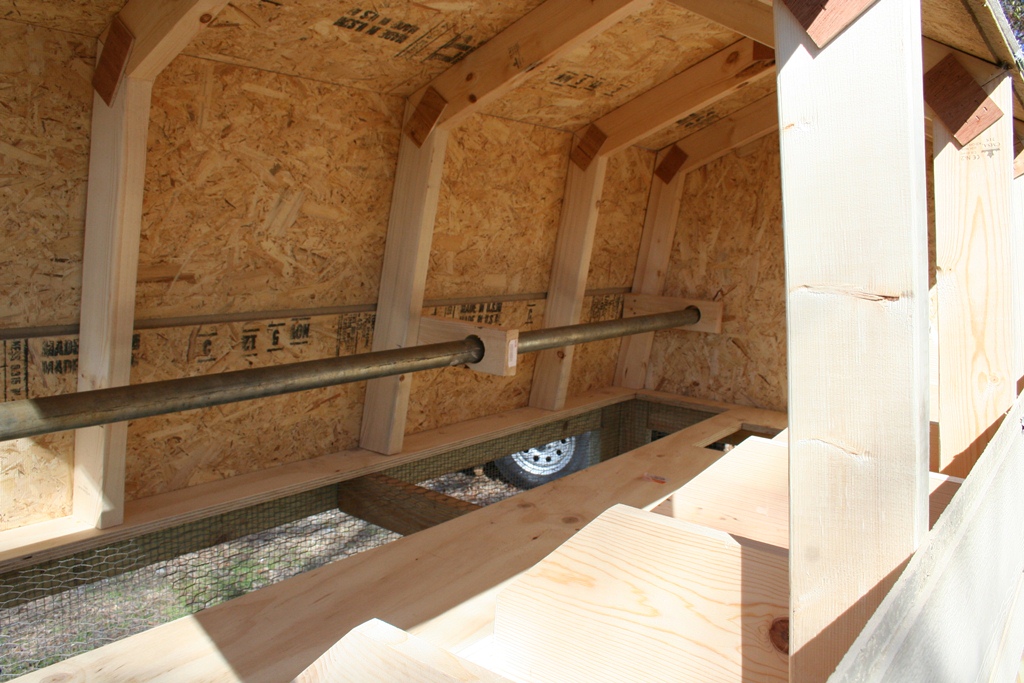
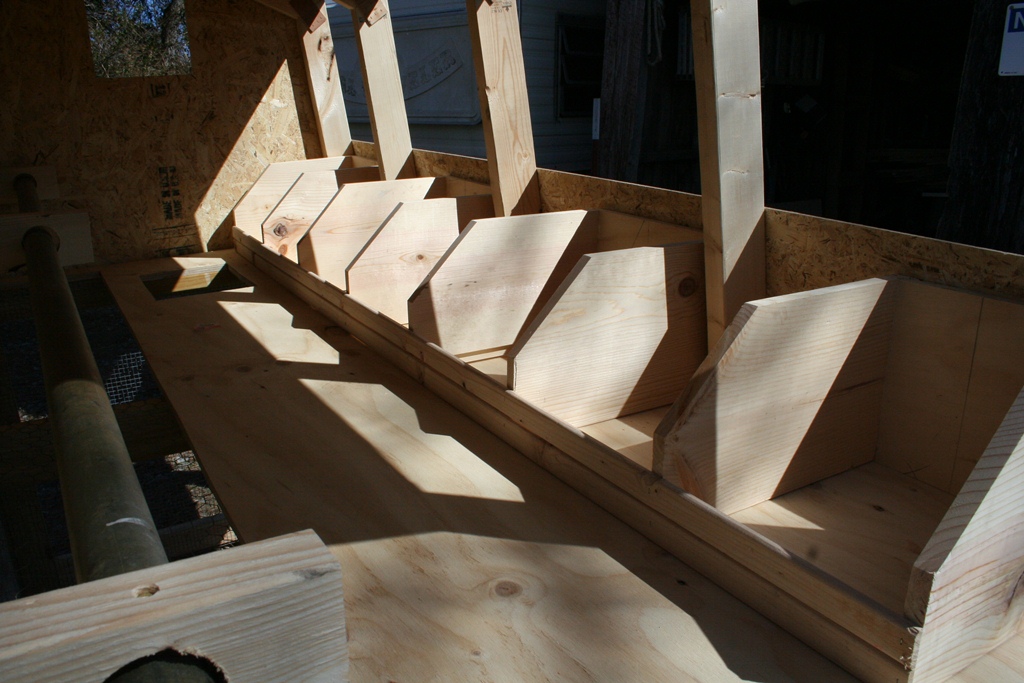
6′ x 14′ Chicken Coop/Tractor.
6′ x 6′ Coop features easy access from end via hinged side panels (coop itself is rotated 90 degrees)
6′ x 14′ Run features
A while back Melissa came to me wanting to try to raise chickens again…. ugh.
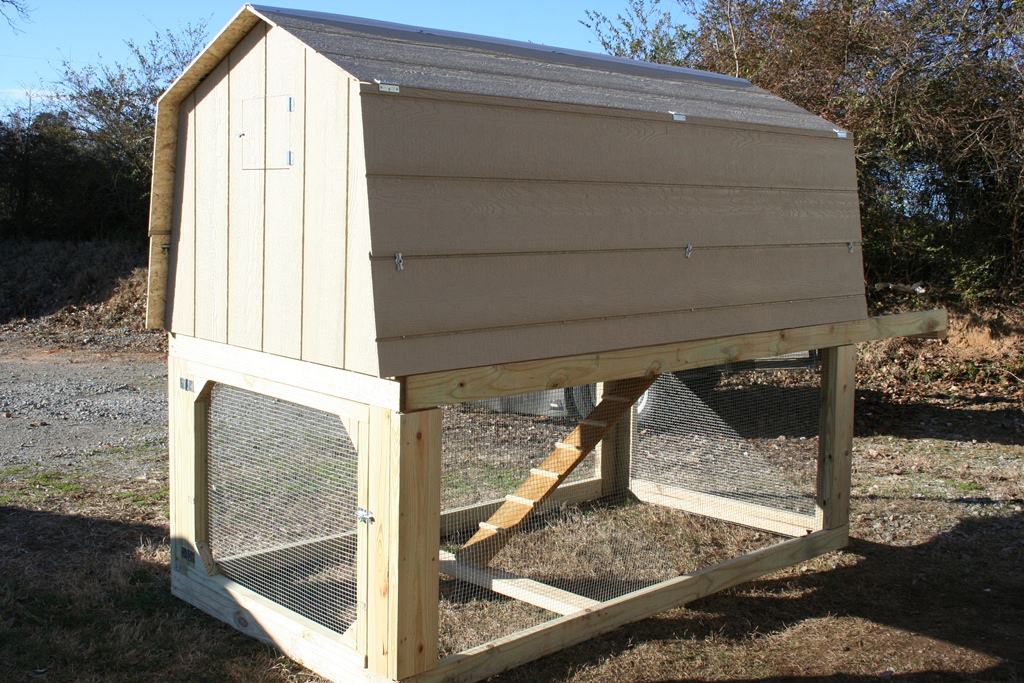
She did say that she had seen something called a chicken tractor that would make for a better experience with the chickens (wouldn’t take much to be honest). I studied the designs she found, put our own spin on it and built our first one… we liked it so much we decided to list it on CL to see if someone else might be interested. Turns out, there was. Be sure to check out Chicken Tractor #2
Details:
4′ x 8′ Chicken Coop/Tractor.
Coop features easy access from either side via hinged side panels
Run features
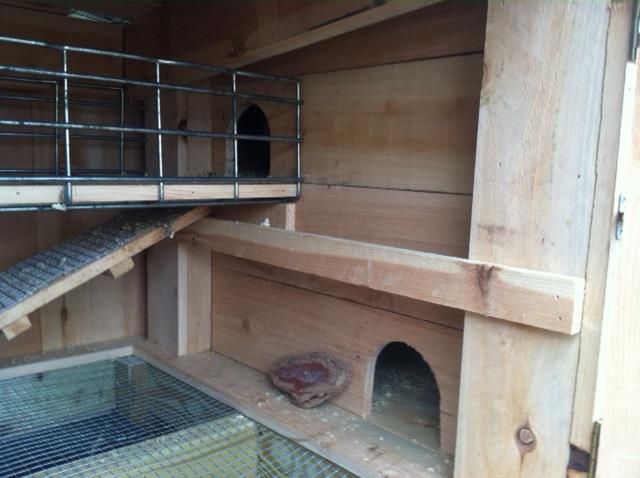
Built this new rabbit hutch for the girl’s rabbits.
Left side double doors and elevated mezzanine, black “Poop Deck”, right upper is Bedrooms, bins below slide in like drawers for food and bedding.
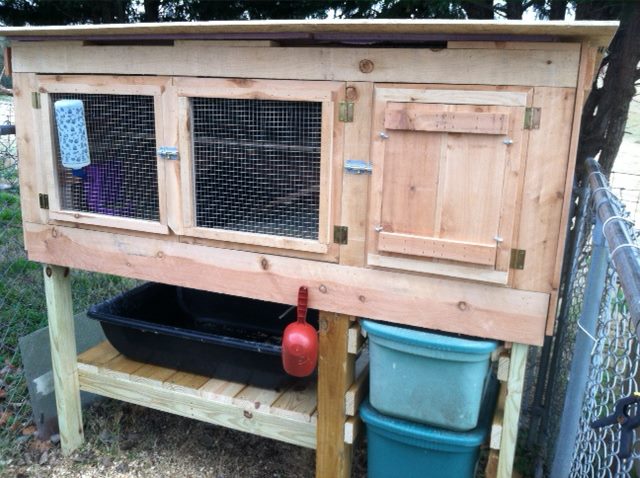
Removable shutter for inclement weather
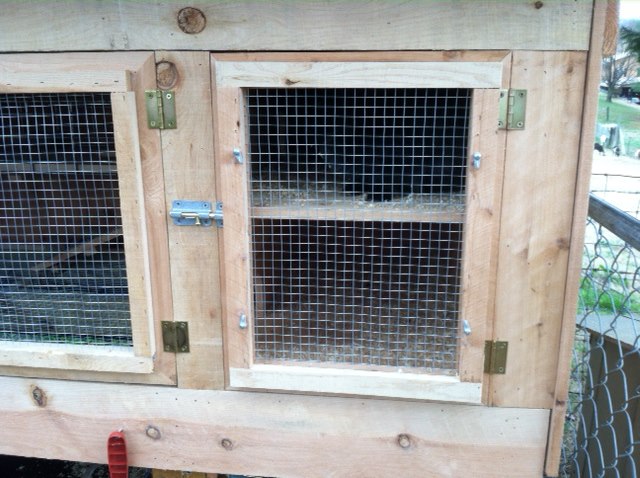
elevated mezzanine
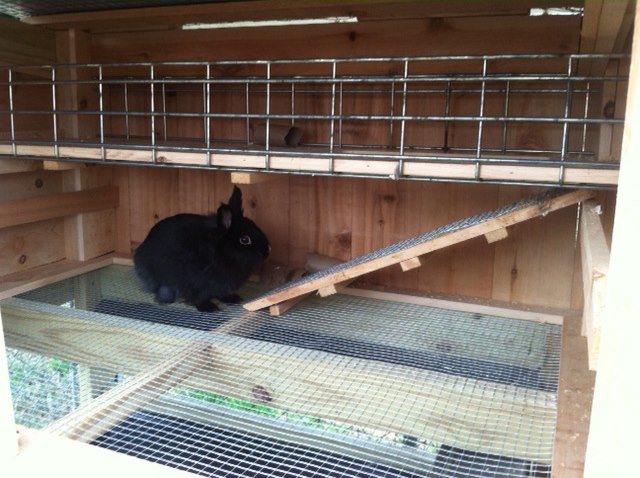
Upper and lower bedroom entrances
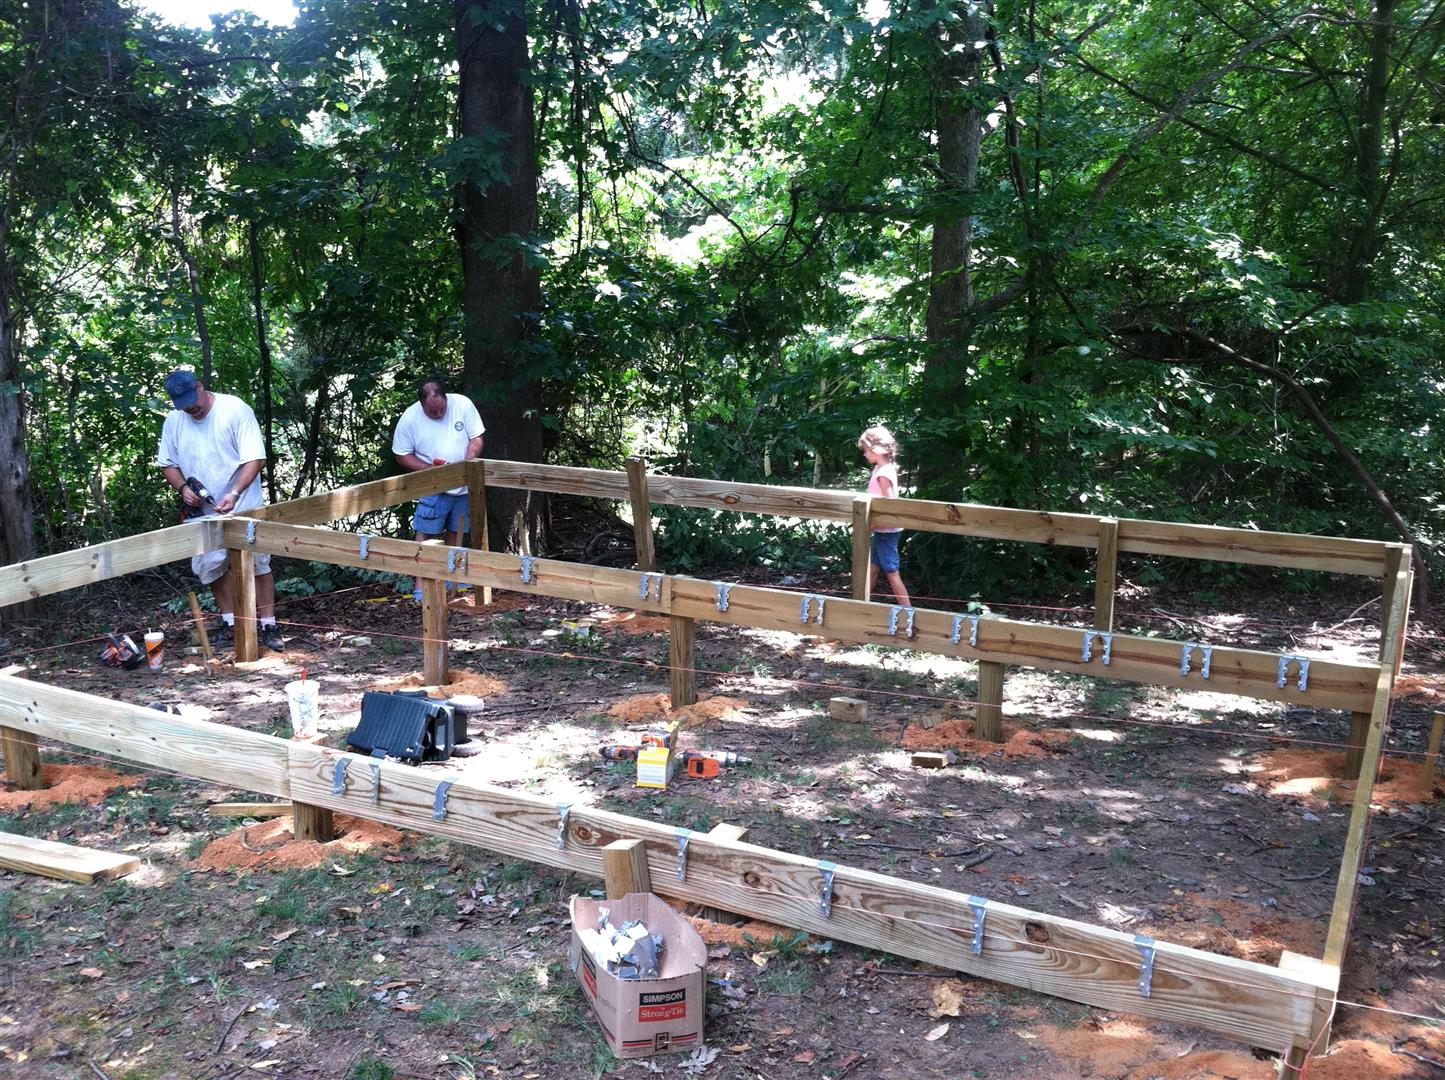
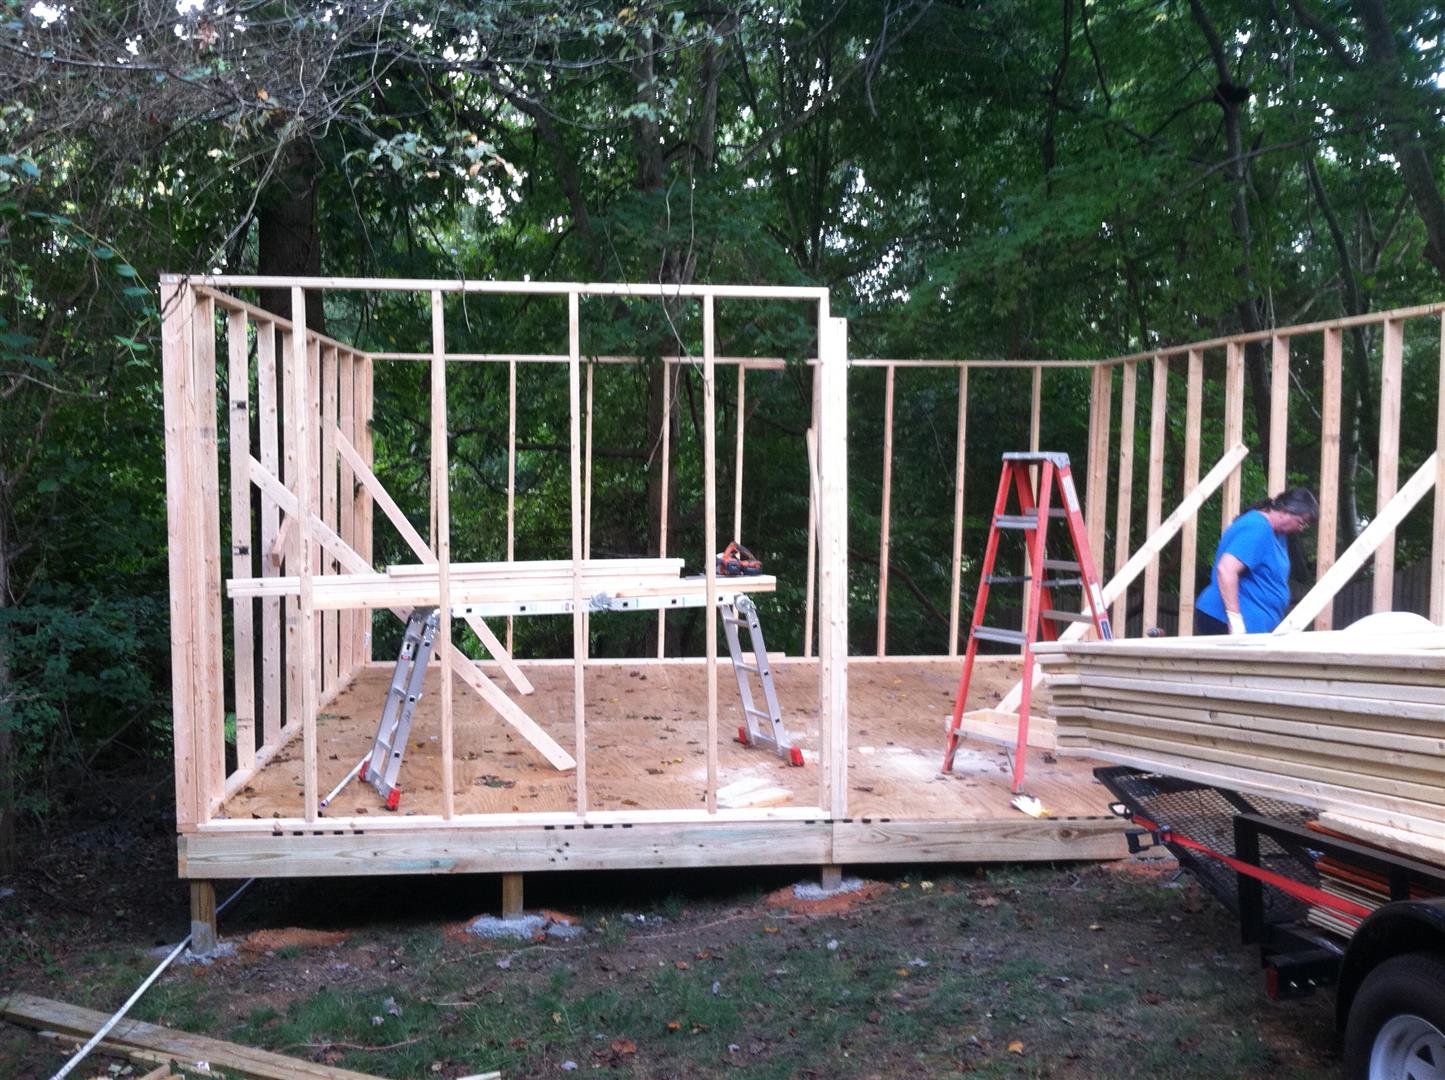
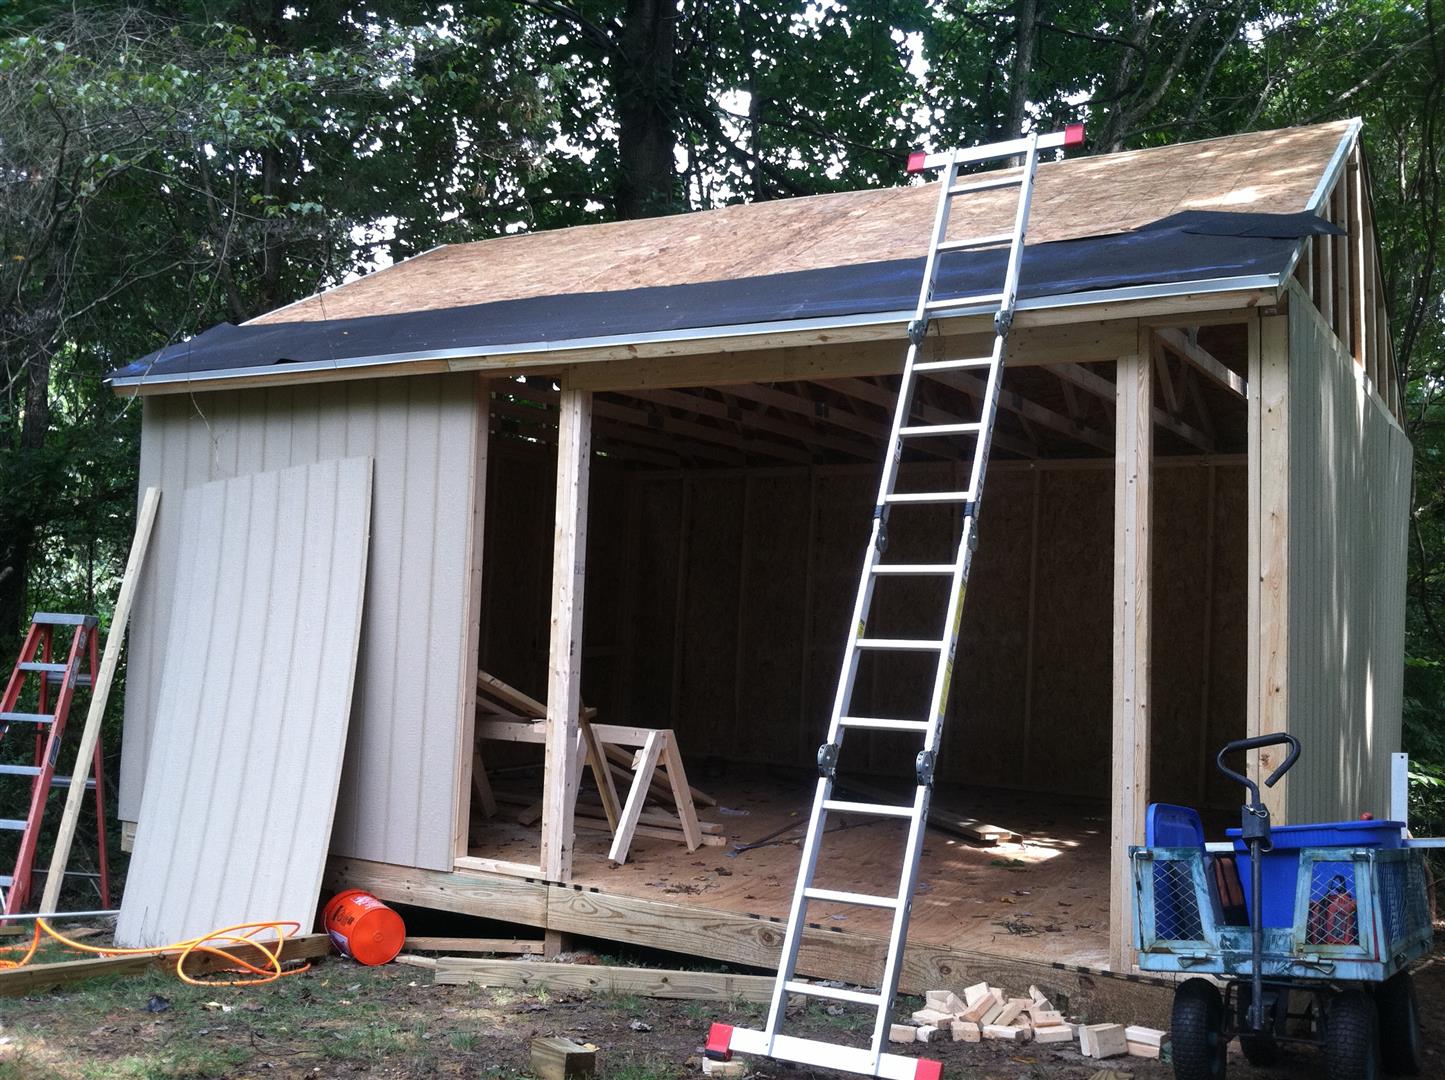
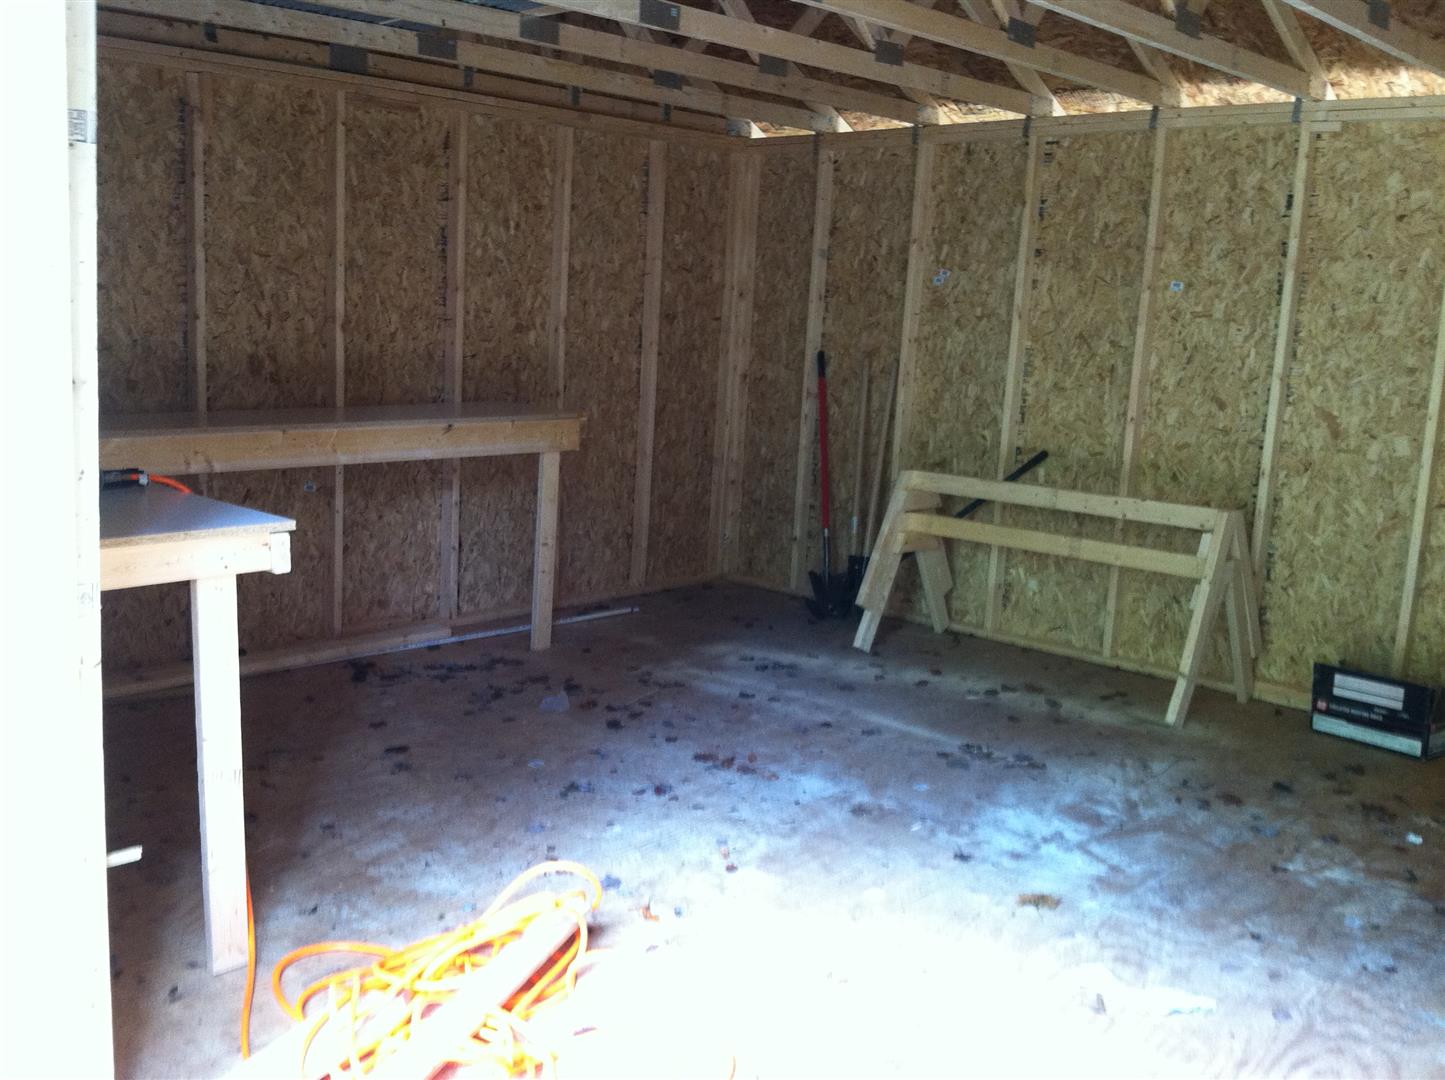
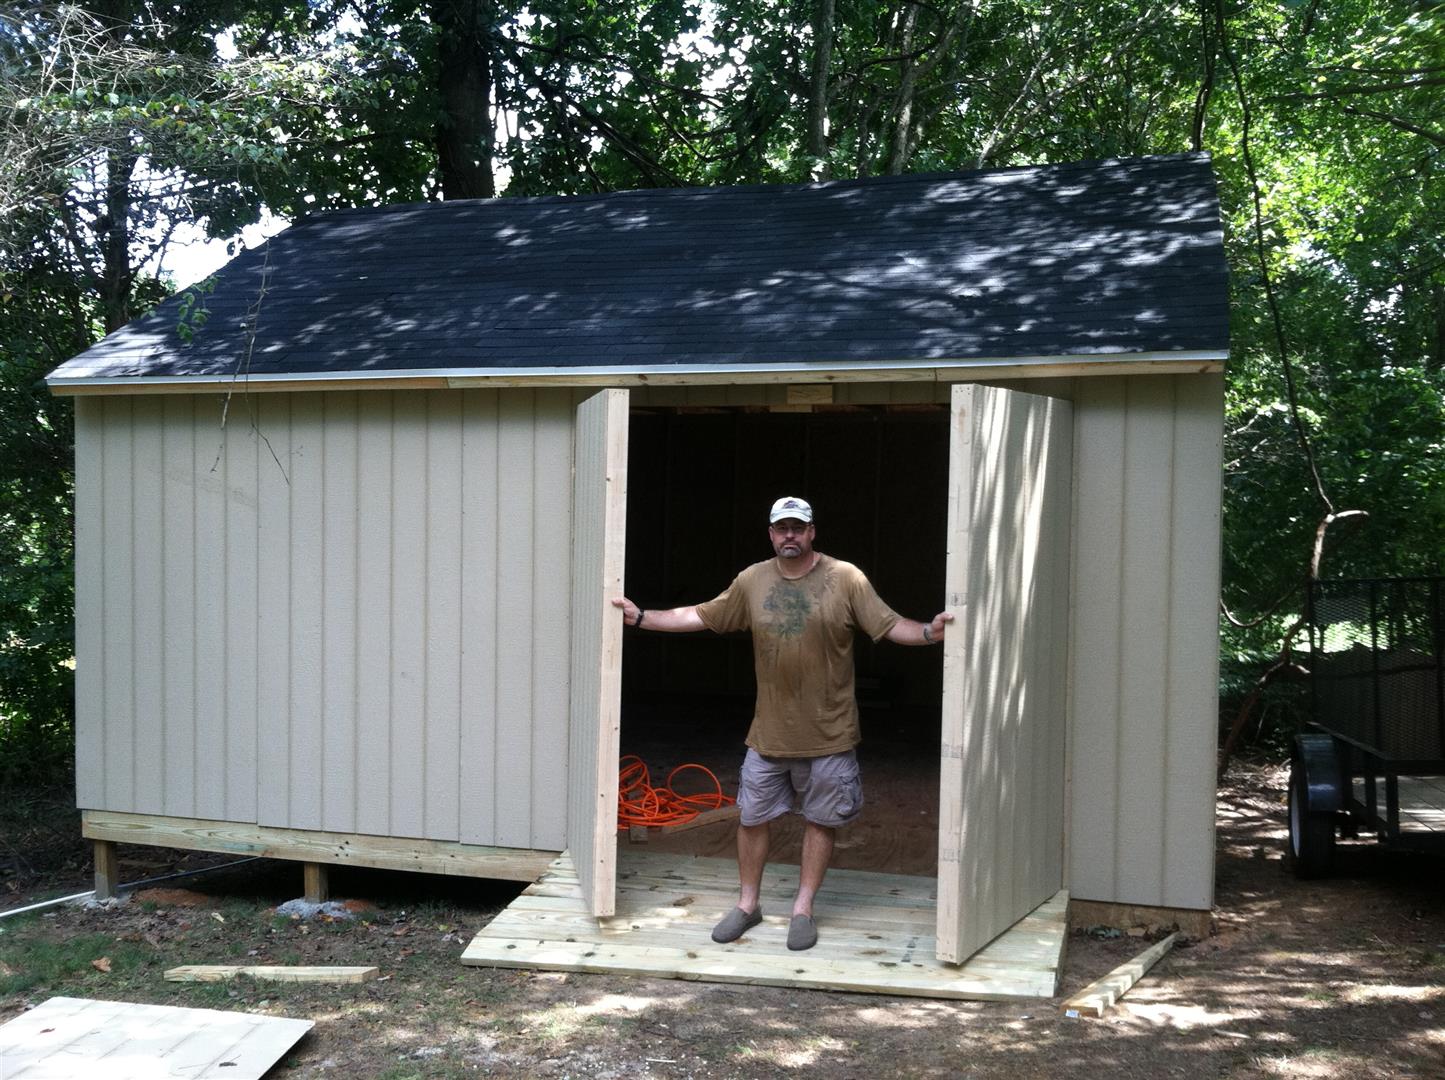
Over the summer we got a call from dad, he wanted a new shed and well, who can blame him. So we all grabbed some tools, jumped into the truck and went to see Nana and Papa for a couple days for some hard work, good company, and seafood… then we built a 16′ x 24′ elevated shed for him complete with power, lights, and a compressed air line from the garage…
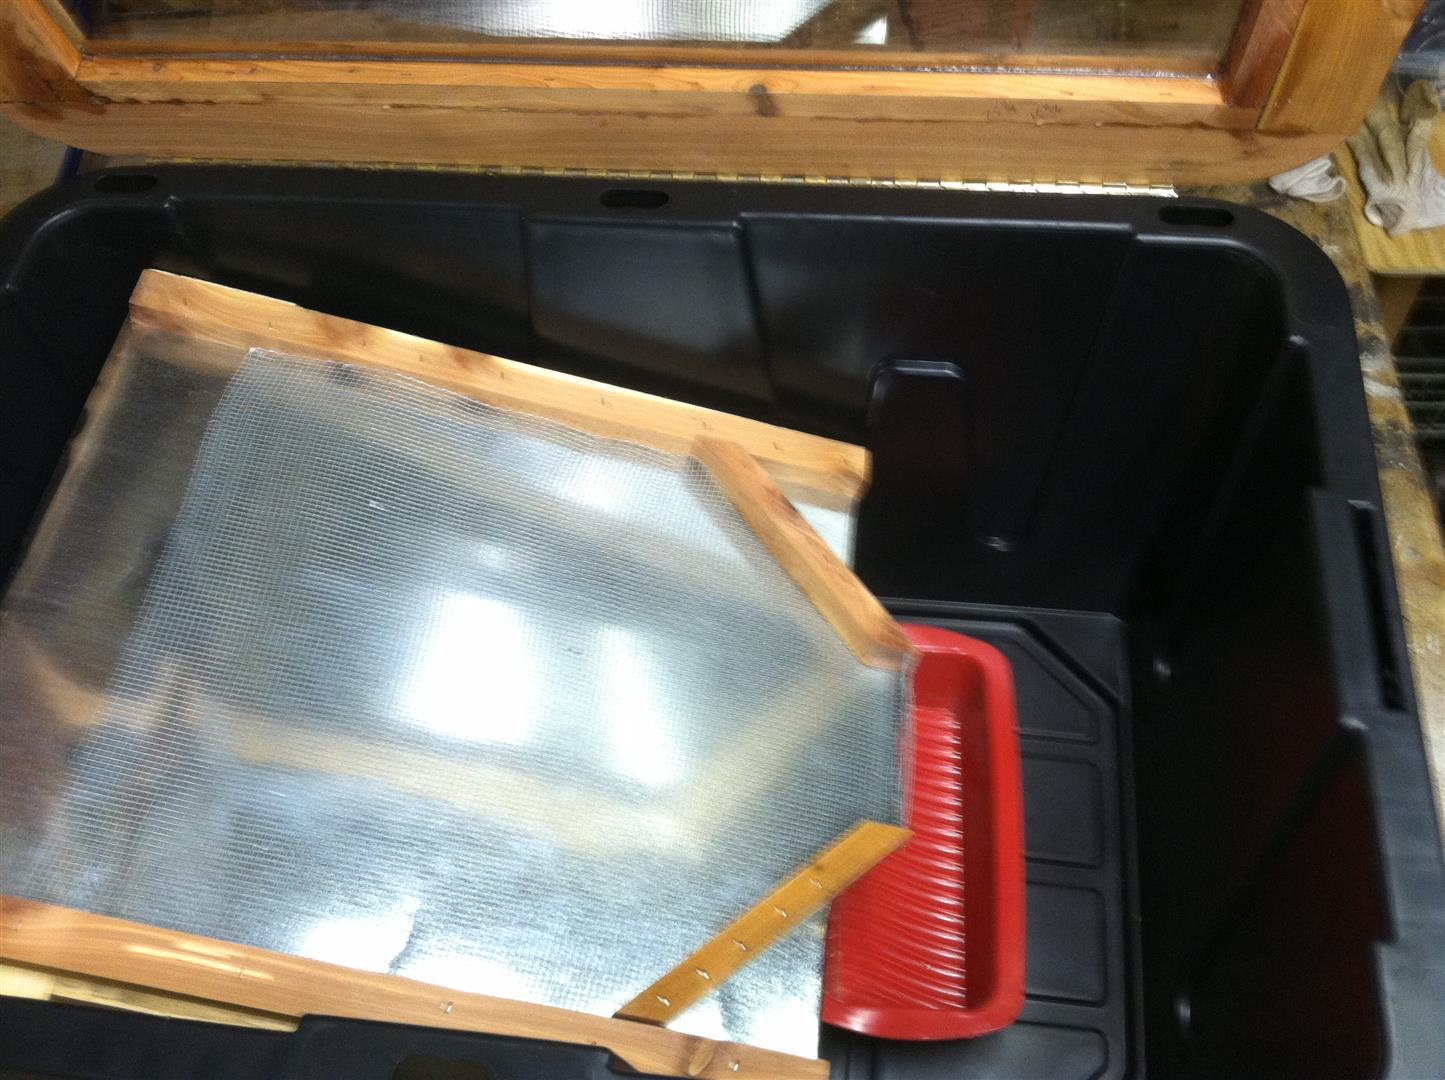
So we’ve got some friends of the family and Al is a long time beekeeper with a pretty cool take on a solar wax melter using a plastic bin. I had looked over a few designs for wooden ones and such, then decided on a blend of materials for a model very similar to Al’s. Thanks Al.
Basic Materials
Semi-Finished Product
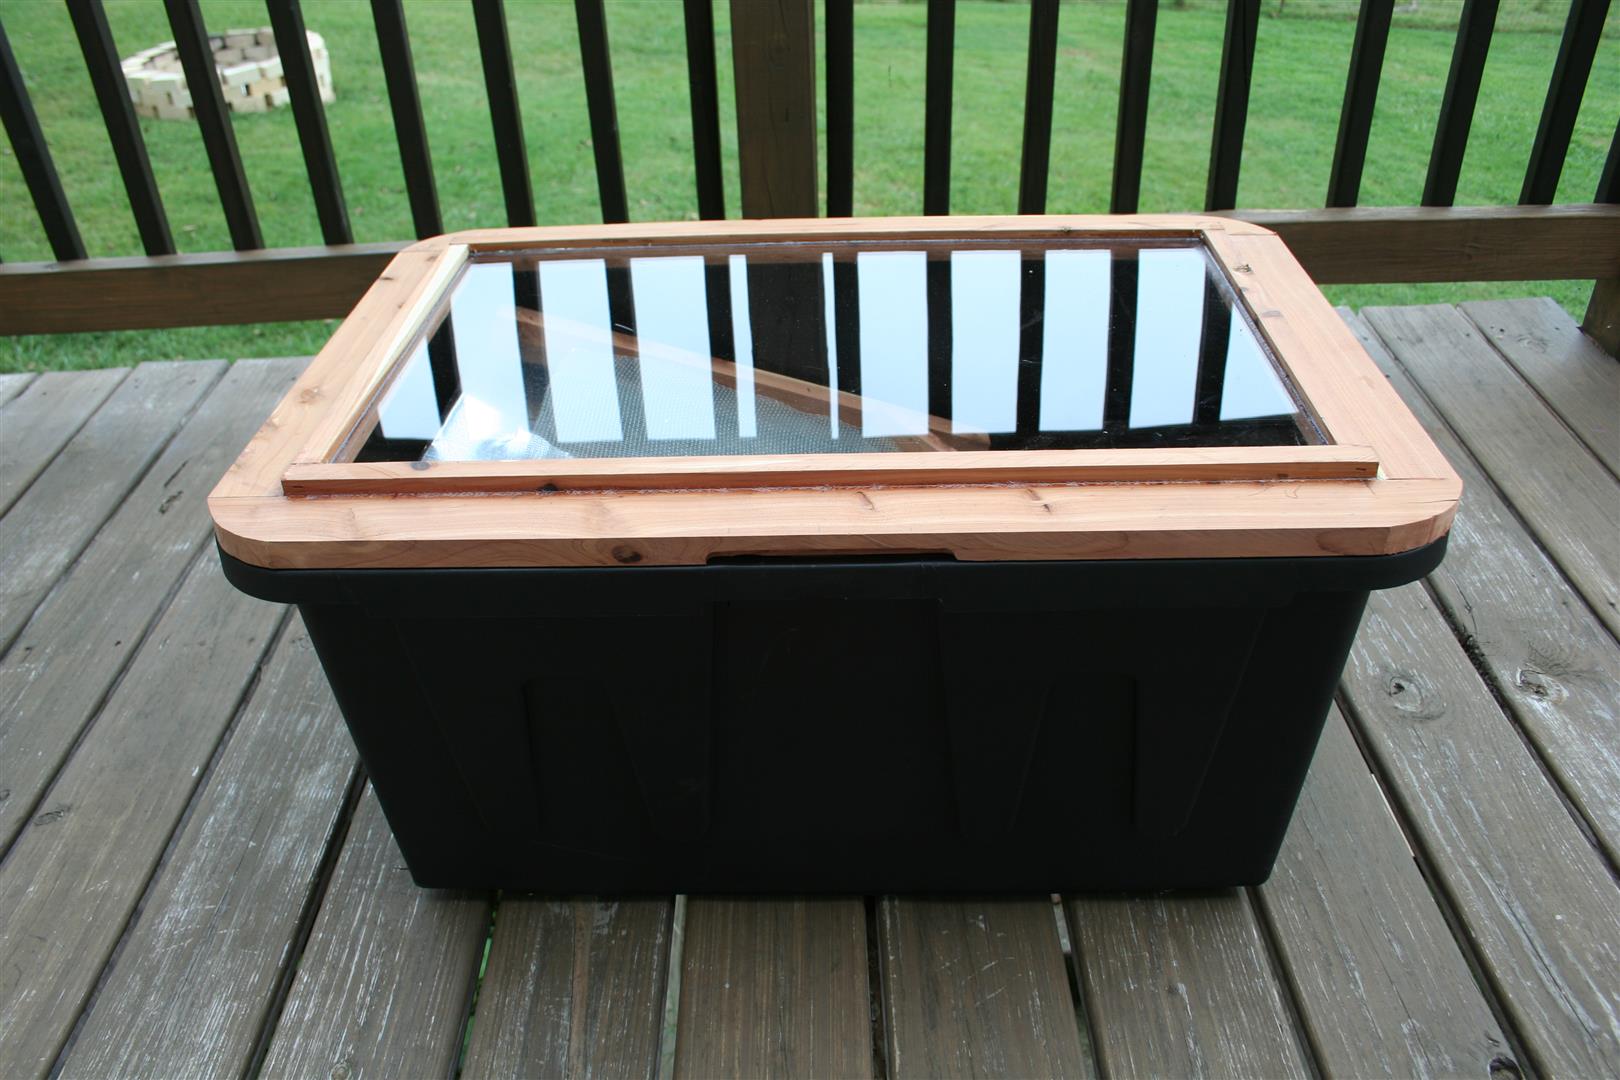
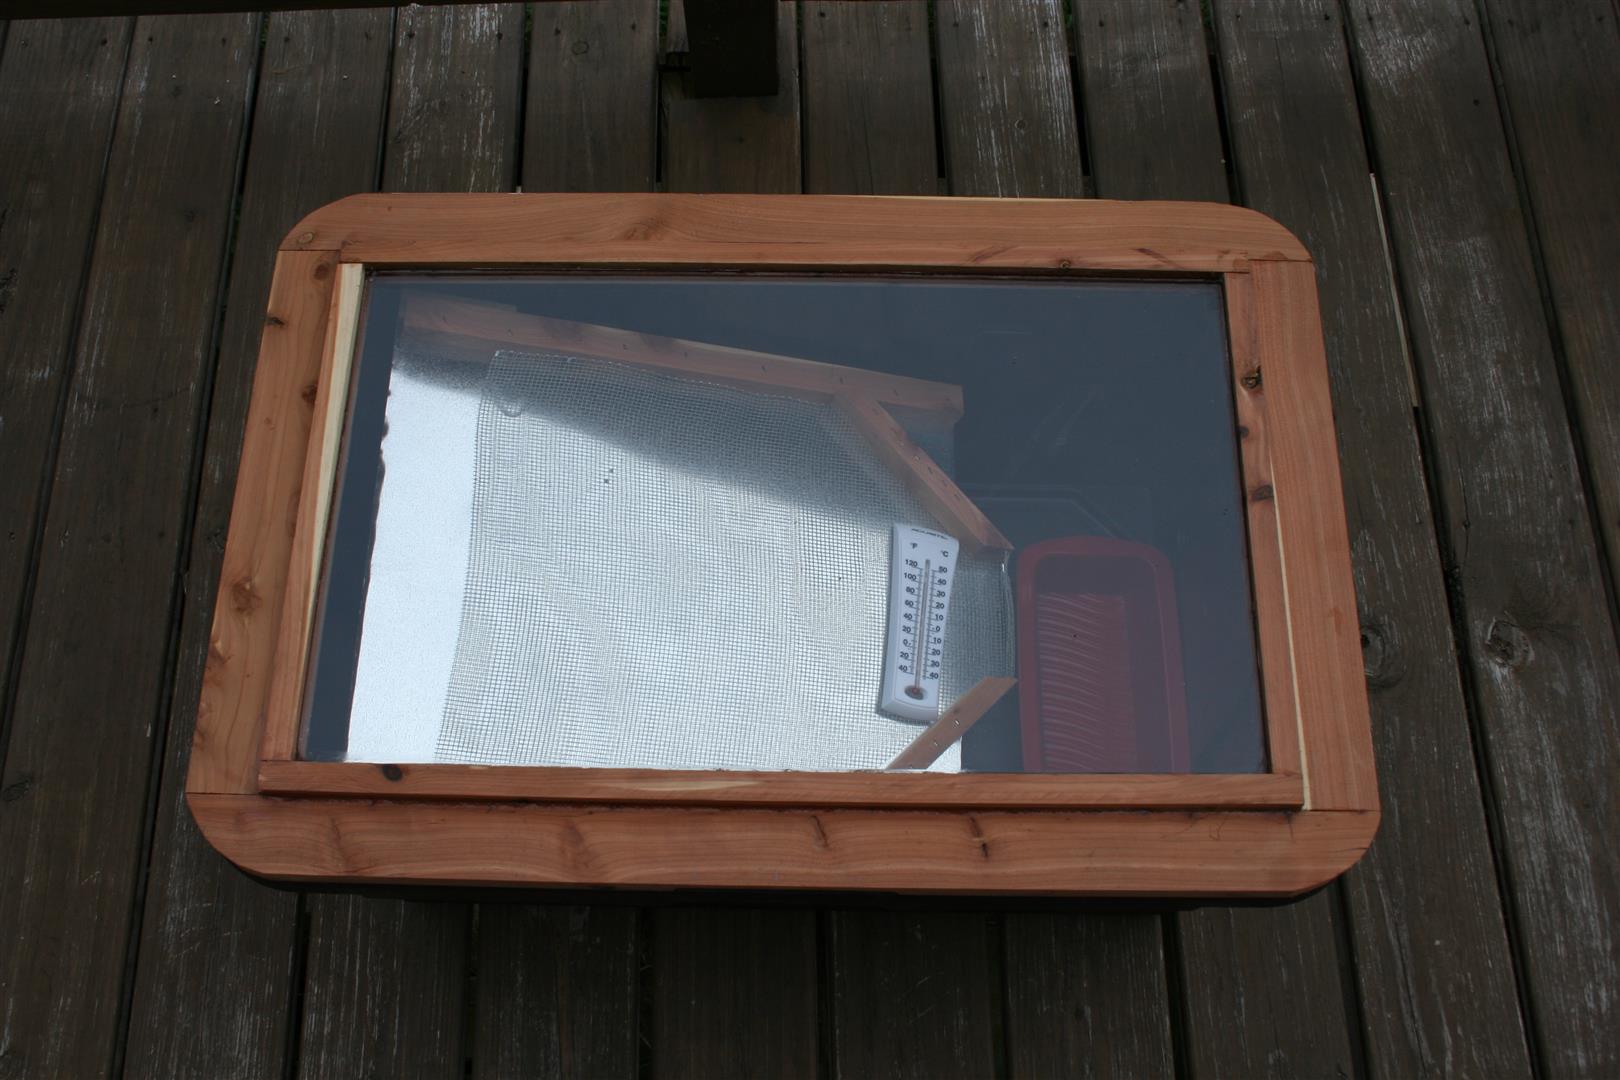
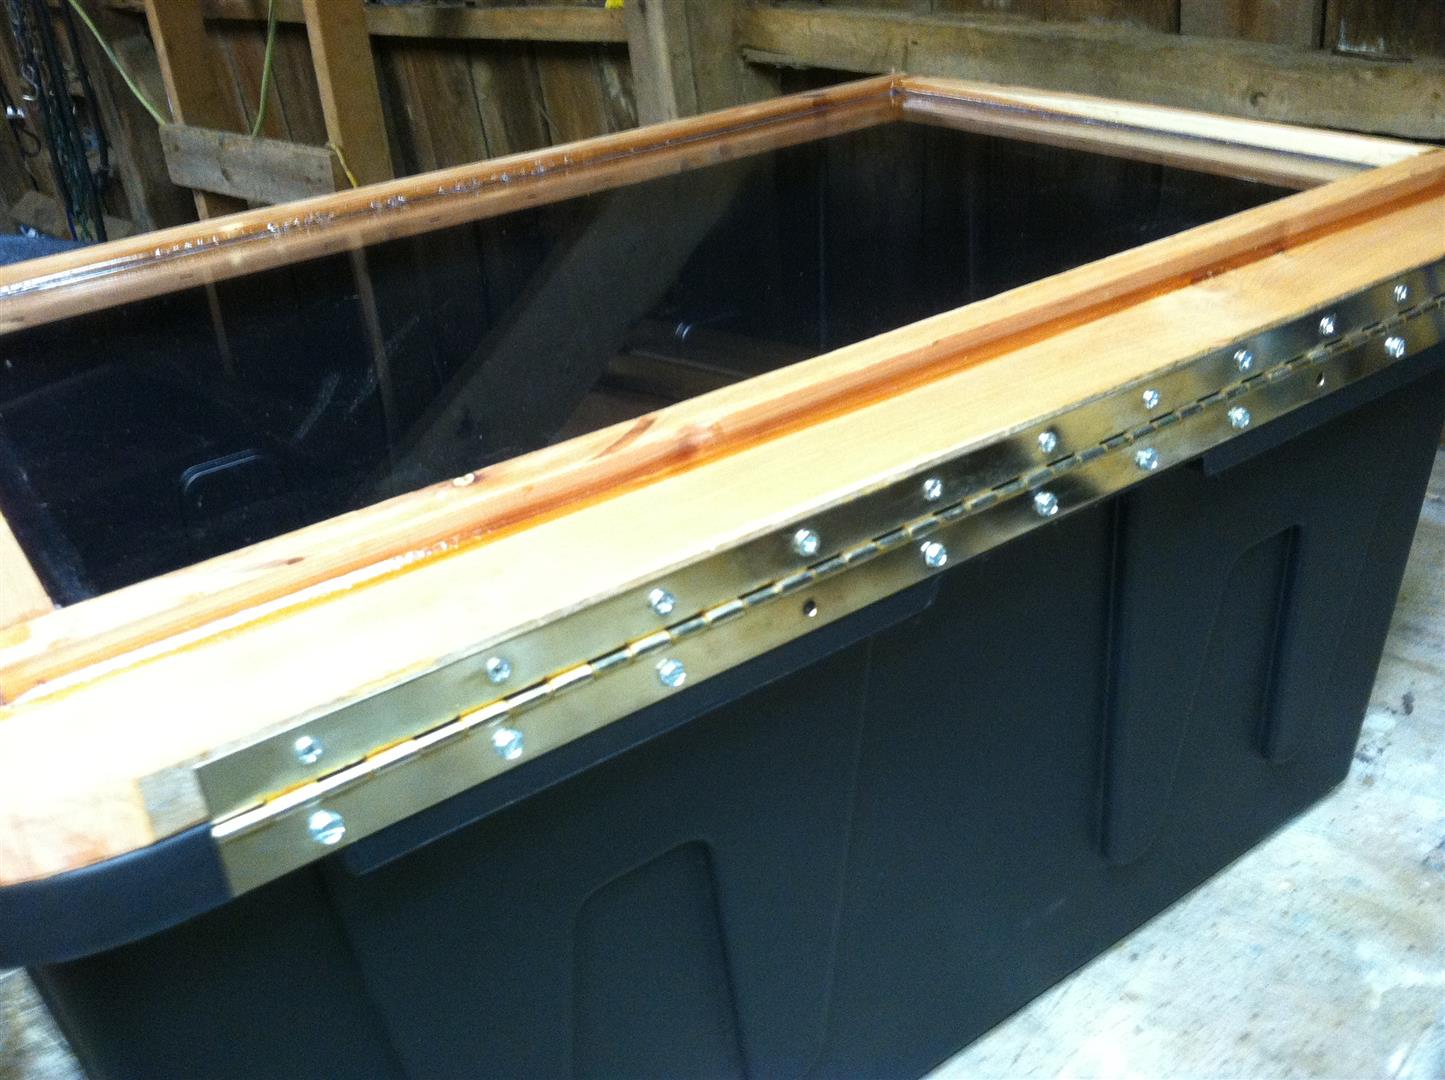

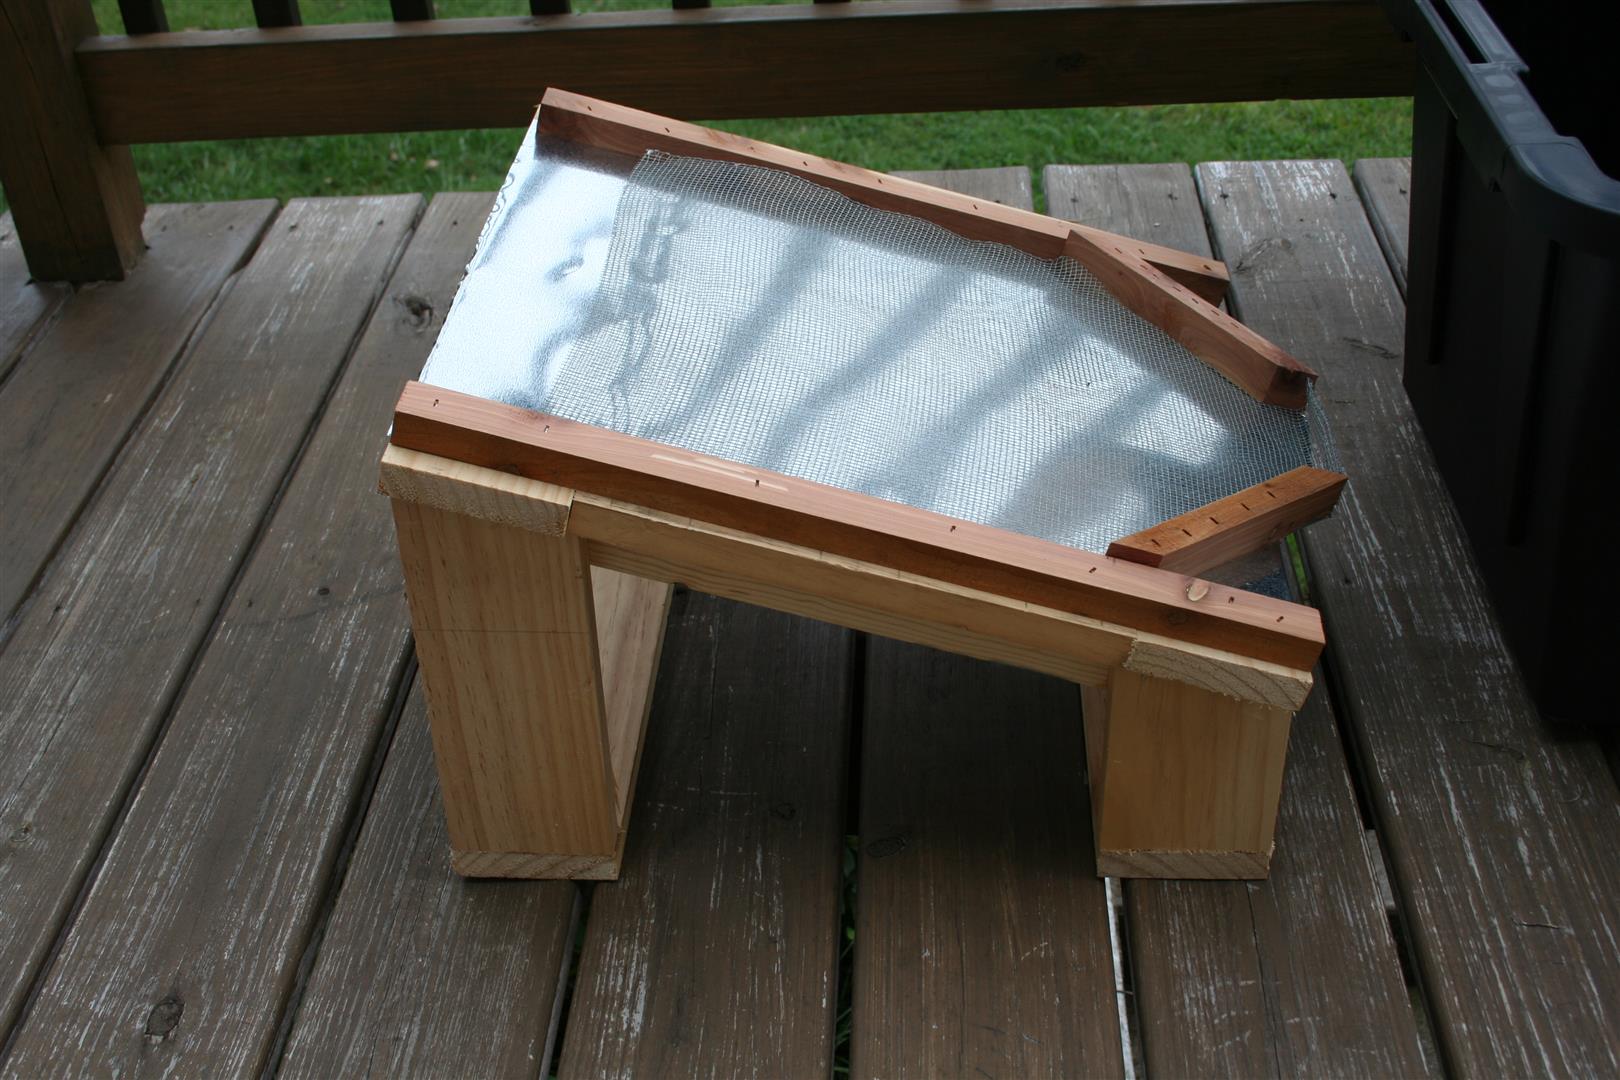

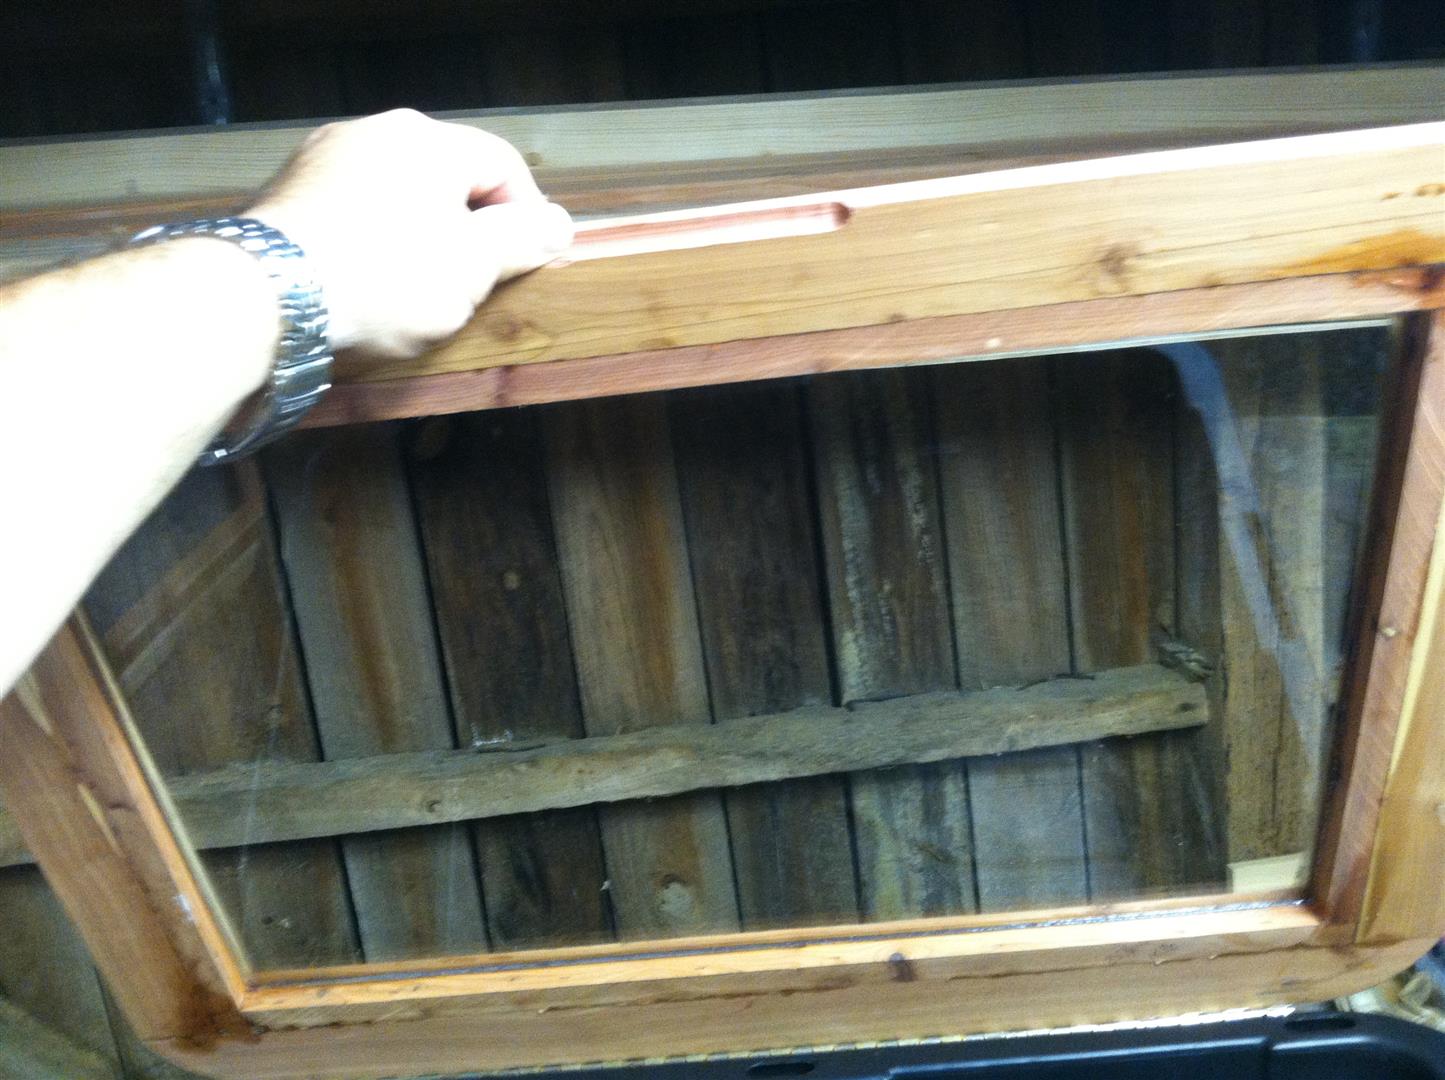
As it set, the temperatures would run around 160° F, so I decided to line the inside with 1/2″ pink insulation and to paint the inside surfaces black which set the temps up to 210° F (high as I saw).
I ran it a few times playing with it and collecting the big bits and pieces, then ran my collections as a whole adding some cheesecloth to the process as a filter and changed the collection pan to small crock (also a Good Will find) and was really was impressed with the final product. A solid chunk of clean wax.
Bring on the wax molds, here come the candles.
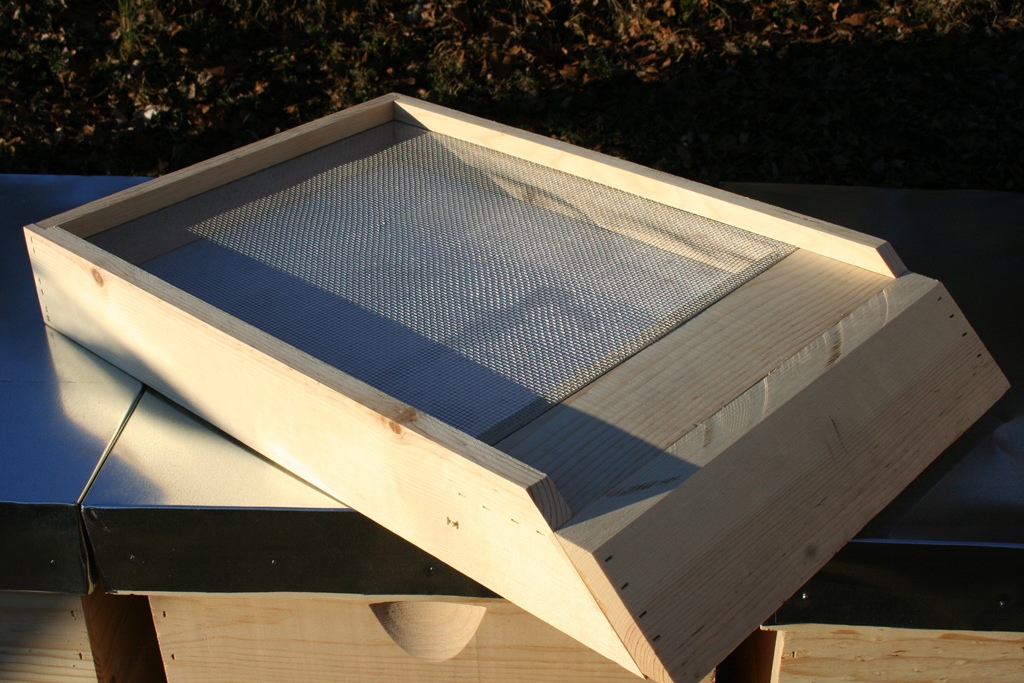
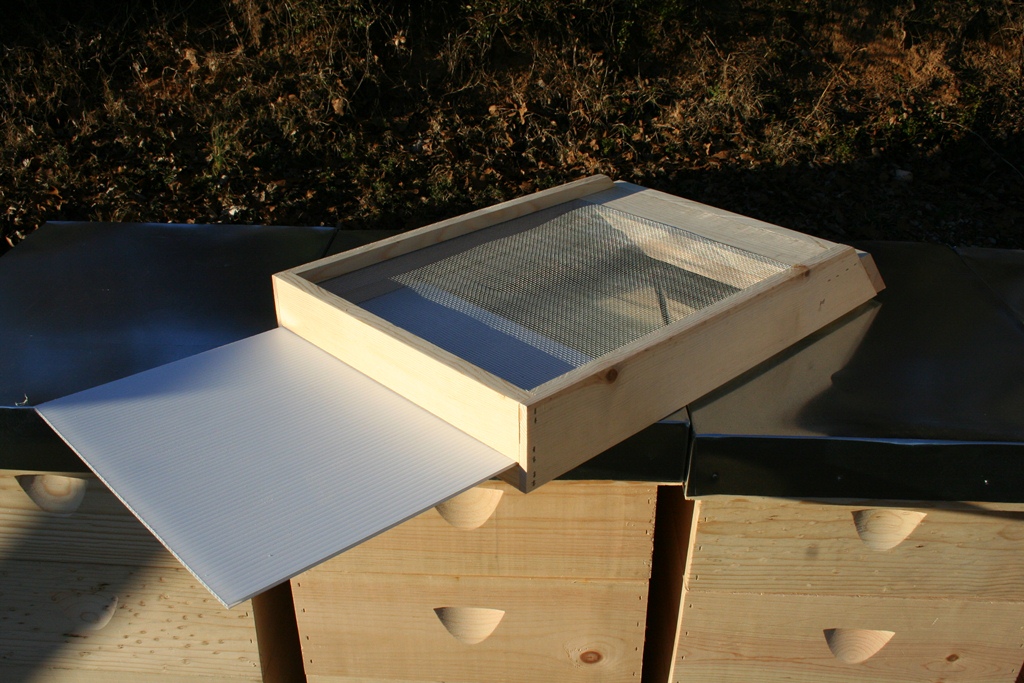
I’ve tried a few styles when it comes to feeders and have determined two things:
That being said, I especially like the idea of the plastic inserts…
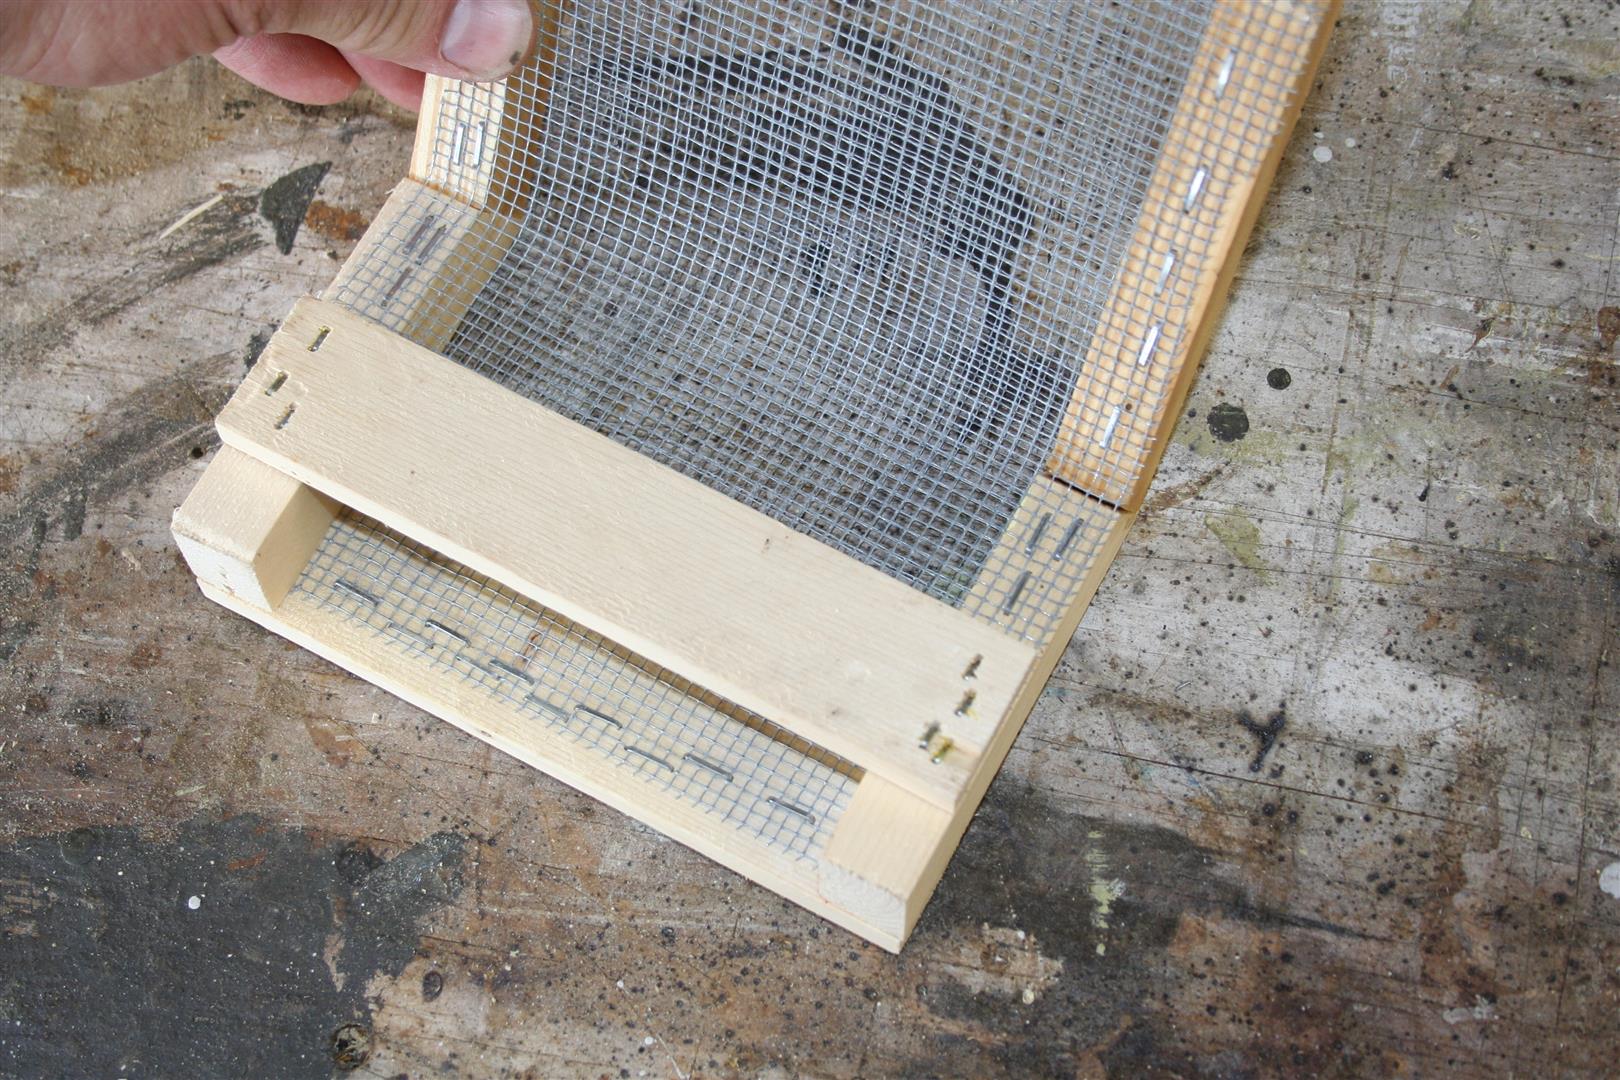
but don’t know if anyone else has had the same problem with bees escaping and drowning (little buggers). At first, it seems like a really good design, but, after heavy casualties I decided to take another look at it.
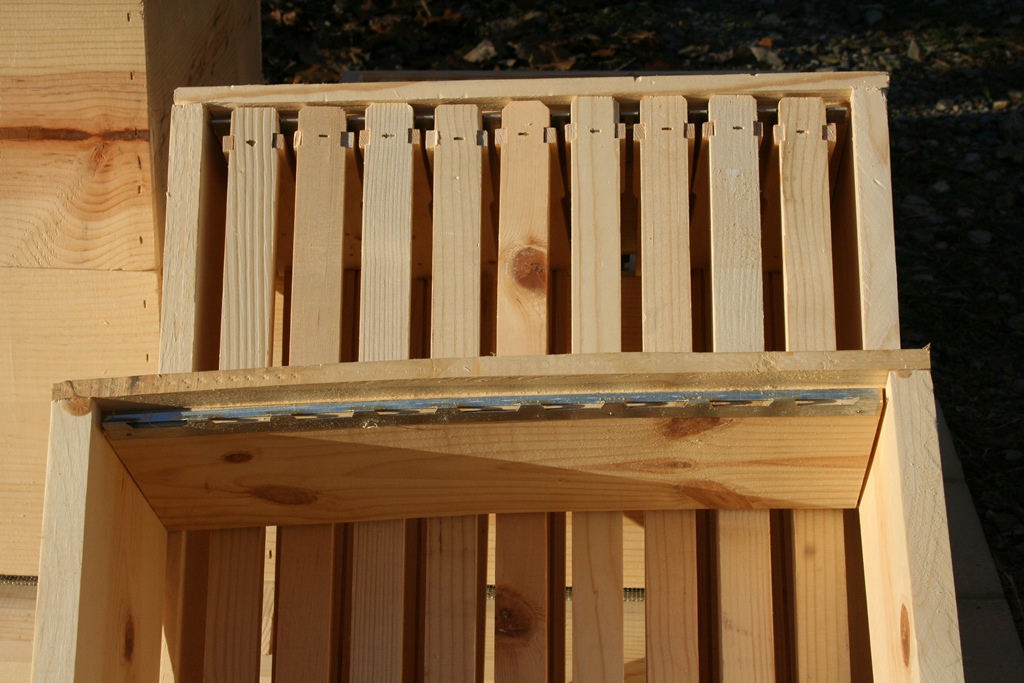
The design appears to be missing something to keep the sides from flexing open, after some thought, I decided on a simple fix based on those metal bands you put on table cloths when you go camping.
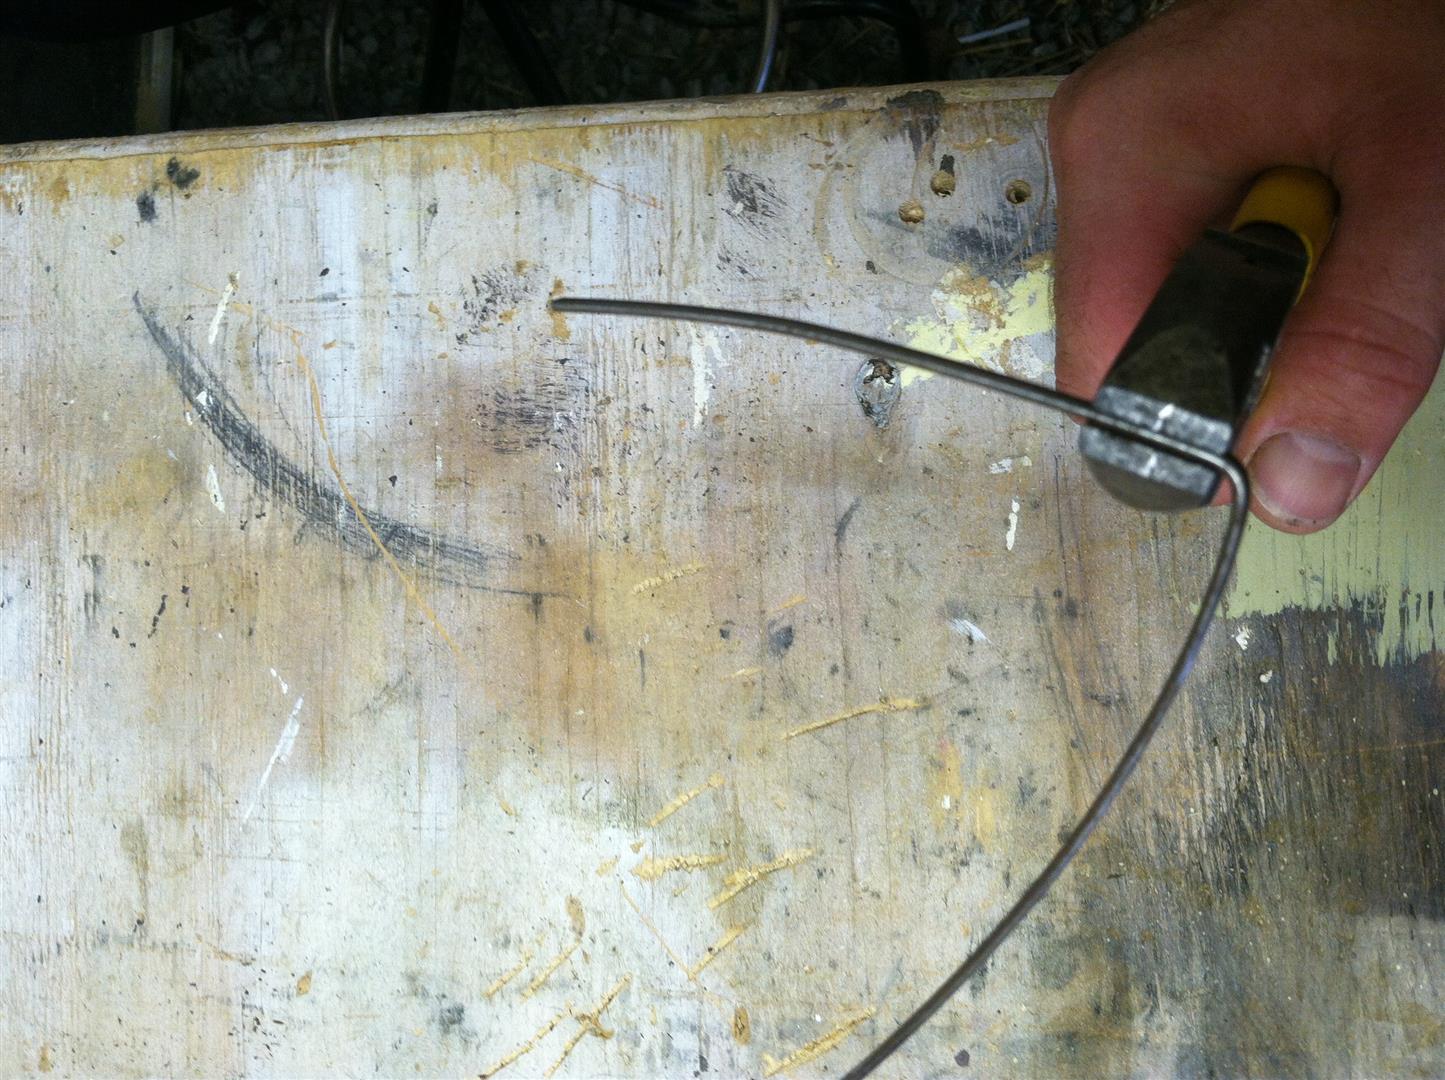
So I grabbed an electrician’s fish tape as my material of choice and made a few bends in it. Here’s how.
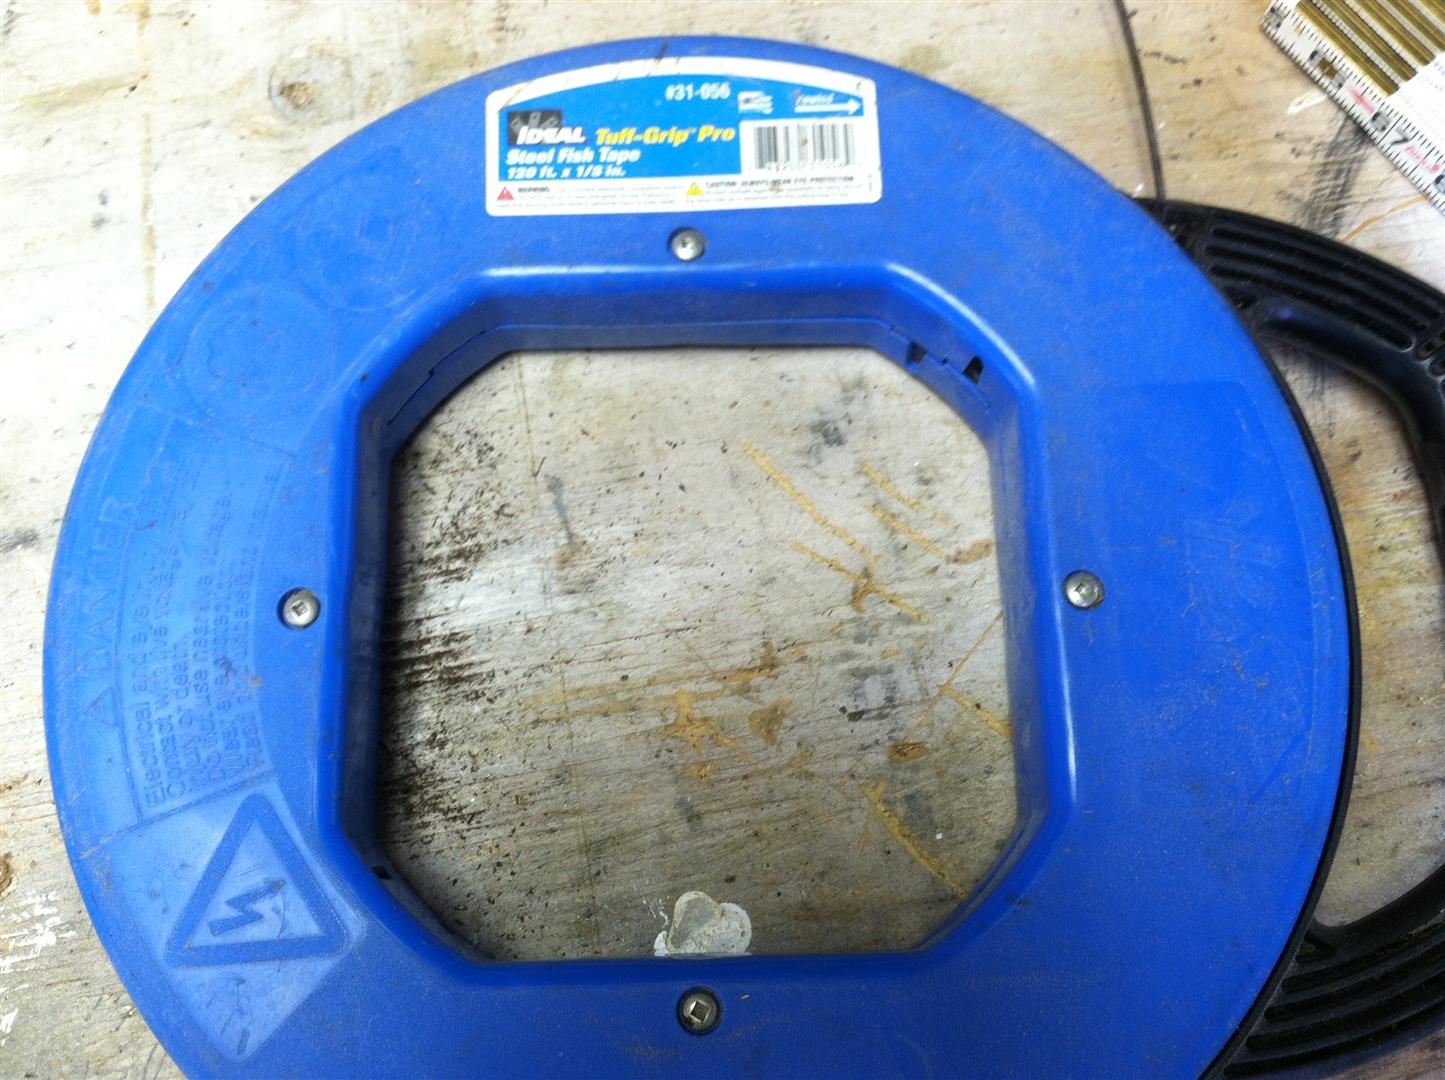
Measure out about 3 1/4″ and bend over 90 Degrees like so
Followed by another bend at 1 3/4″, again over 90 Degrees
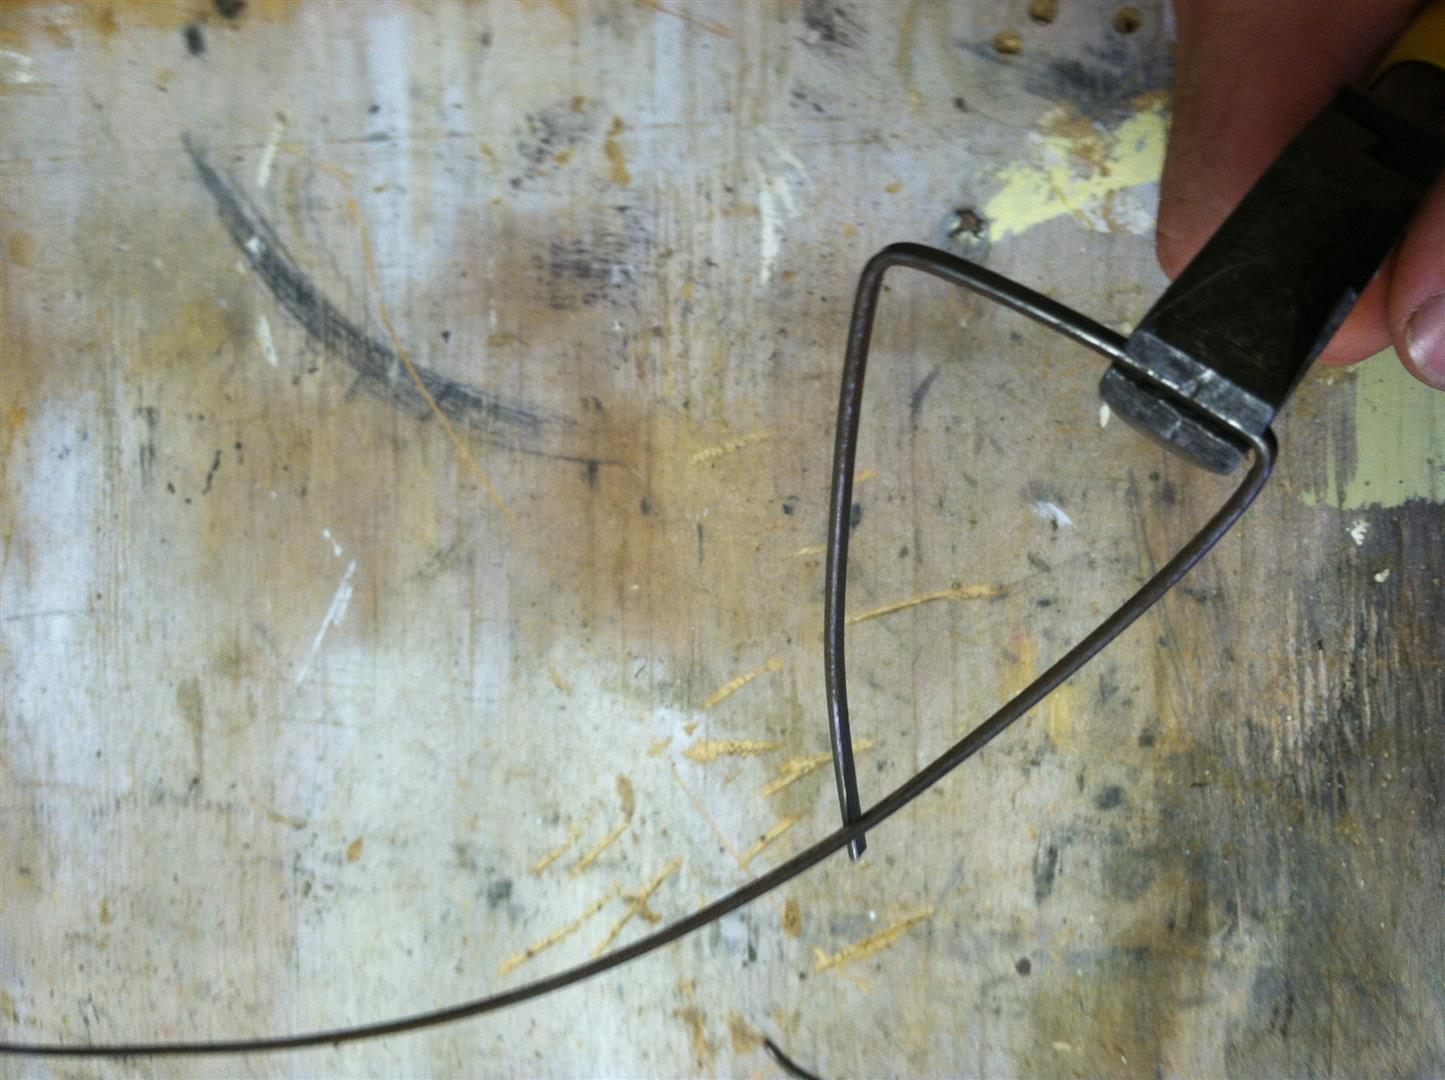
Cut off at 3 1/4″
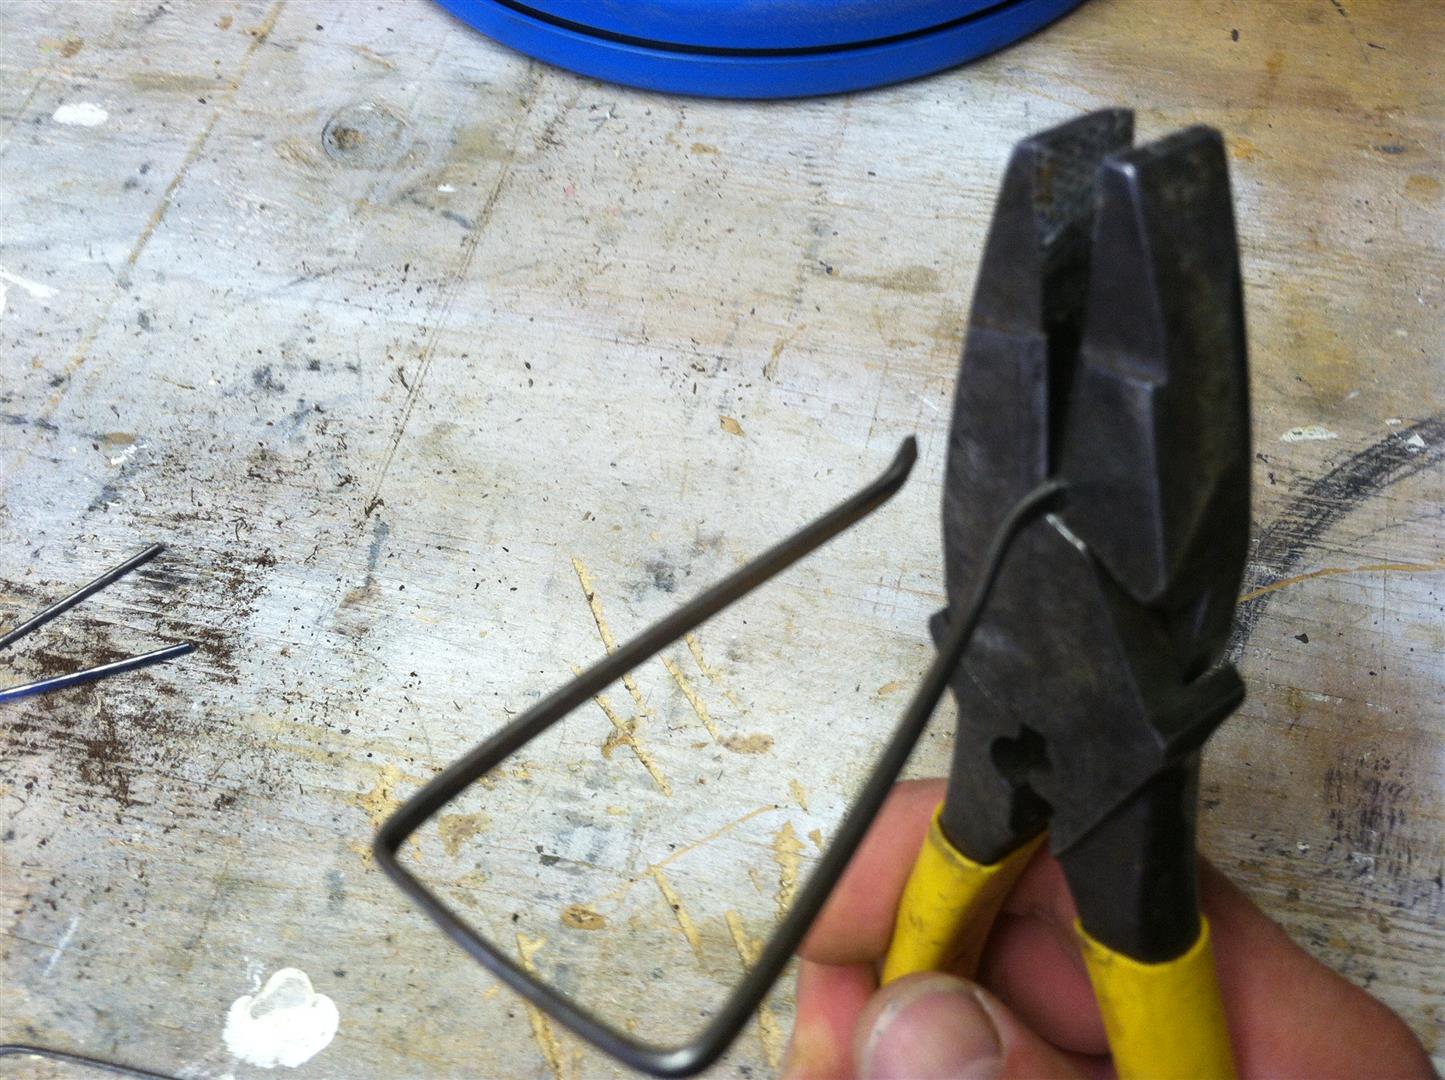
Add two small bends about a 1/2″ from the ends to keep it from digging into your screen
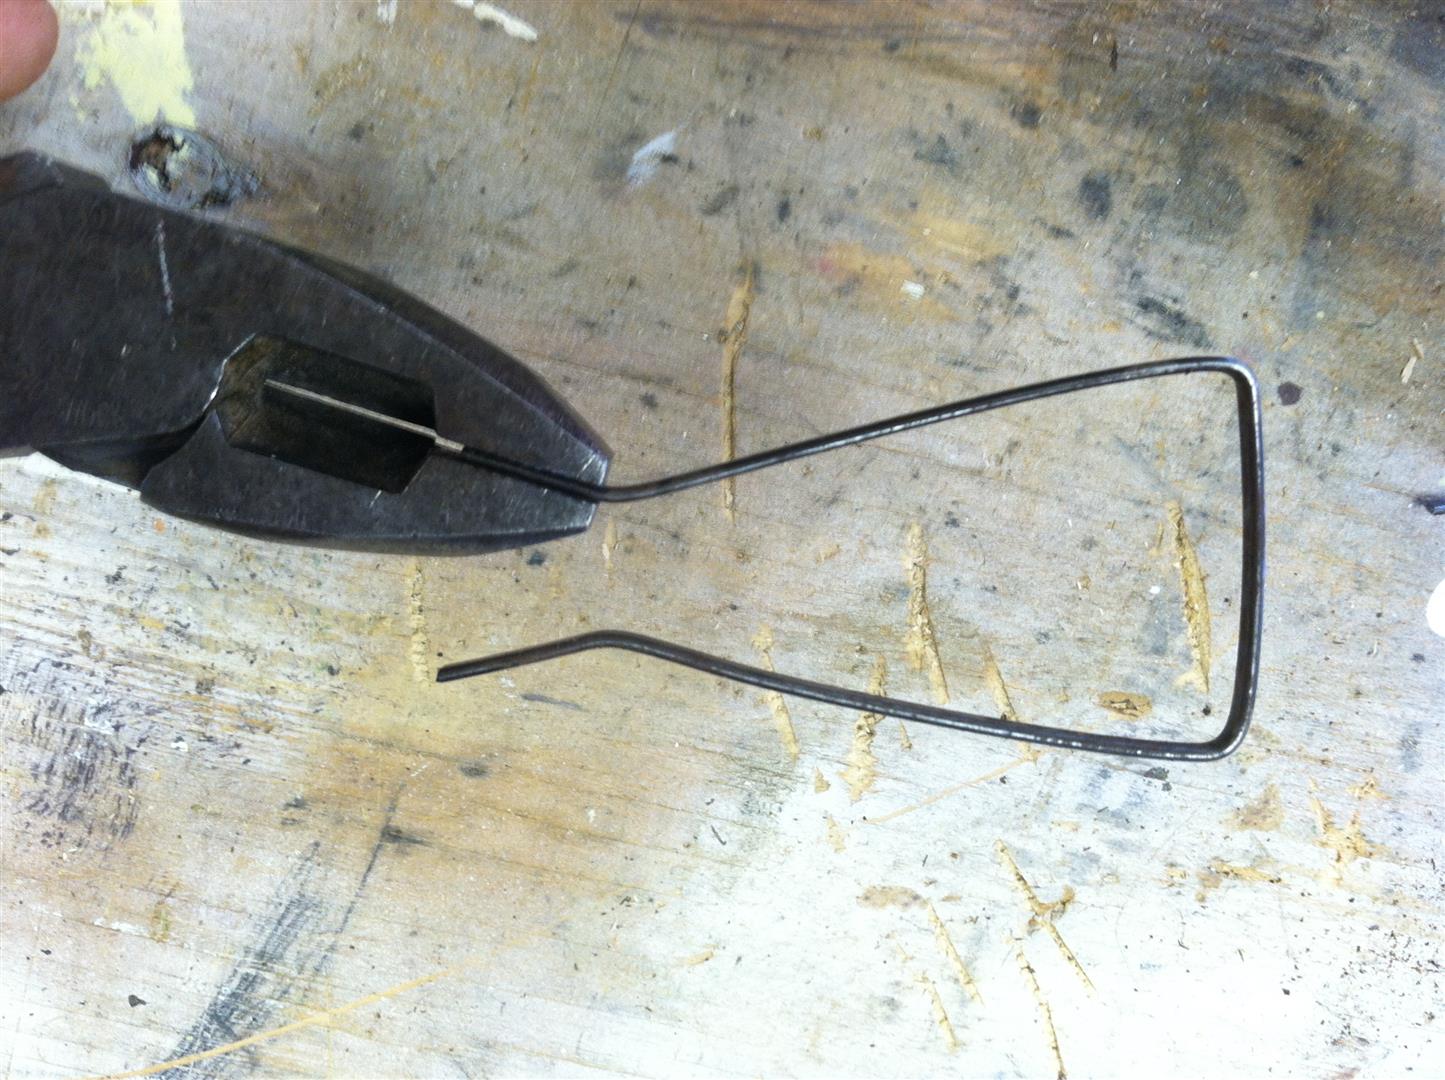
Use the new clip to pinch the sides tight all the way down to the liquid level

Put the screw back in, this time trap your clip in place with the shoulder of the screw.

Pay no attention to the sealant tape, I had to close a few holes (caused from a quick fix while still in the hive).
Anyways,
Hope this helps.
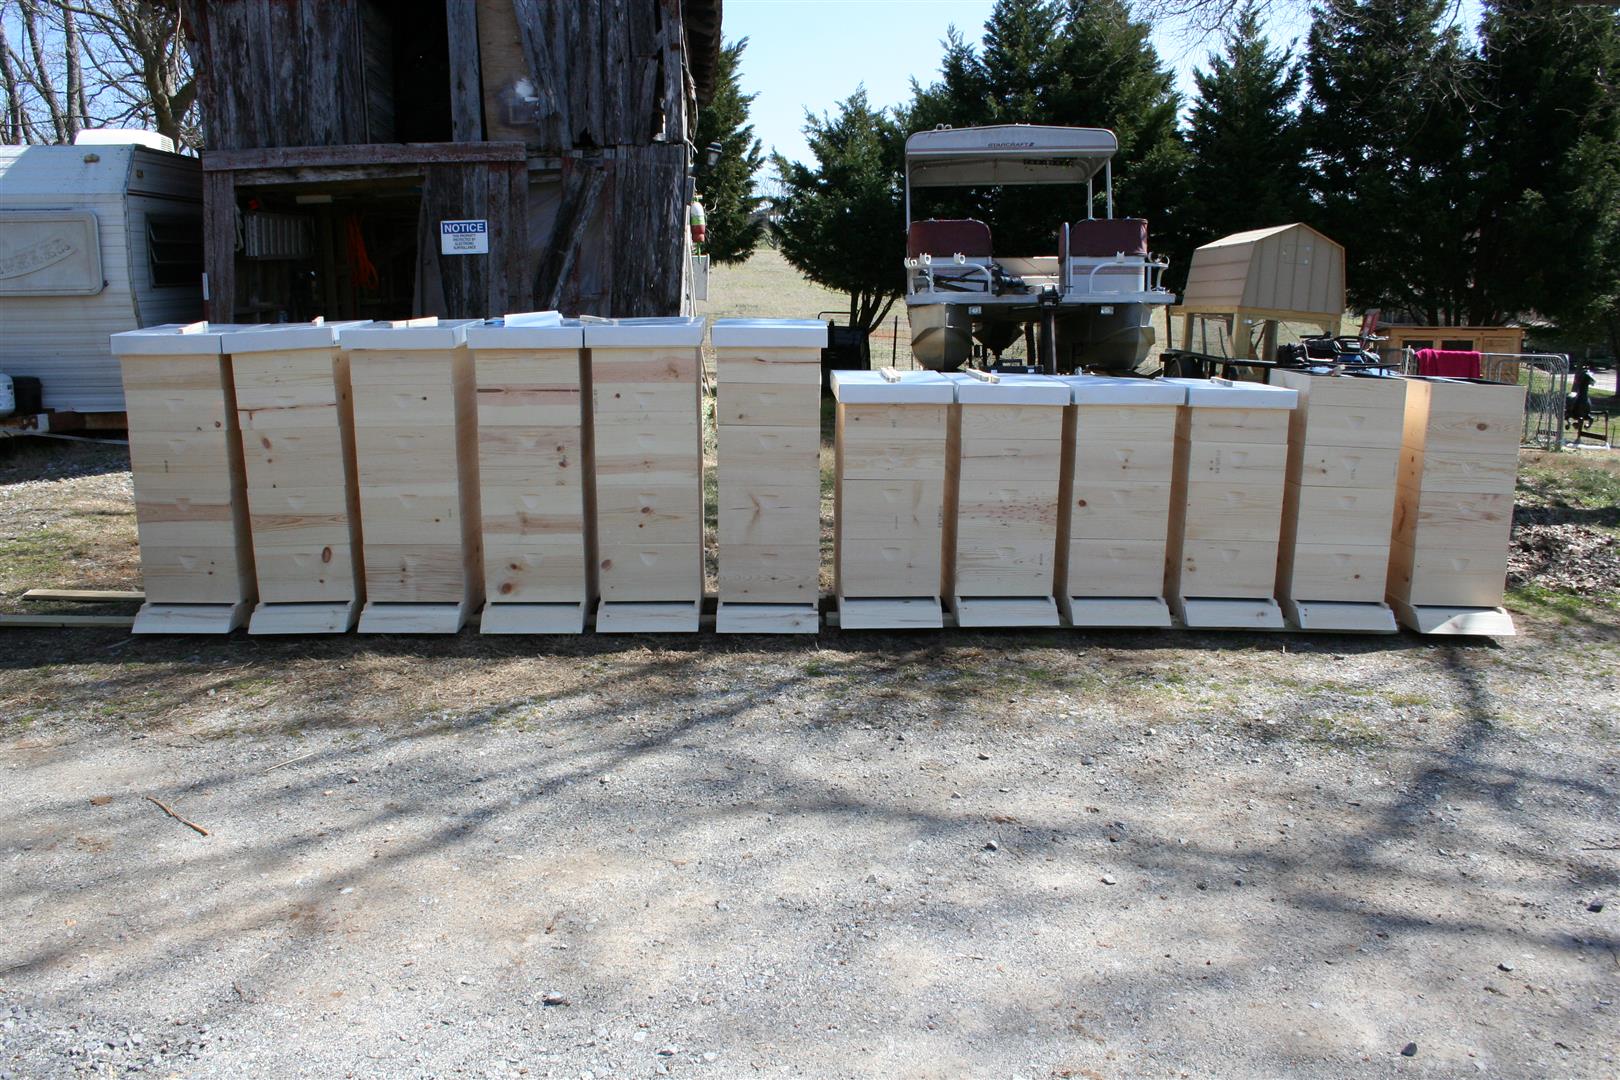
Thanks so much for the great response to our ads, here are some more pics …


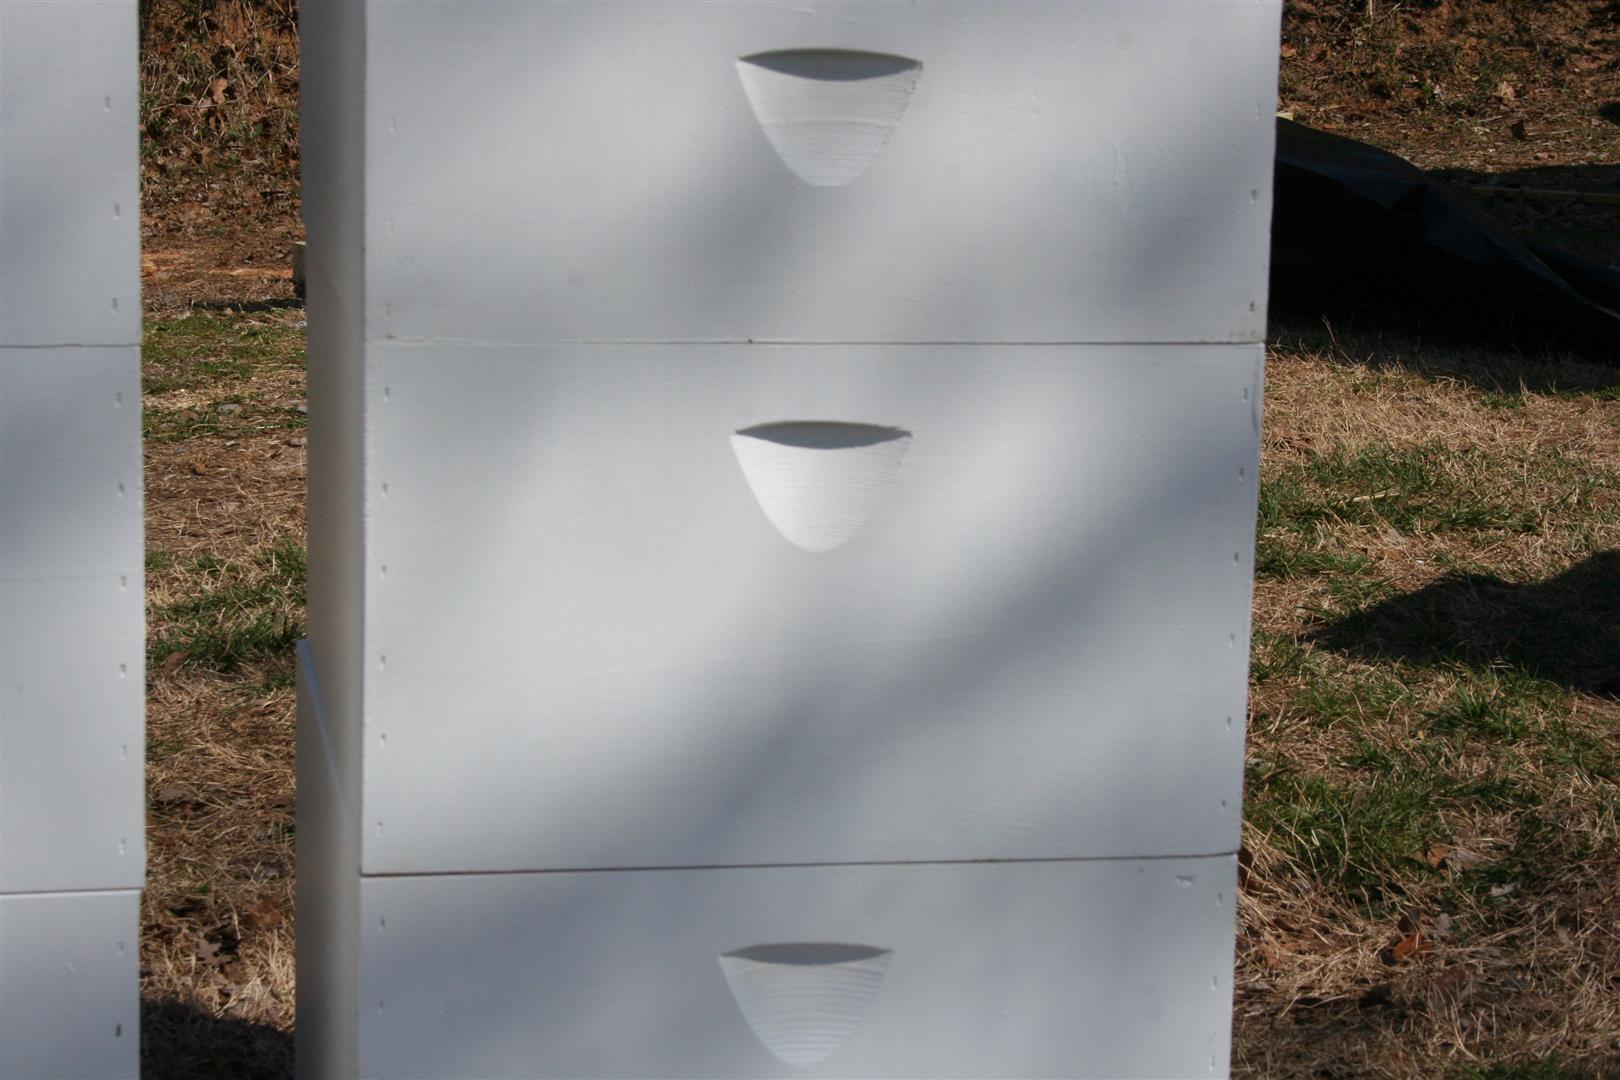

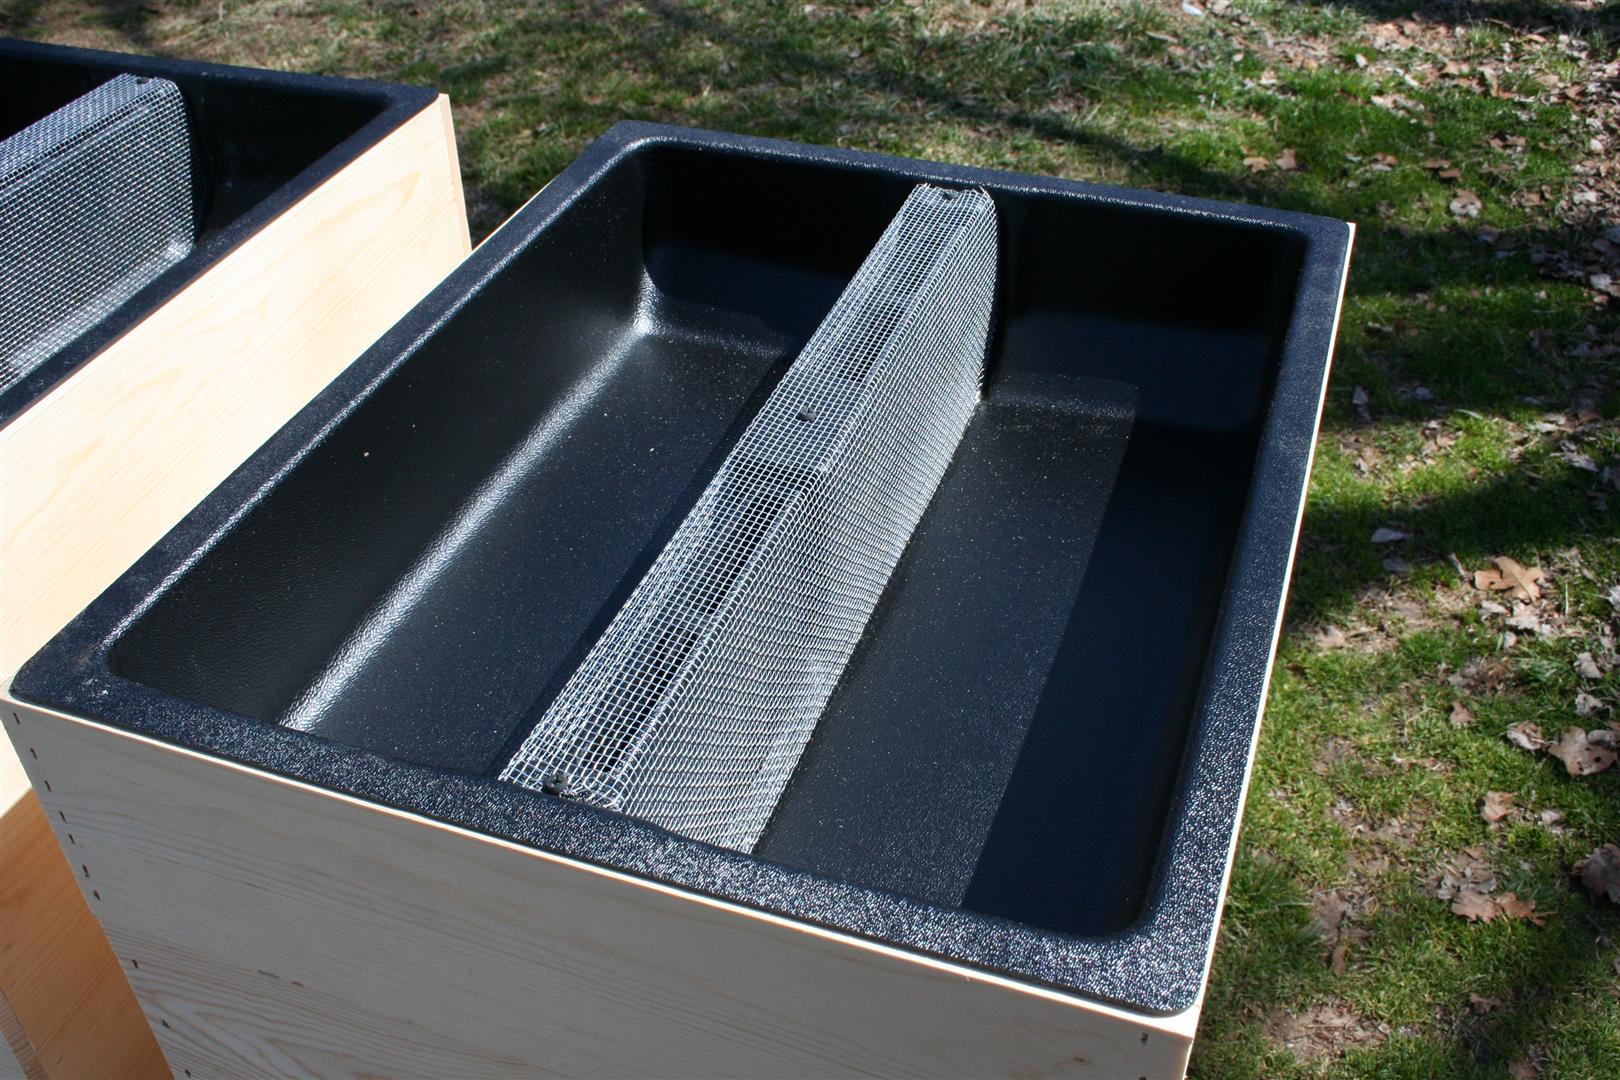
Seen a pretty cool design that integrated the Base and Bottom Board – So I made one myself… here is what the next set looked like.