Rabbitry – Hutch

We’ve decided to try our hand at raising rabbits from the “livestock” perspective (even though they are technically not considered livestock). I realize many may find this disturbing; however, we must be practical – there are several benefits that could be argued, but that’s for another time…  For tonight, we look at the hutch.

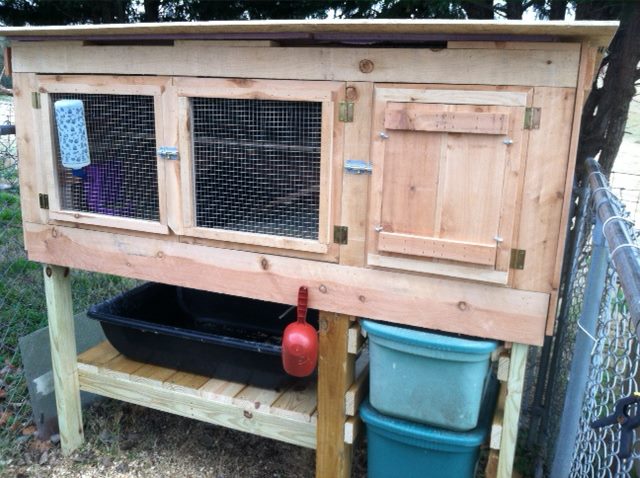
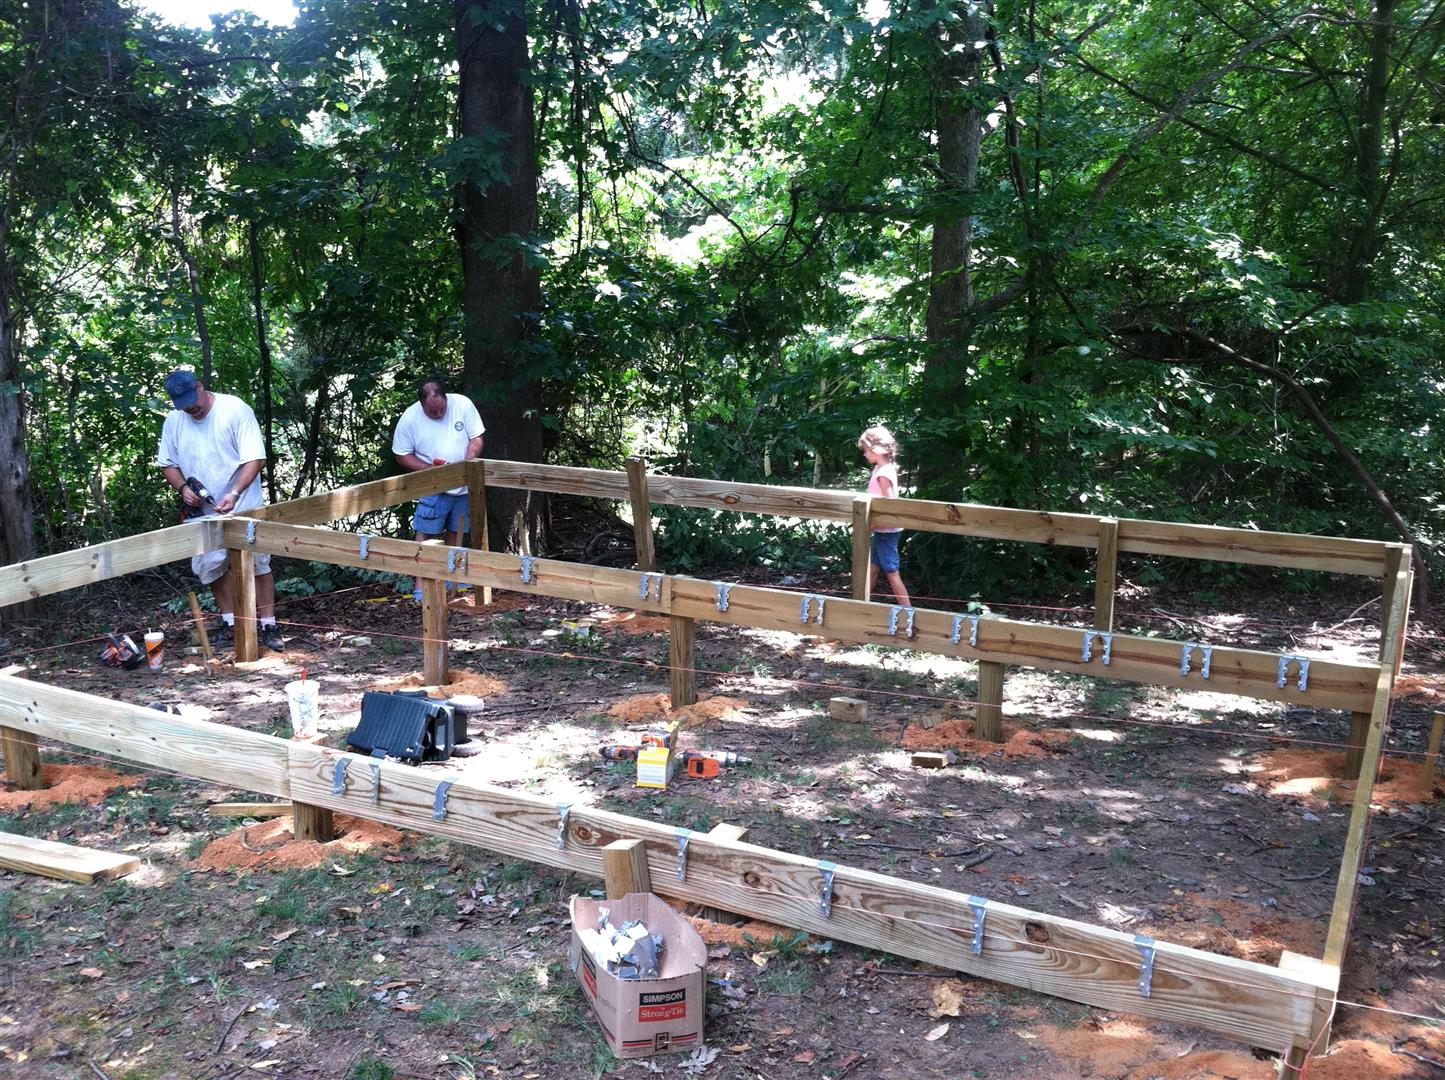
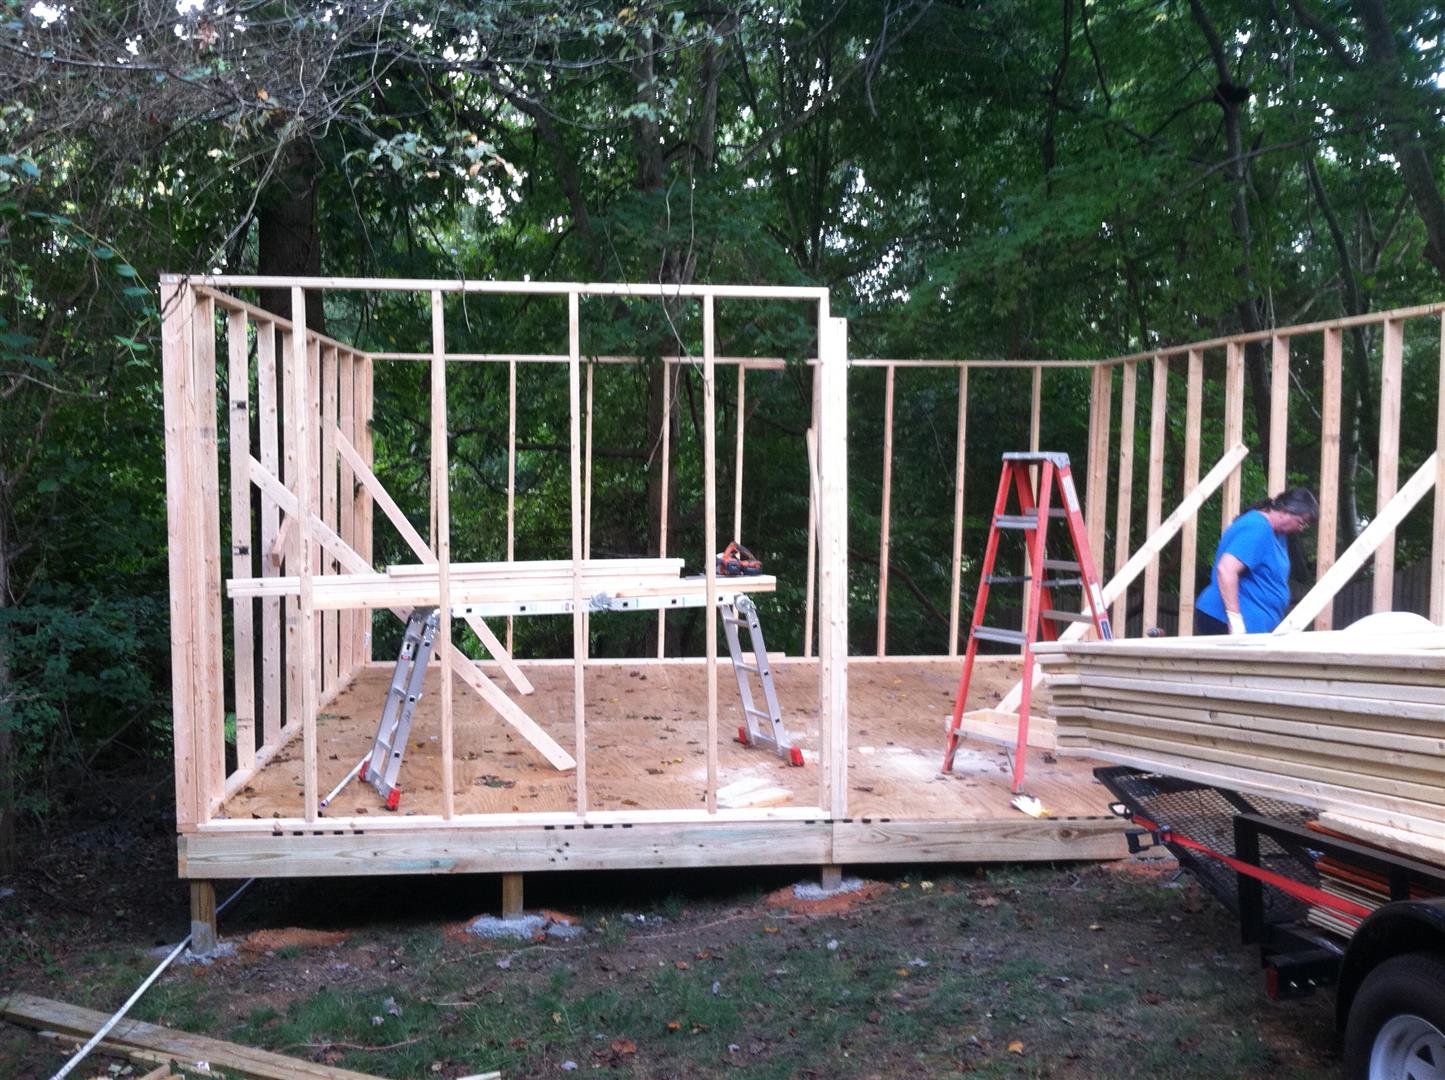
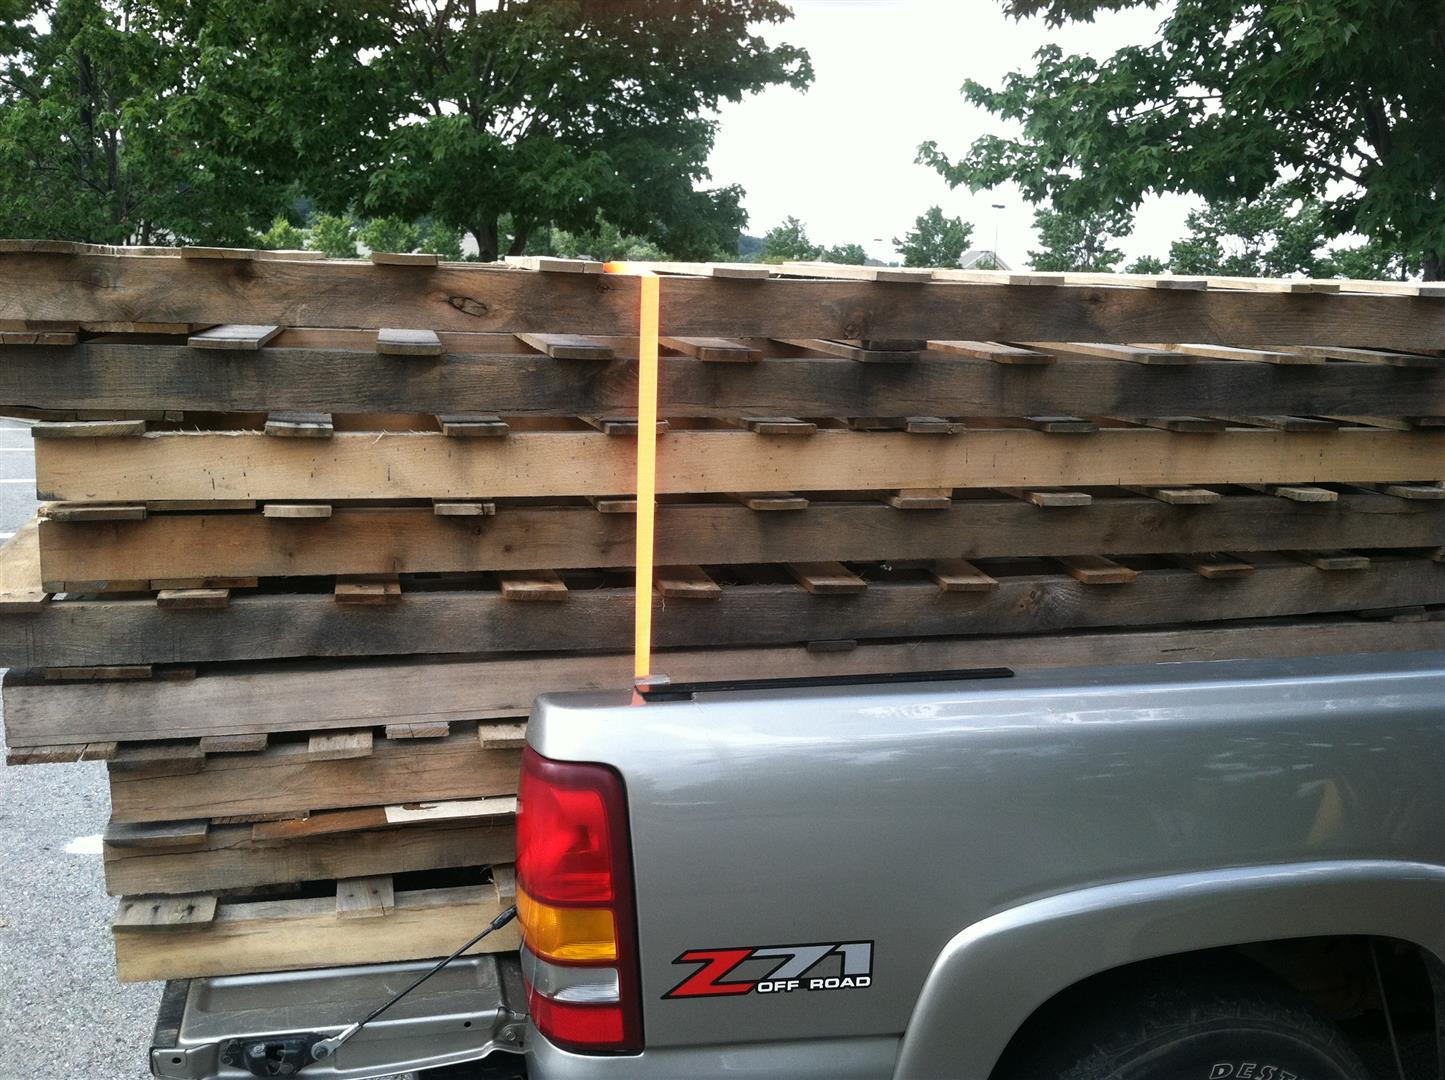
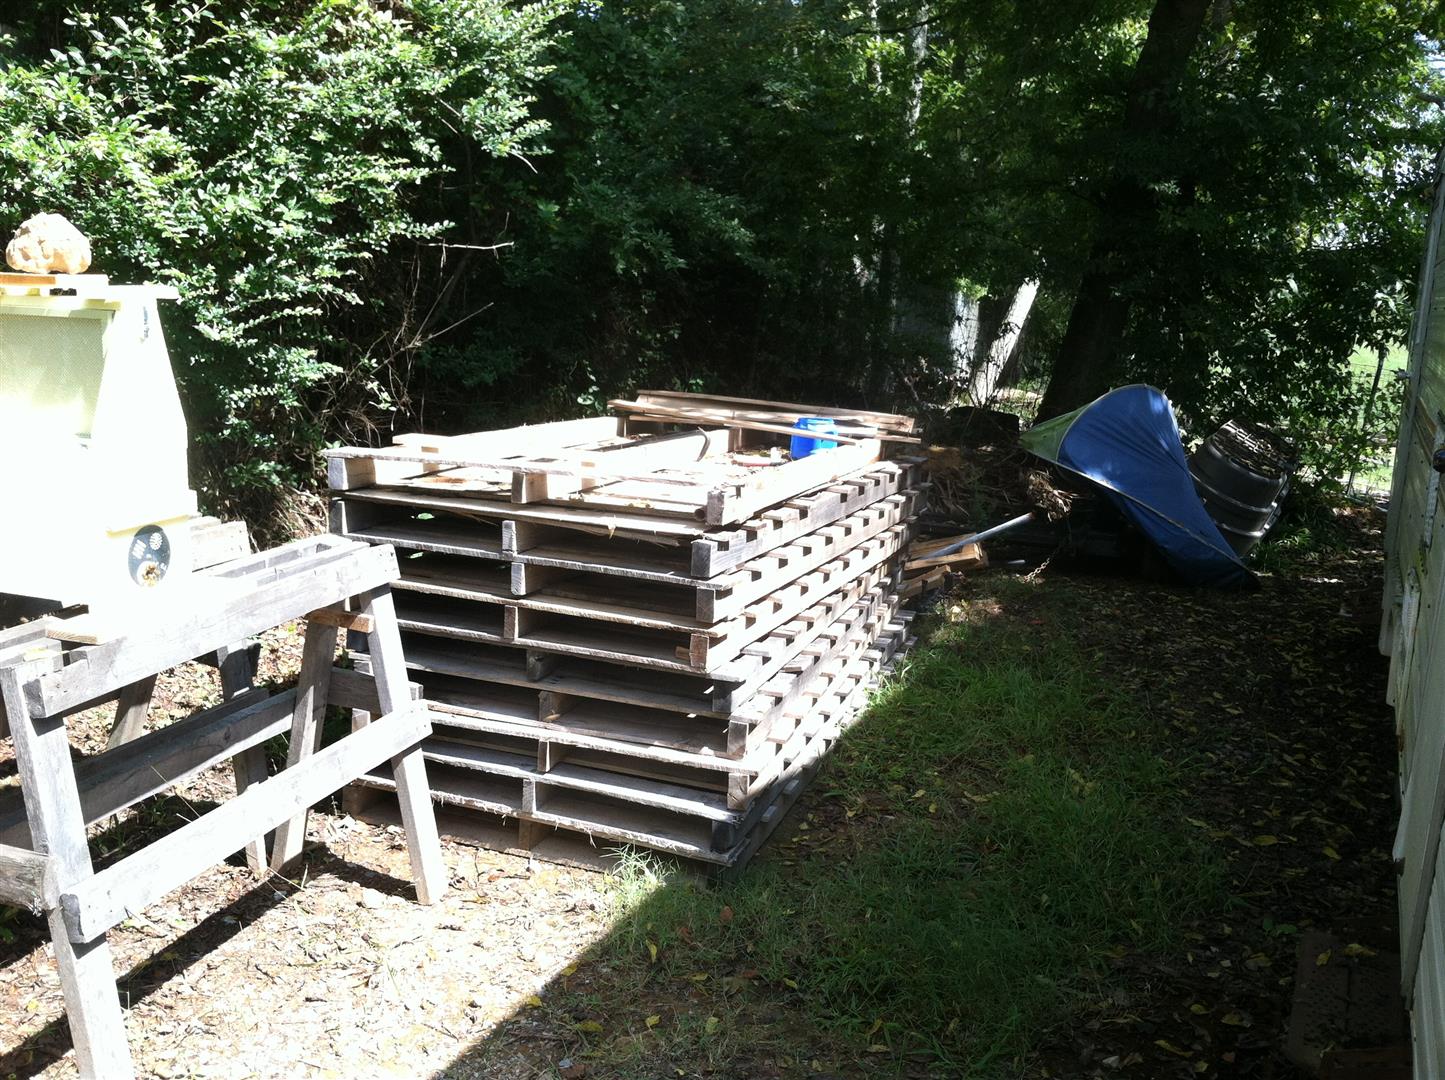
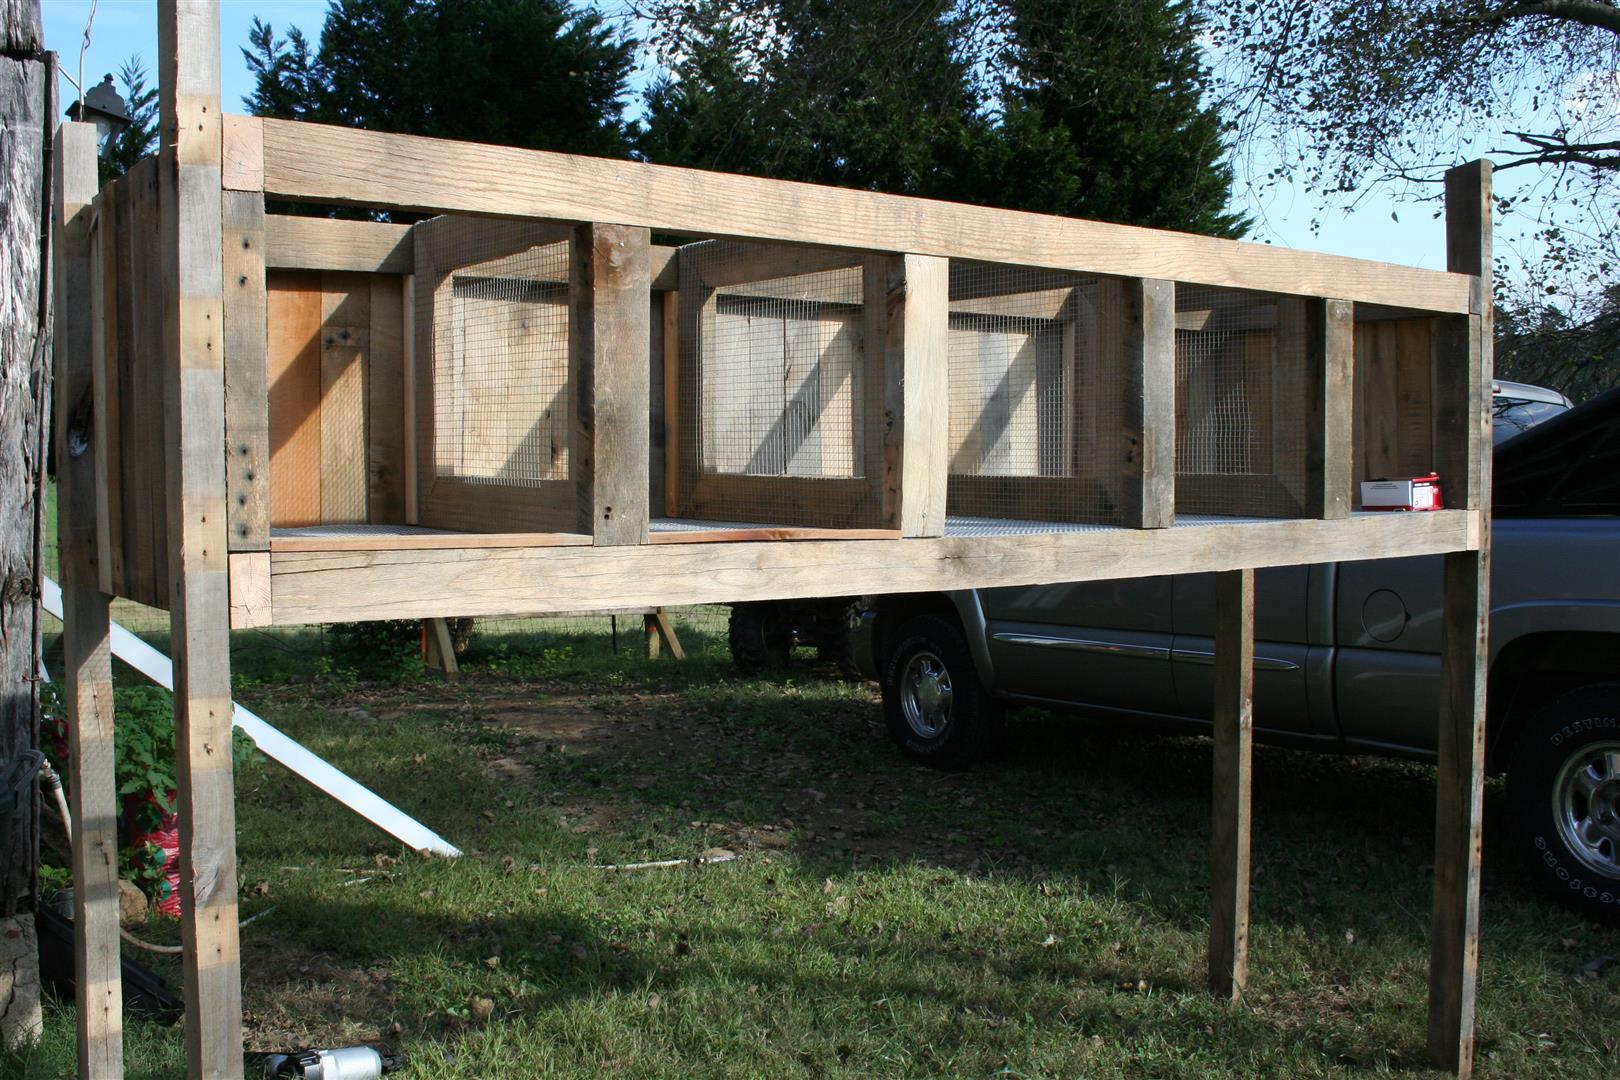
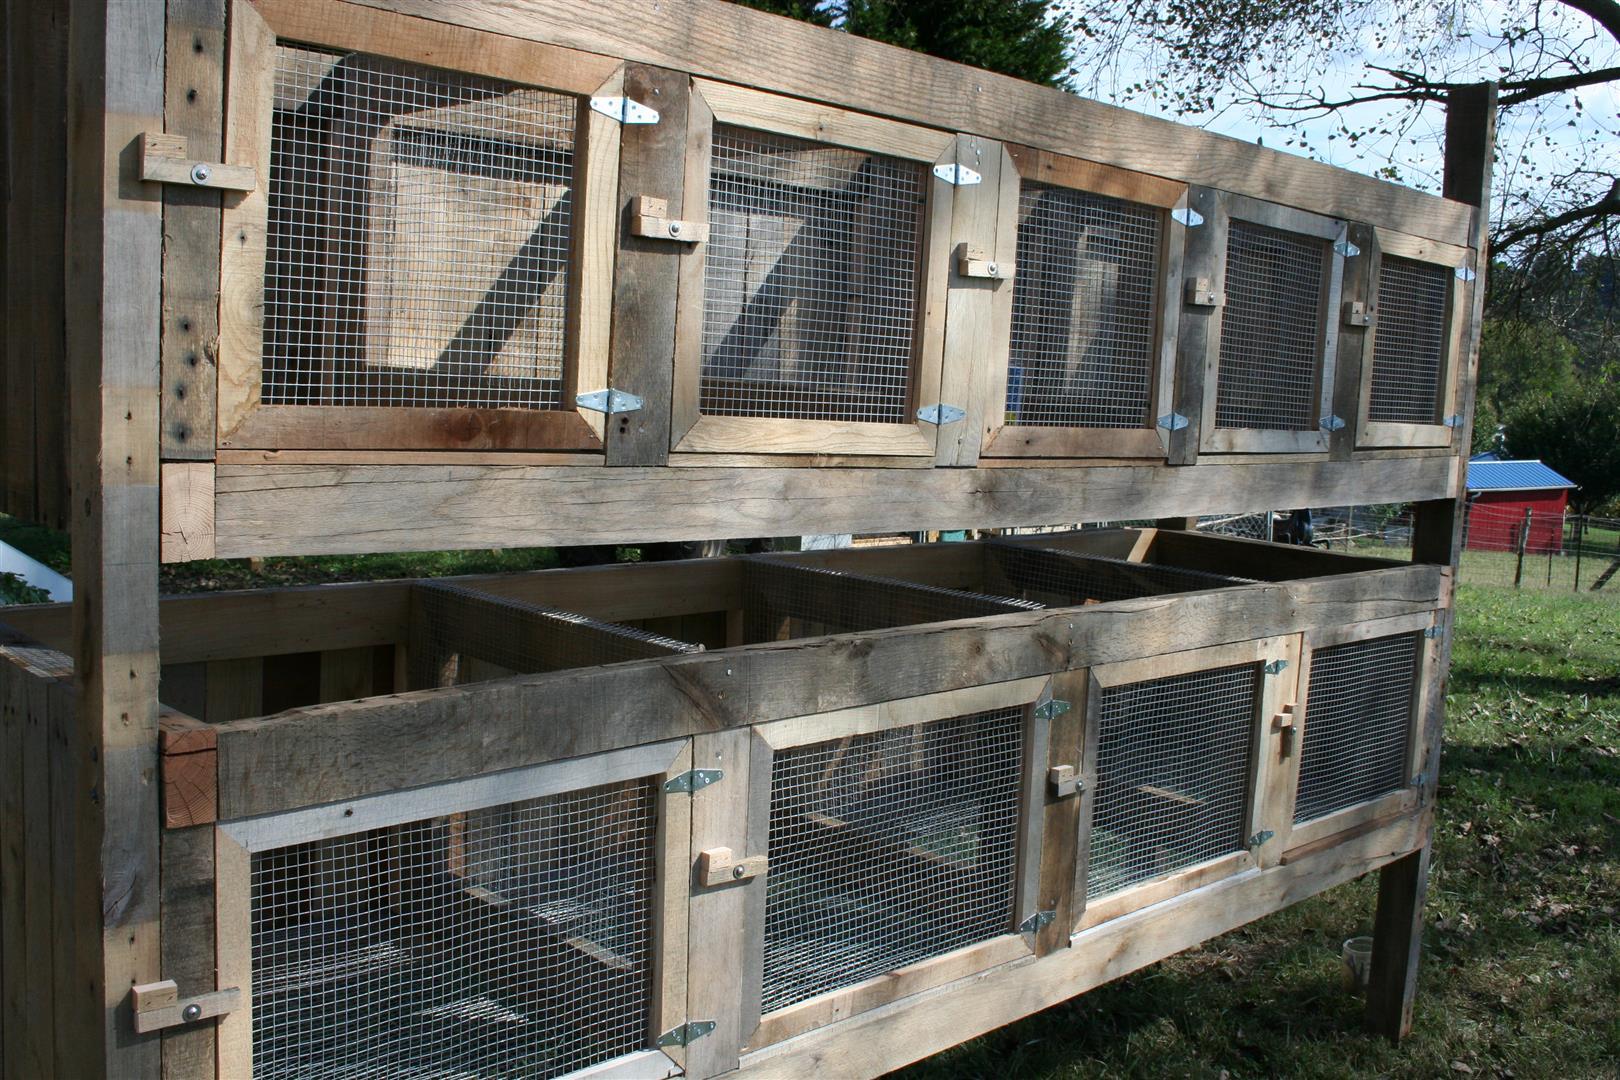
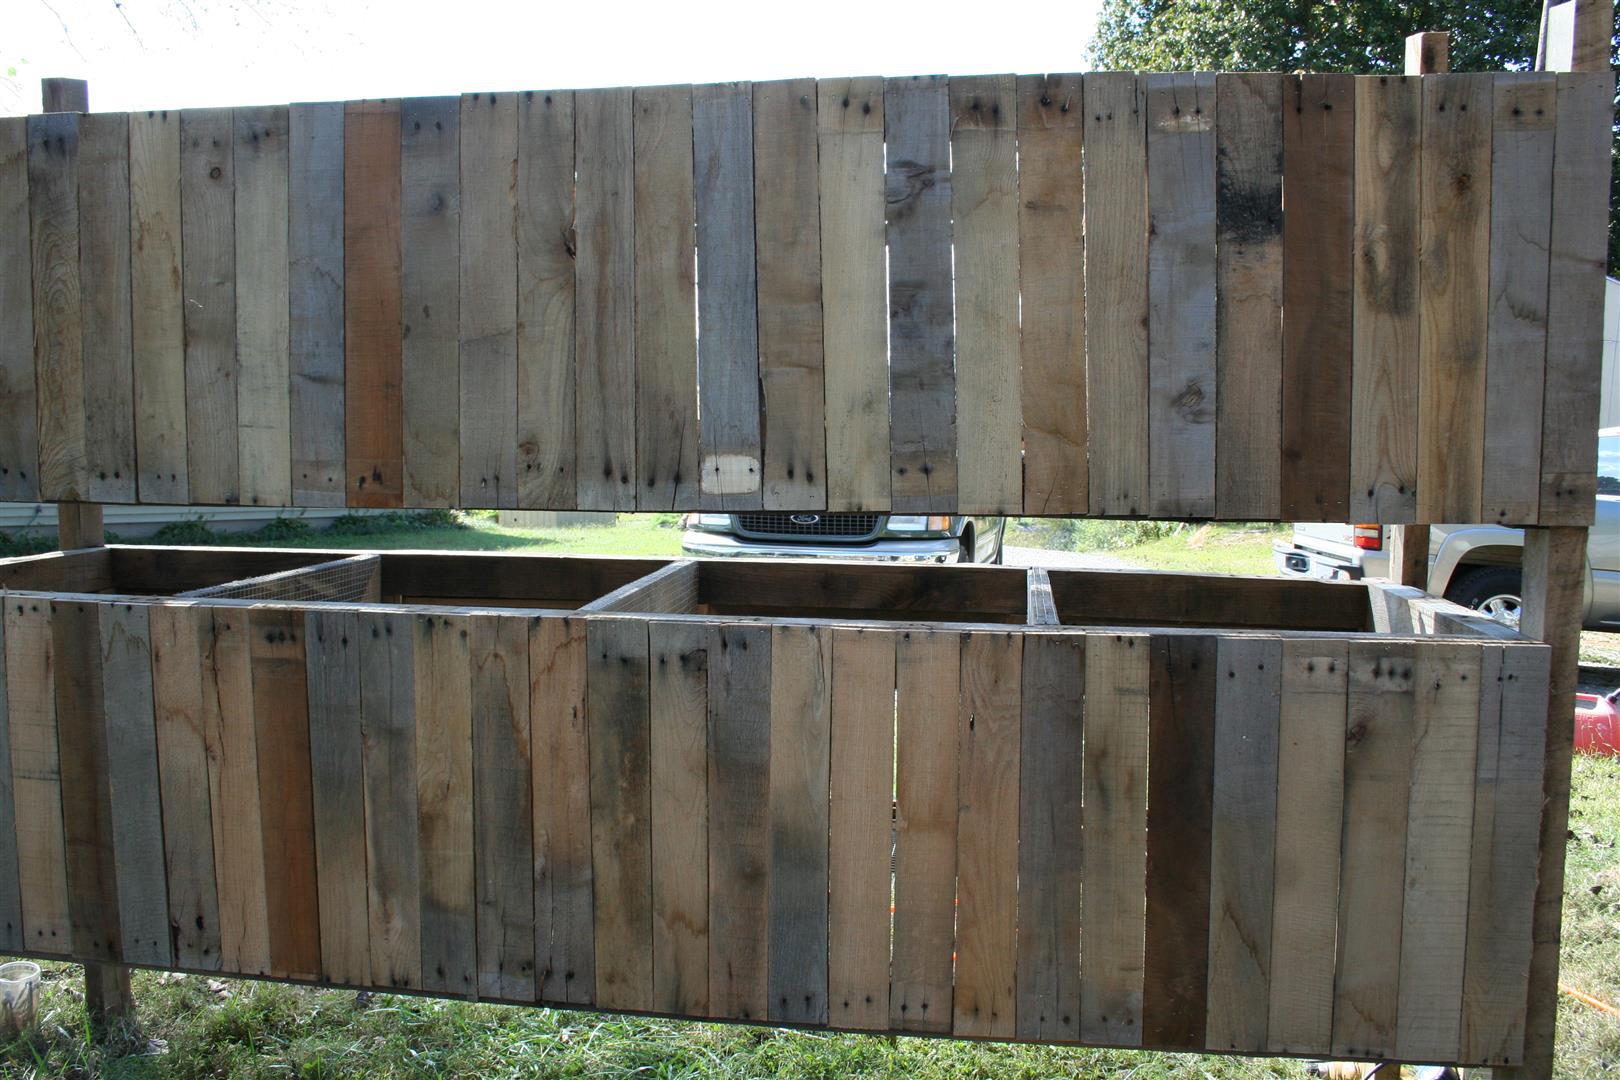
I found a supply of 9 free 9′ pallets that fit the bill for this build. We tore them down and built a 9 space hutch:

Details:

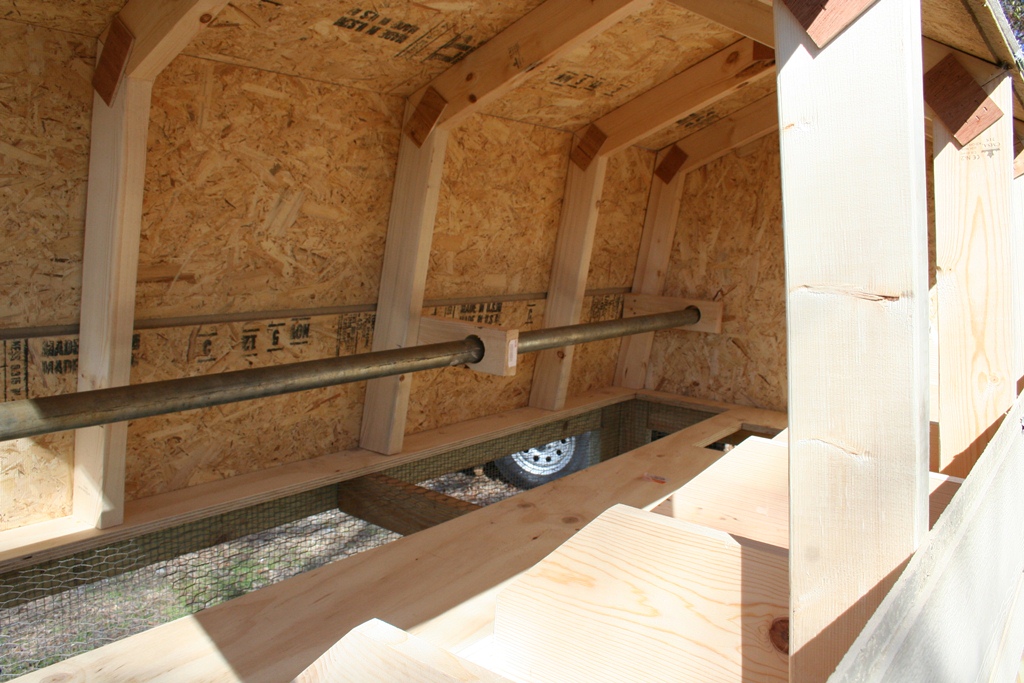
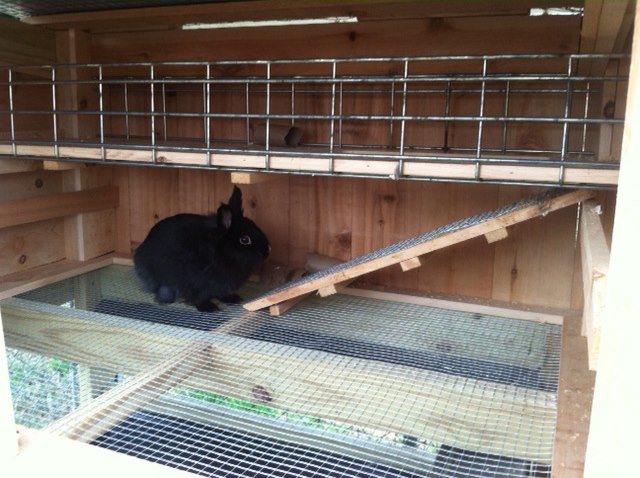
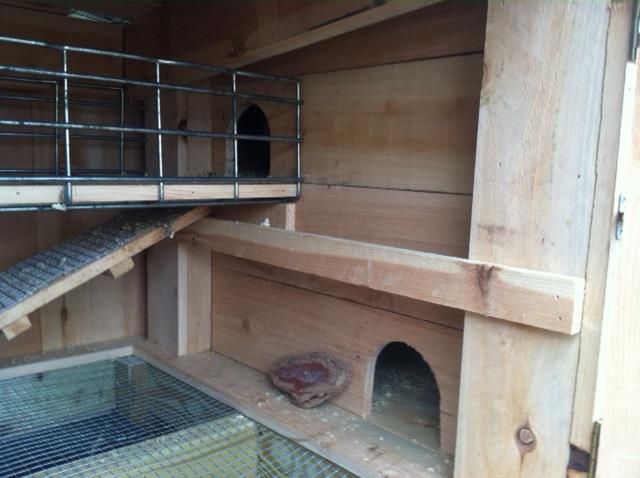
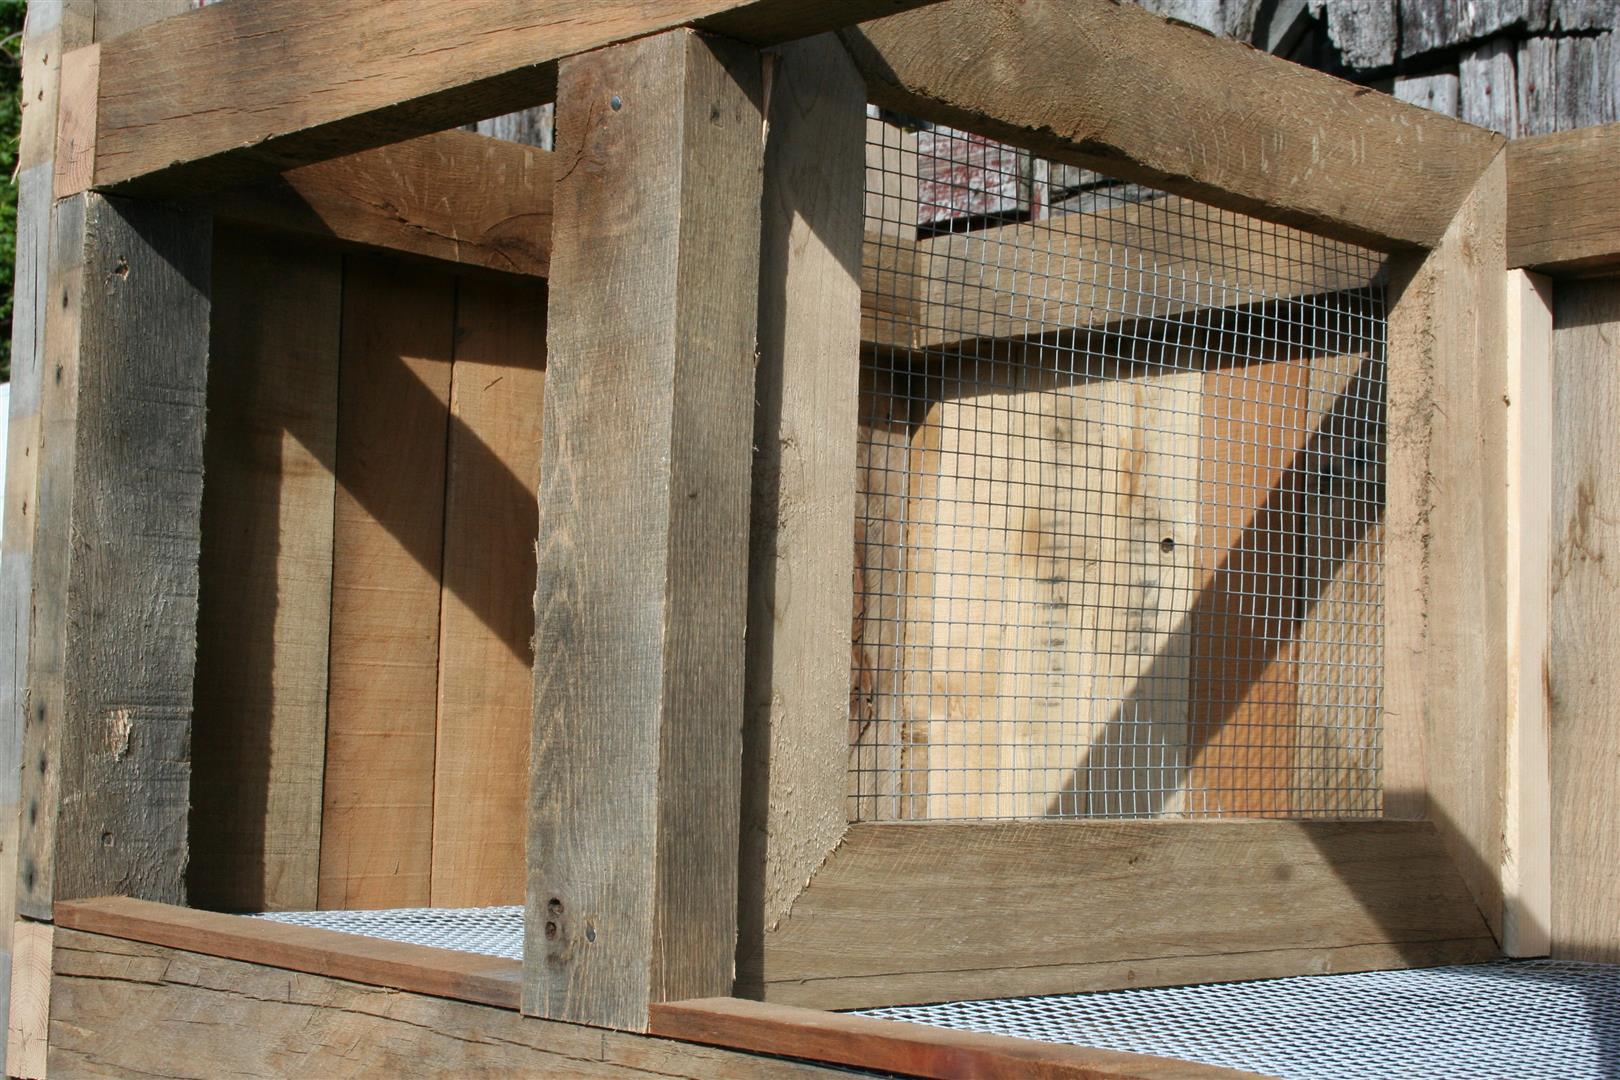
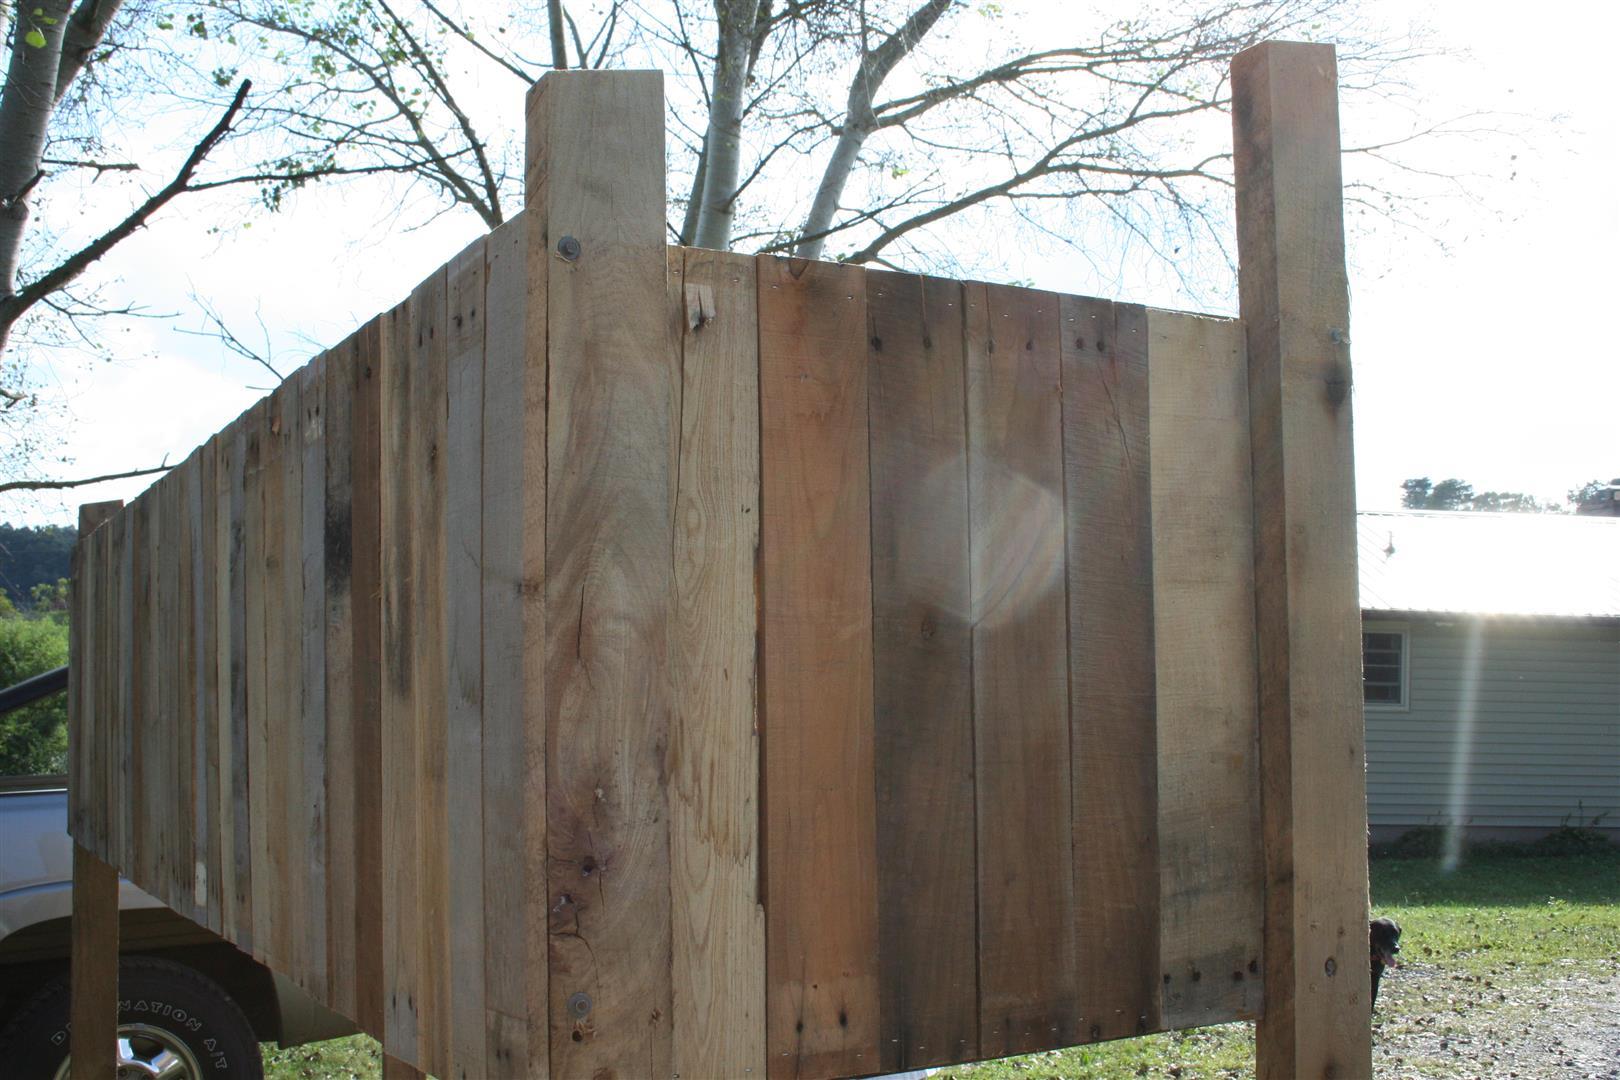
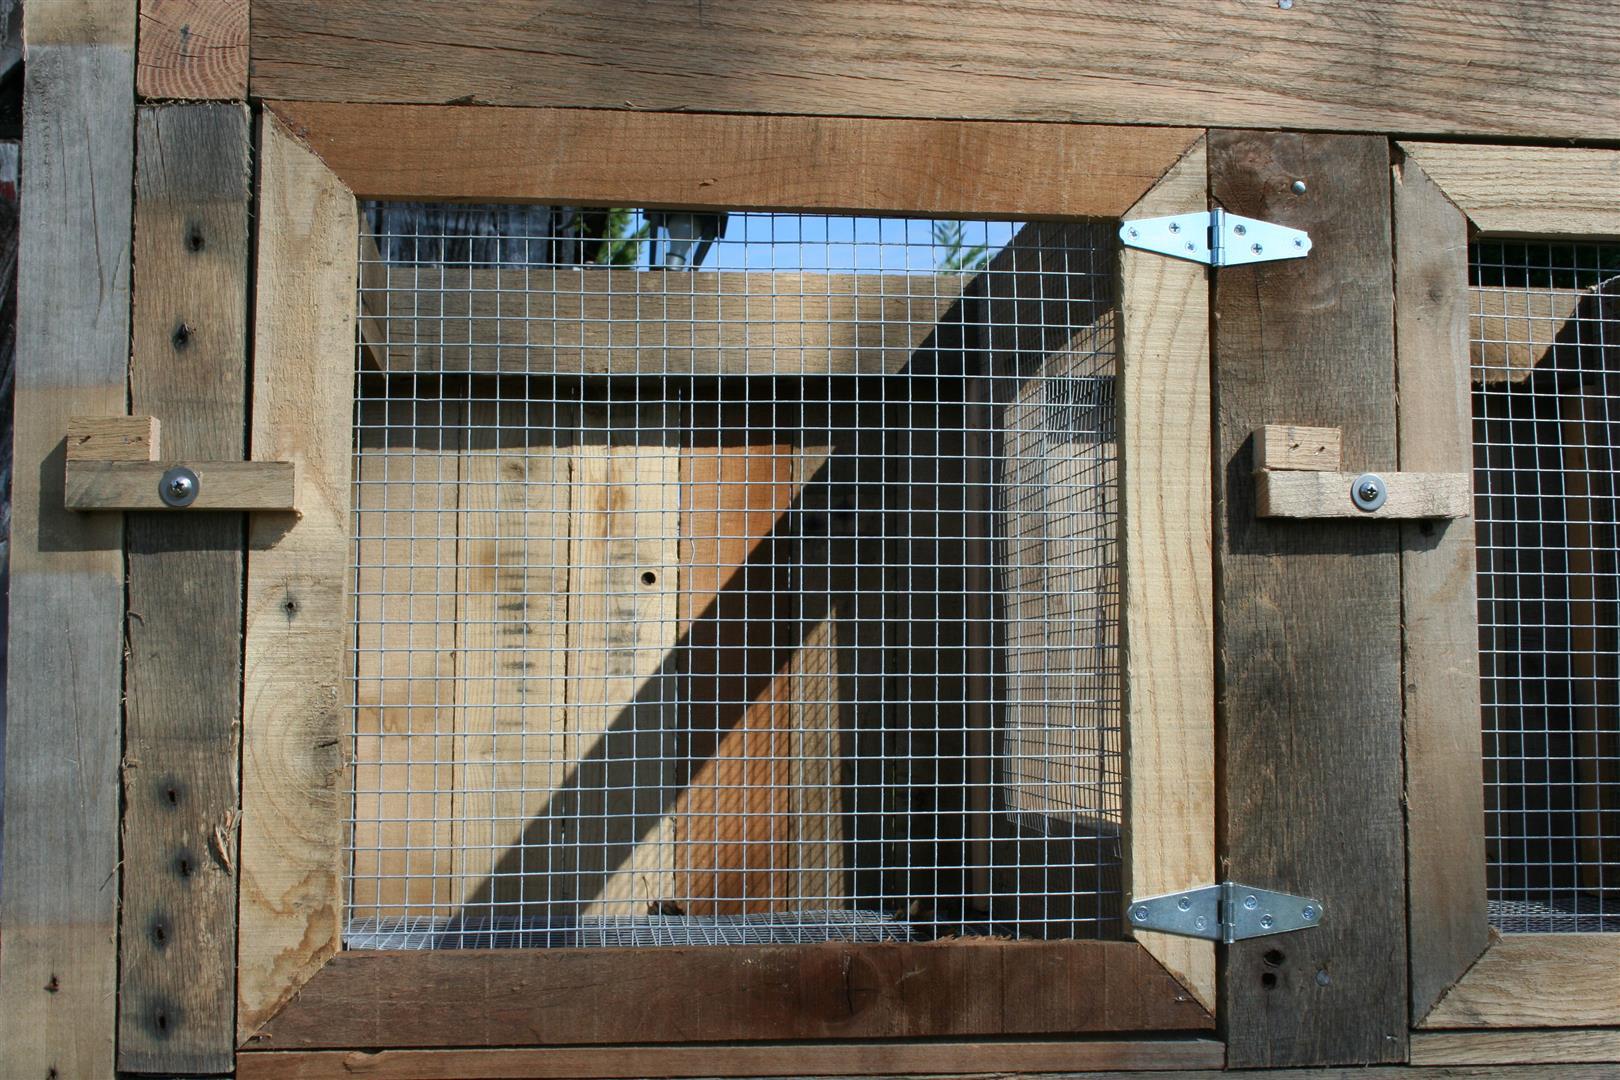
Just over 8′ 6″ wide and about 7′ tall and cages are 30″ deep made from pallet wood and mesh, cement boards, cement blocks, tin roofing (to be installed shortly) – very heavy.

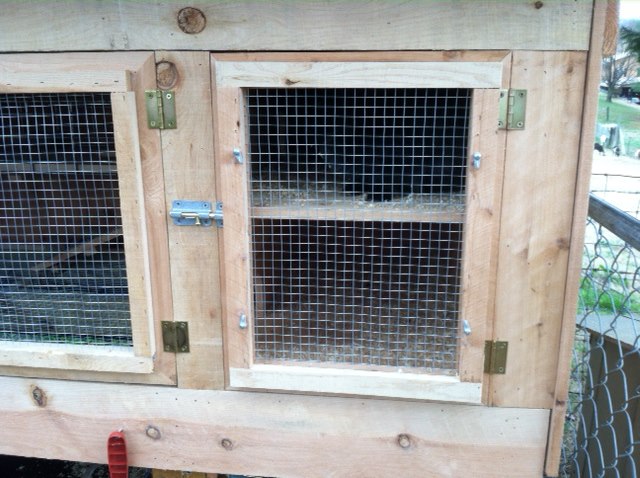
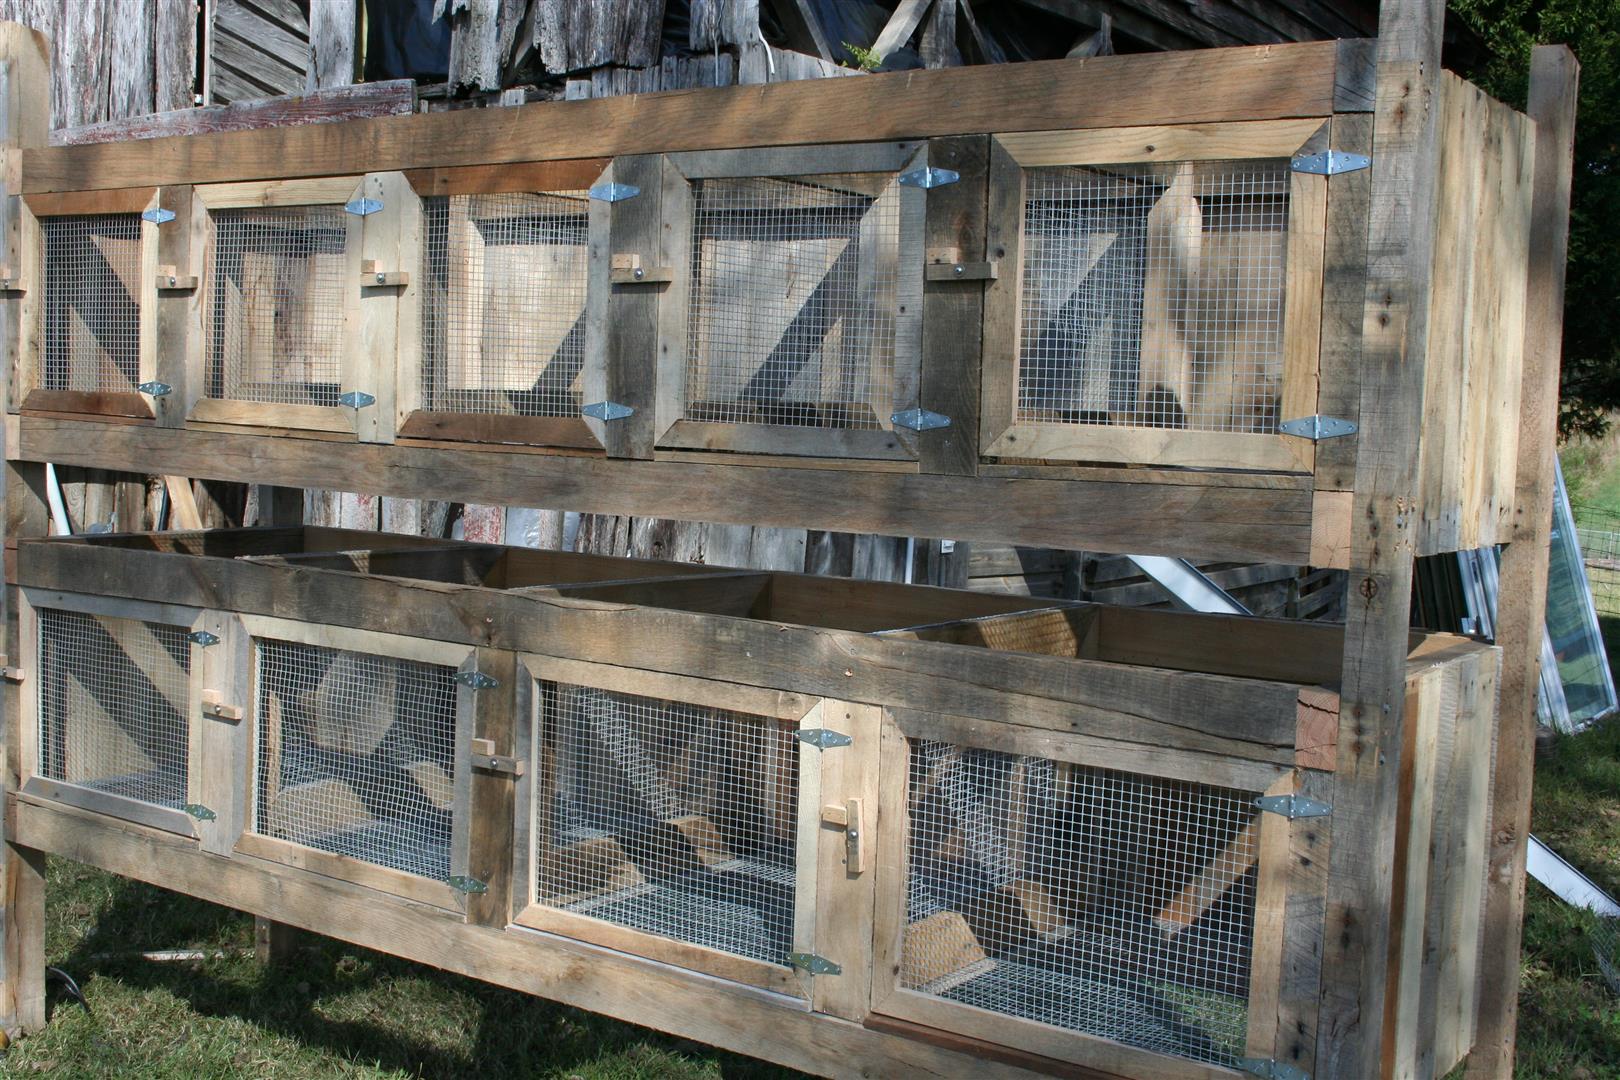
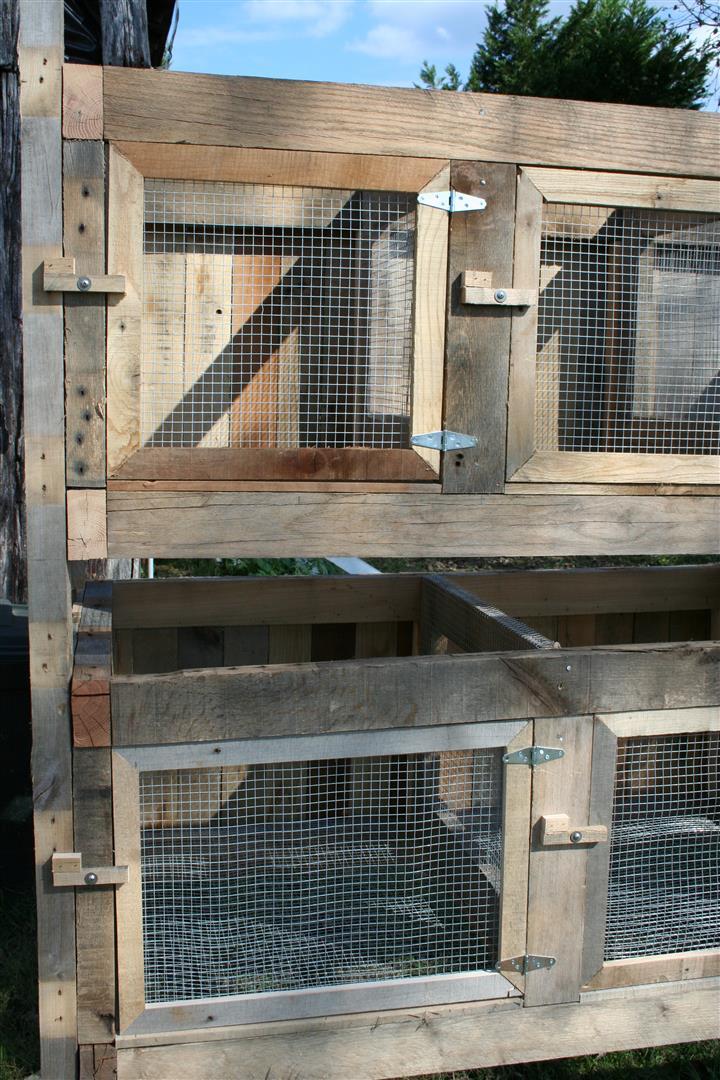
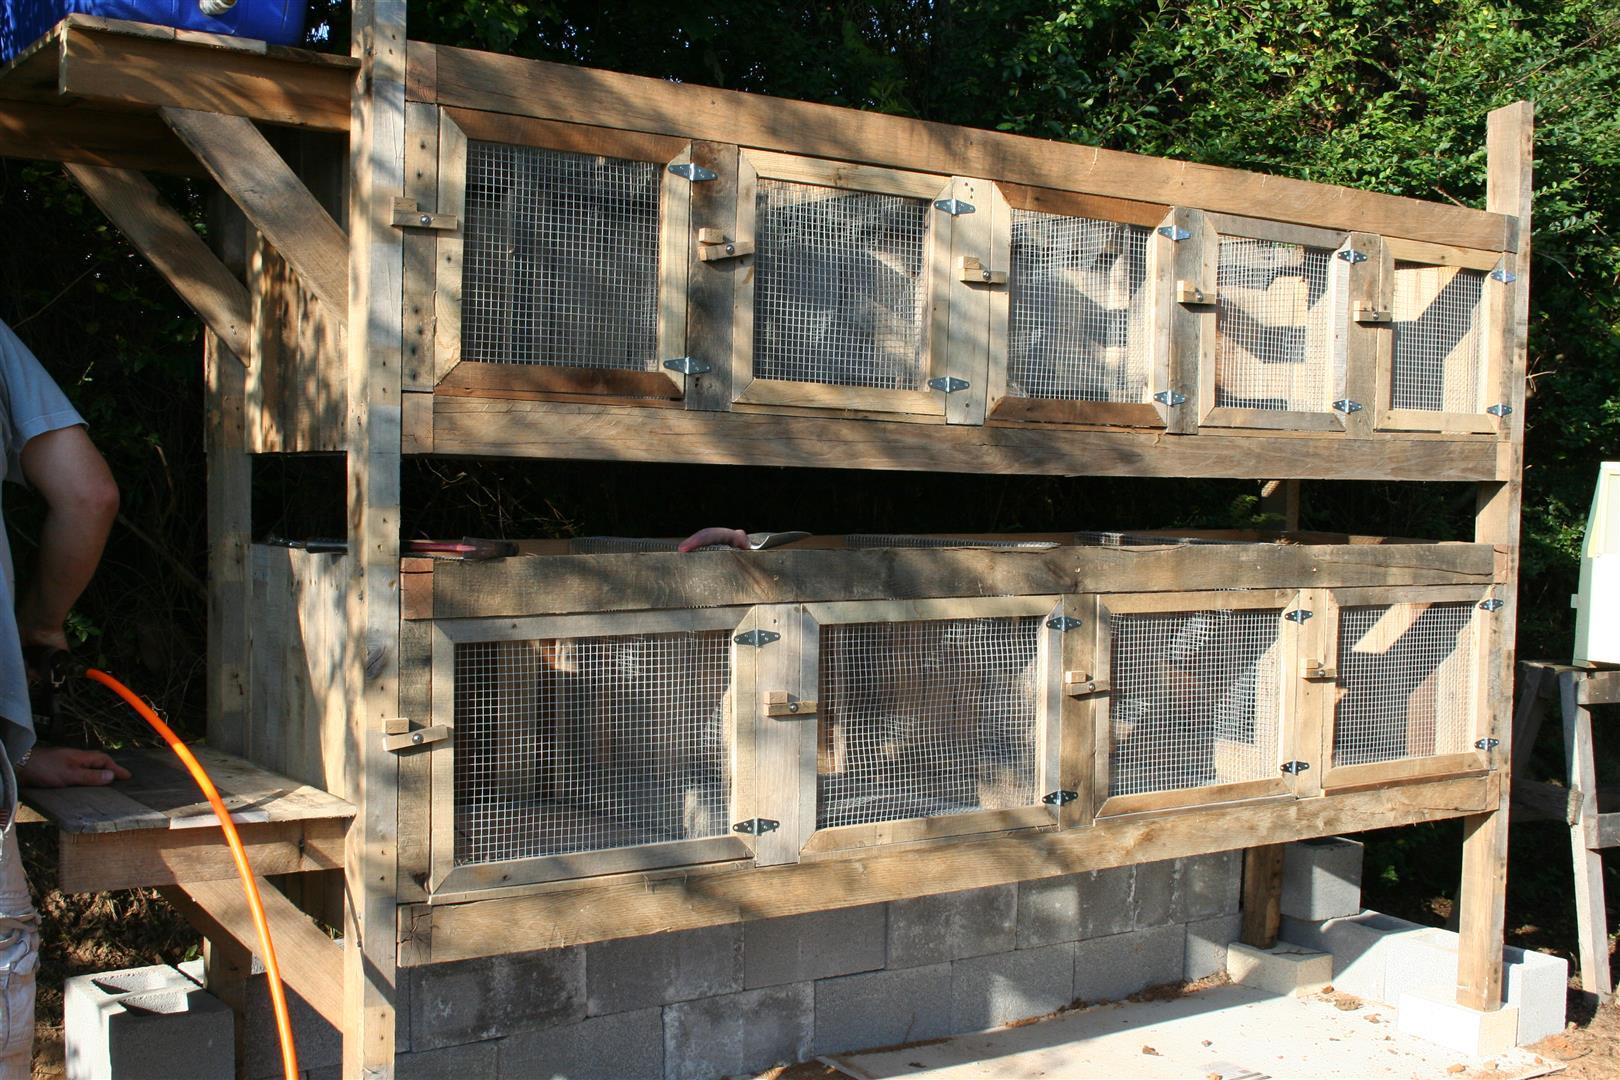
Top Row can house 1 buck and 4 does

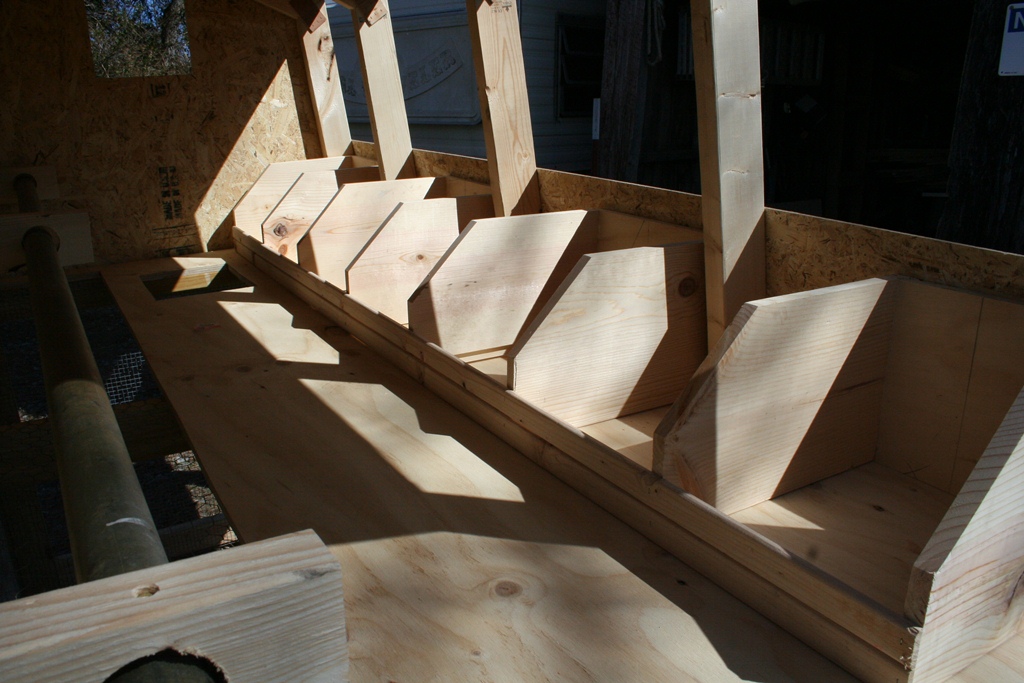
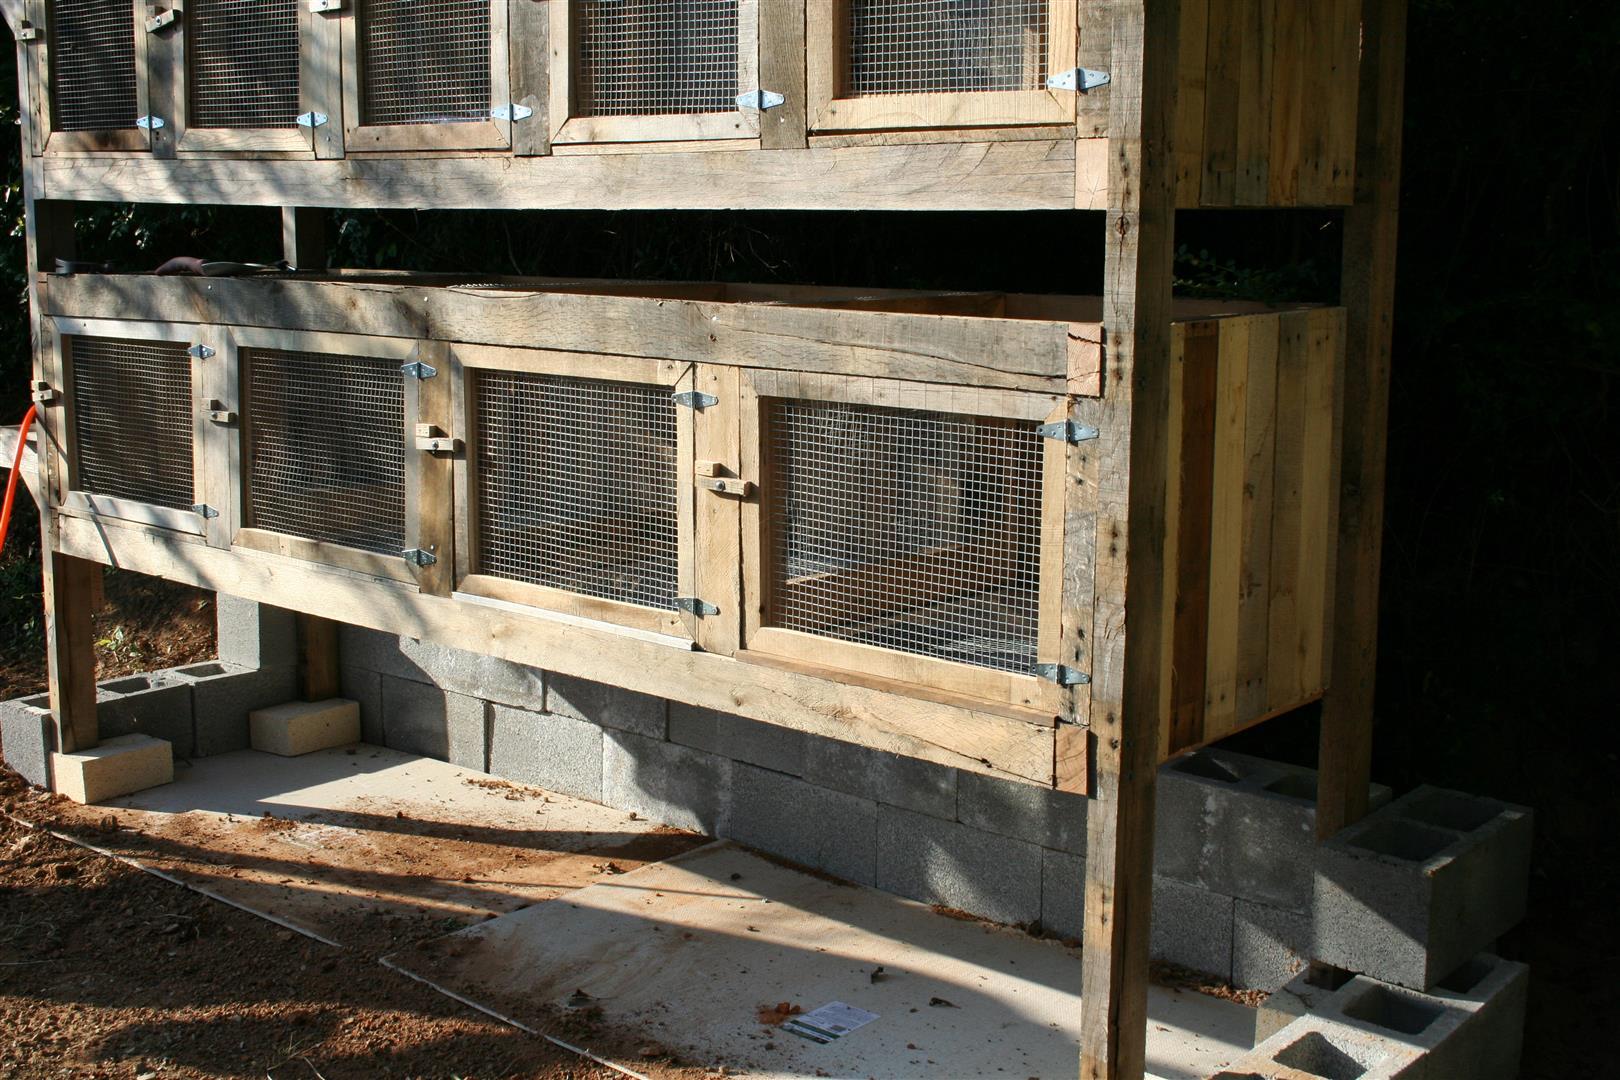
Bottom Row has 4 larger sections for weaned offspring litters.

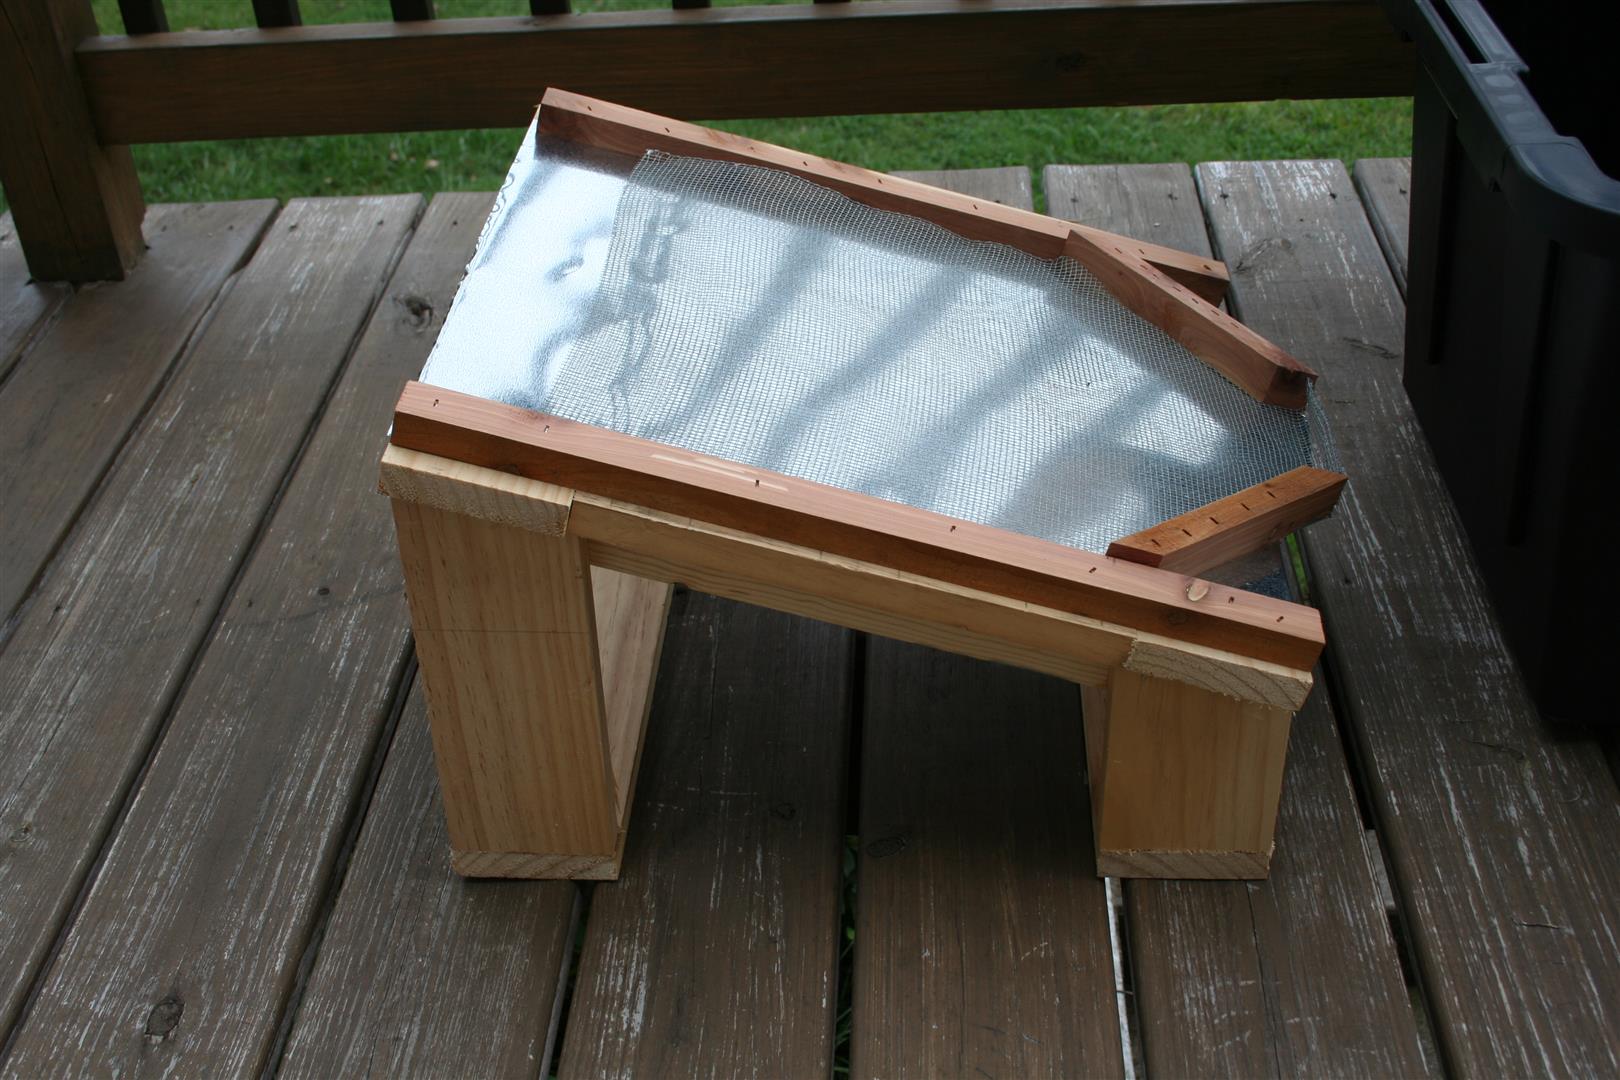
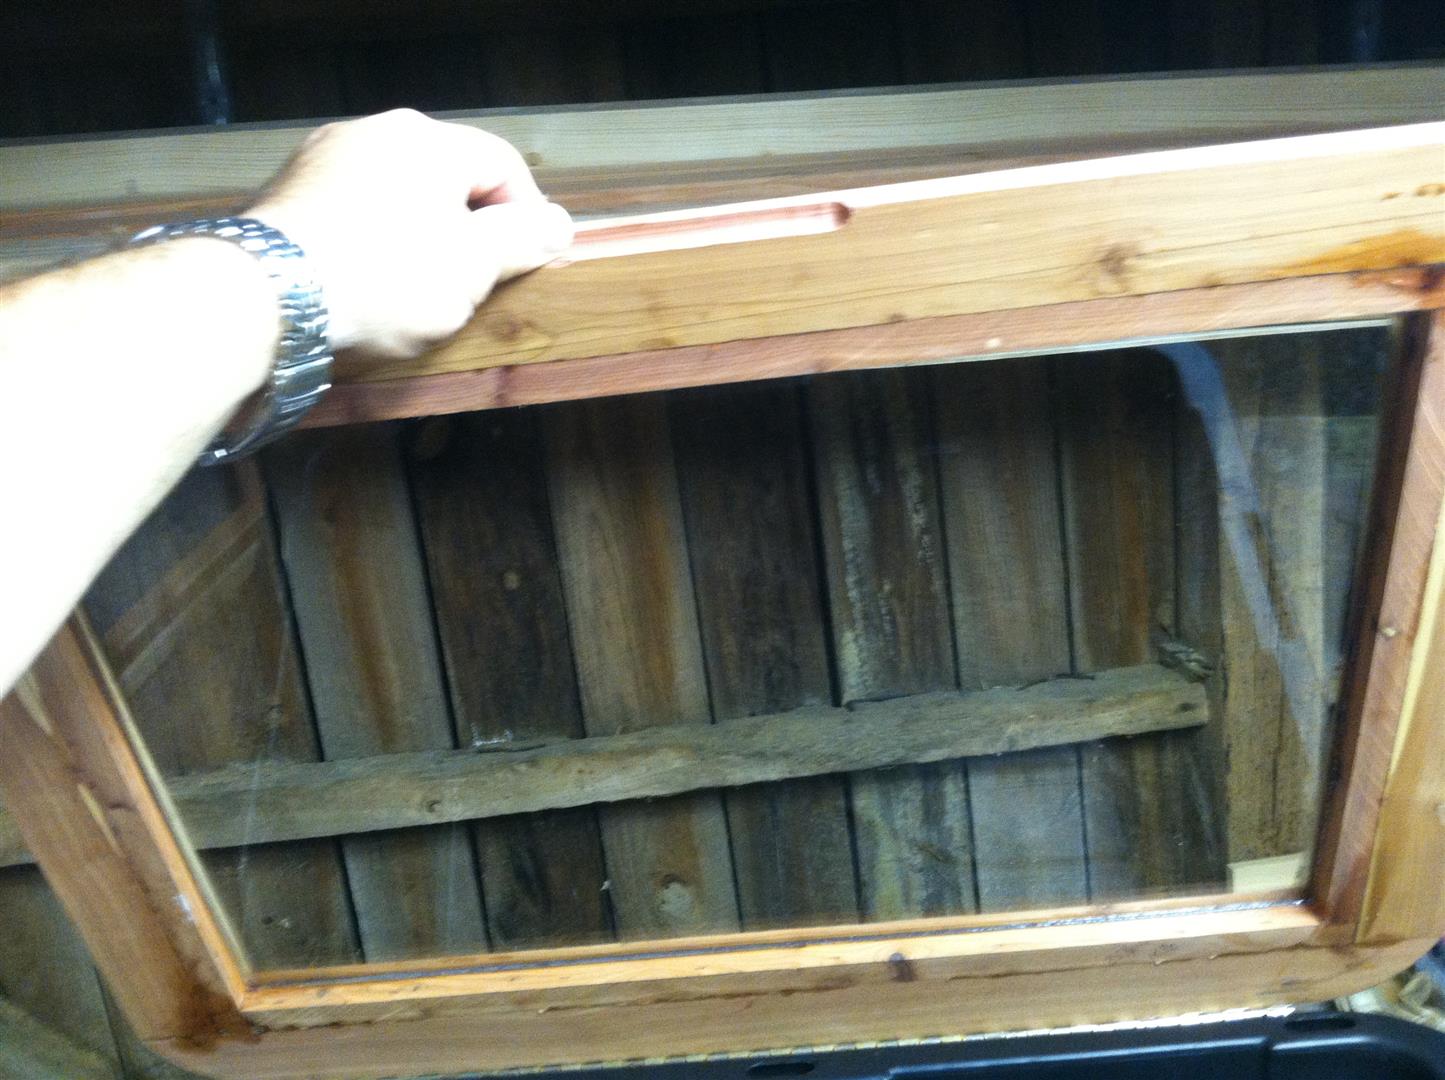
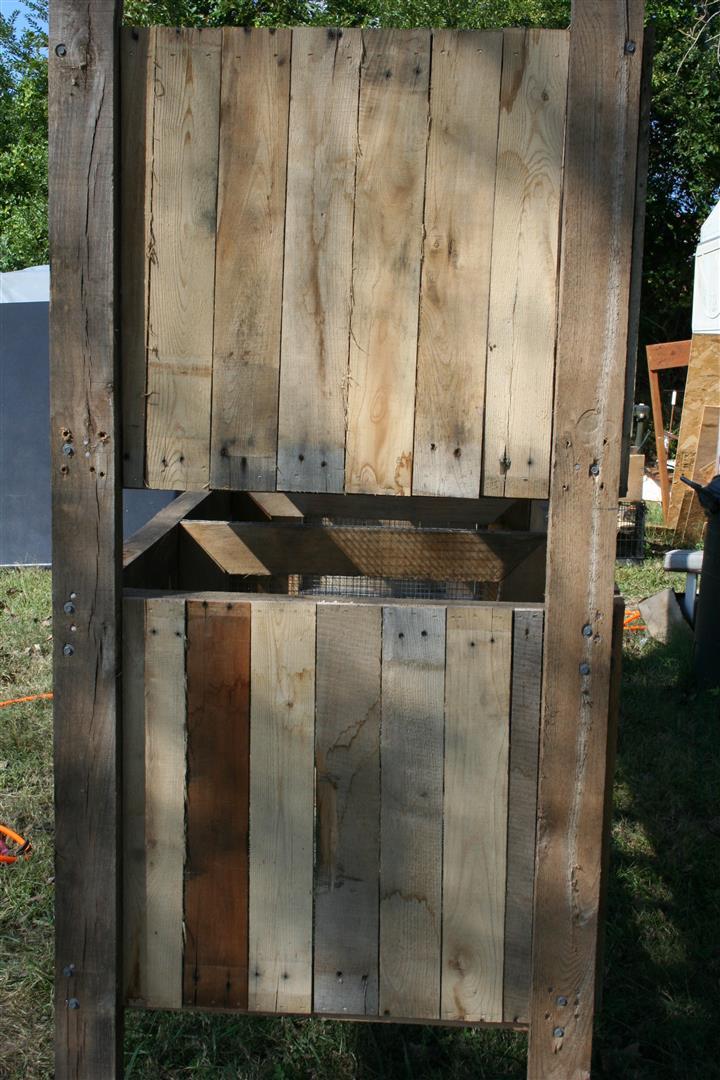
Between rows has Durock (tile backer board) on an angle covered with plastic for drainage

Bottom row has “pit” style collection (to be shoveled into upcoming flow through vermicomposter – stay tuned)

We are working on automatic watering valves etc. (more to come)
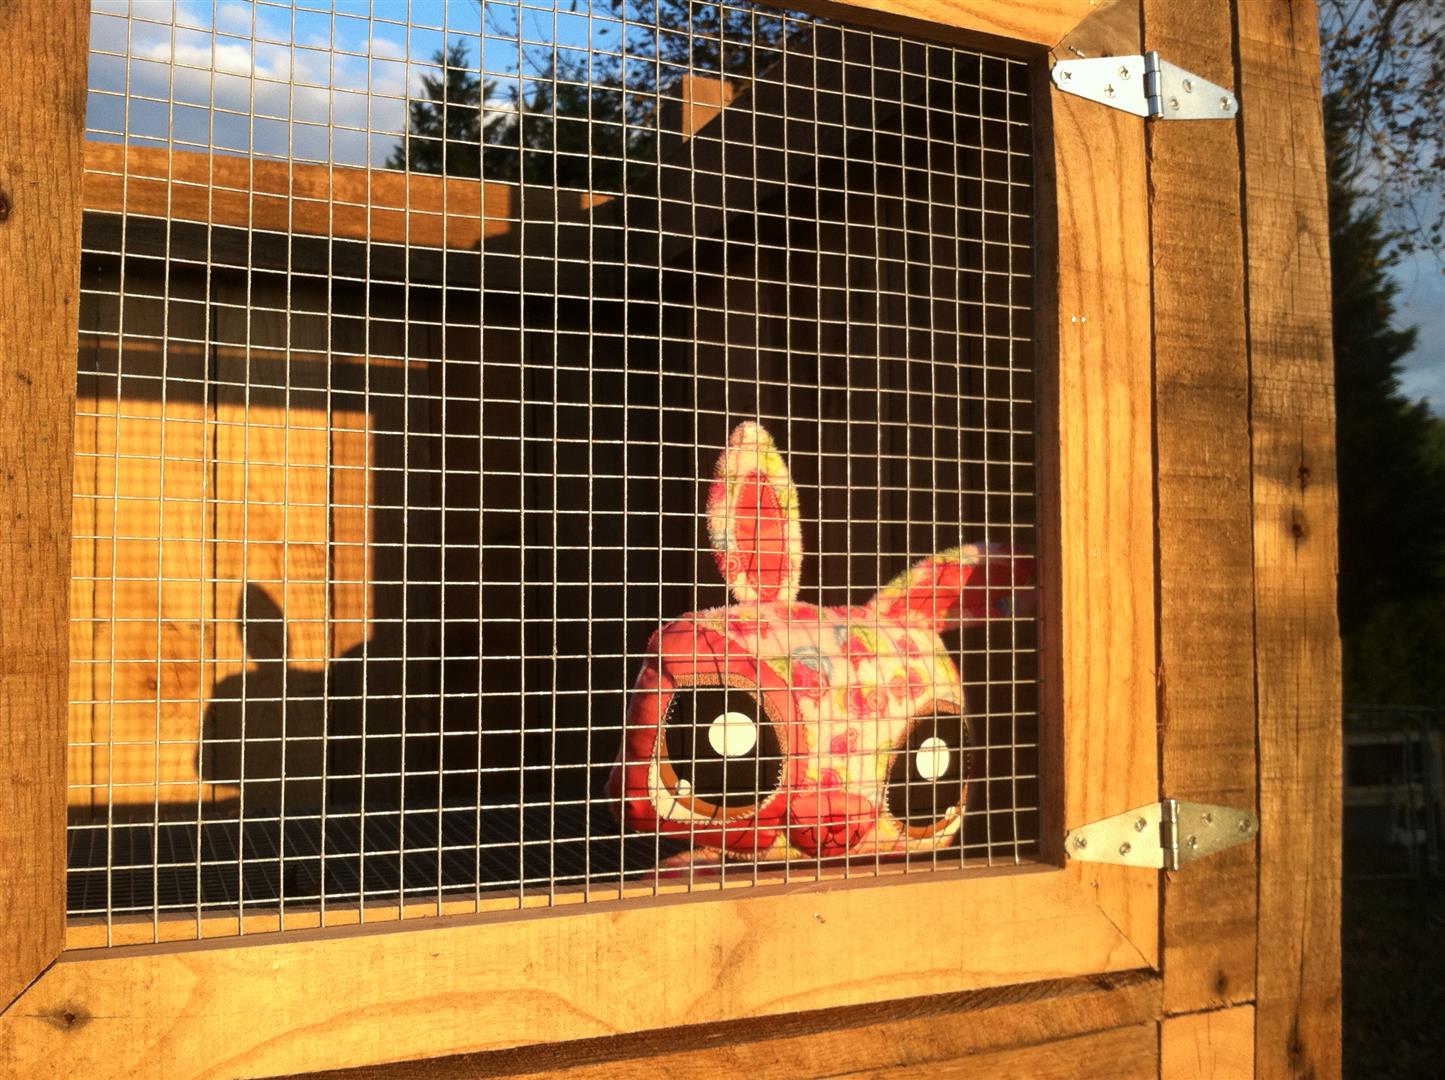
Hutch (1) Hutch (2)

Hutch (3) Hutch (4)

Hutch (5) Hutch (6)

Hutch (7) Hutch (8)

Hutch (9) Hutch (10)

Hutch (11) Hutch (12)

Hutch (13)

First Occupant

photo (Large)

Beekeeping – Winterizing Observation Hive

I’ve really been troubled as to what to do for the colony in the observation hive. After a great deal of debate, I decided to put the queen and brood back down into the Nuc, move them into the shed and insulate them for winter… hope it works. Here are some of the details:


That evening, I moved them into the shed, insulated them and created a plastic entrance/exit out of the shed (pictures from the following day).

Observation in the  Shed (1)

Observation in the  Shed (3)

Observation in the  Shed (4)

Observation in the  Shed (5)


Beekeeping – 4-H Farm Day Exhibit

The Loudon County 4-H office holds an annual “Farm Day” in which they bring 4th graders from all over the county to Sweetwater Valley Farm for a day of exhibits and learning. This year, I was asked to be an exhibitor for beekeeping and wow, what an experience!

I decided early on that I wanted to build an observation hive for the event and after it was finished, I performed a split from one of my hives and asked a friend of the family to foster them until they could return. I don’t think it was too much of a hardship for Angie, she’s pretty eager to get her own colony as soon as possible (thanks again Angie).

Melissa created a really great tri-fold board; we gathered up wax chunks, candles, protective gear, a smoker, the solar wax melter, an empty hive, a model hive, captured some hive beetles, gathered propolis and comb along with all kinds of interesting display stuff and headed down to the farm. At the event, I had three 4-H’ers (Emily, Robby, Eion) that really stole the show, they did an outstanding job all day long talking to students and teaching them about honey bees. We were told there were over 500 students – 27 classes, probably 20 students per plus parents, teachers, event staff and tons more – how great is that.

News Harold Article – http://news-herald.net/story/14836


Farm Day  (3) Farm Day  (4) Farm Day  (5) Farm Day  (6) Farm Day  (7) Farm Day  (8) Farm Day  (9) Farm Day  (10) Farm Day  (1) Farm Day  (2)

Homesteading – Chicken Tractor #2

OK, so we built Chicken Tractor #1 and really liked it. While we waited for chicks to become available, I know right – we actually got it done before we needed it, we decided to list it on CL to see if anyone else would be interested it, as it turns out we met and sold it to a really nice couple.

After we sold #1, we looked over the design again and decided to make the next one a little different. Here is what we came up with:

Details:

6′ x 14′ Chicken Coop/Tractor.

6′ x 6′ Coop features easy access from end via hinged side panels (coop itself is rotated 90 degrees)

  •  9 nesting boxes
  • Full width roosting bar
  • Hinged and screened ventilation window
  • 2″ x “2 1/2″ roofing supports
  • Cedar plank and screen floor (1/2 & 1/2).

6′ x 14′ Run features

  • Heavy gauge ½” square wire for night time safety from predators.
  • Run also features an access gate for “free range” activities during the day.
  • Can be moved regularly to provide fresh grass & bugs and fertilize the lawn.

IMG_2289 (Large)

IMG_2278 (Large)

IMG_2240 (Large)

IMG_2239 (Large)


Homesteading – Chicken Tractor #1

A while back Melissa came to me wanting to try to raise chickens again…. ugh.

She did say that she had seen something called a chicken tractor that would make for a better experience with the chickens (wouldn’t take much to be honest). I studied the designs she found, put our own spin on it and built our first one… we liked it so much we decided to list it on CL to see if someone else might be interested. Turns out, there was. Be sure to check out Chicken Tractor #2

Details:

4′ x 8′ Chicken Coop/Tractor.

Coop features easy access from either side via hinged side panels

  • 7 nesting boxes
  • Full length roosting bar
  • Hinged and screened ventilation window
  • 2″ x “4” roofing supports
  • 7 ply flooring.

Run features

  • 2″ x 4″ and 2″ x 6″ PT lumber and heavier gauge ½” square wire for night time safety from predators.
  • Run also features an access gate for “free range” activities during the day.
  • Can be moved regularly to provide fresh grass & bugs and fertilize your lawn.

IMG_1749

IMG_1775


IMG_1745

IMG_1770

IMG_1740

IMG_1741

IMG_1742


Homesteading – Casa La Bun Bun

Built this new rabbit hutch for the girl’s rabbits.

Left side double doors and elevated mezzanine, black “Poop Deck”, right upper is Bedrooms, bins below slide in like drawers for food and bedding.

734773_10151403577452387_515205162_n

Removable shutter for inclement weather

734825_10151403580742387_1774009111_n

elevated mezzanine

74382_10151403578642387_1341557807_n

Upper and lower bedroom entrances

555436_10151403579862387_183422173_n

Handyman – Man Cave in VA

Over the summer we got a call from dad, he wanted a new shed and well, who can blame him. So we all grabbed some tools, jumped into the truck and went to see Nana and Papa for a couple days for some hard work, good company, and seafood… then we built a 16′ x 24′ elevated shed for him complete with power, lights, and a compressed air line from the garage…

Bldng (2)

Bldng (4)

Bldng (5)

Bldng (7)

Bldng (6)


Beekeeping – Solar Wax Melter

So we’ve got some friends of the family and Al is a long time beekeeper with a pretty cool take on a solar wax melter using a plastic bin. I had looked over a few designs for wooden ones and such, then decided on a blend of materials for a model very similar to Al’s. Thanks Al.

Basic Materials

  • Plastic Bin – I went for the thicker material and square-ish design of the DuraBuilt bin with the yellow top.
  • A piece of sheet metal – 24″ x 36″ from the HVAC section, not the metals section as it’s twice the price!
  • Plexiglas –  18″ x 24″
  • Piece of Cedar (I already had) – I guess it was a 1″ x 6″ x 6′
  • Piano Hinge (already had) – probably 24″
  • 2″ x 4″ pine cut-offs from the waste bin (scraps)
  • A cheesy silicone pan from Goodwill as a catch basin for hot wax
  • Scrap pieces of that pink 1/2″ foam insulation
  • Black spray paint
  • Fine screen / cheesecloth for straining

Materials

Semi-Finished Product

Melter (18)

Melter (17)

Melter (14)

Melter (19)

Melter (15)

Melter (21)

Melter (10)

Melter (13)

As it set, the temperatures would run around 160° F, so I decided to line the inside with 1/2″ pink insulation and to paint the inside surfaces black which set the temps up to 210° F (high as I saw).

I ran it a few times playing with it and collecting the big bits and pieces, then ran my collections as a whole adding some cheesecloth to the process as a filter and changed the collection pan to small crock (also a Good Will find) and was really was impressed with the final product. A solid chunk of clean wax.

Bring on the wax molds, here come the candles.